Hardware Build
This project details the construction of Pi Matrix compatible hardware, and provides the software to do the rendering (coming soon)
Links provided for easy to find product reference, project can be made much more cost efficiently
Items marked as optional if they can be easily worked around with
Warning: This build requires some hand wiring and interacting with wires that contains high voltage. This is not an introductory guide,
Hardware
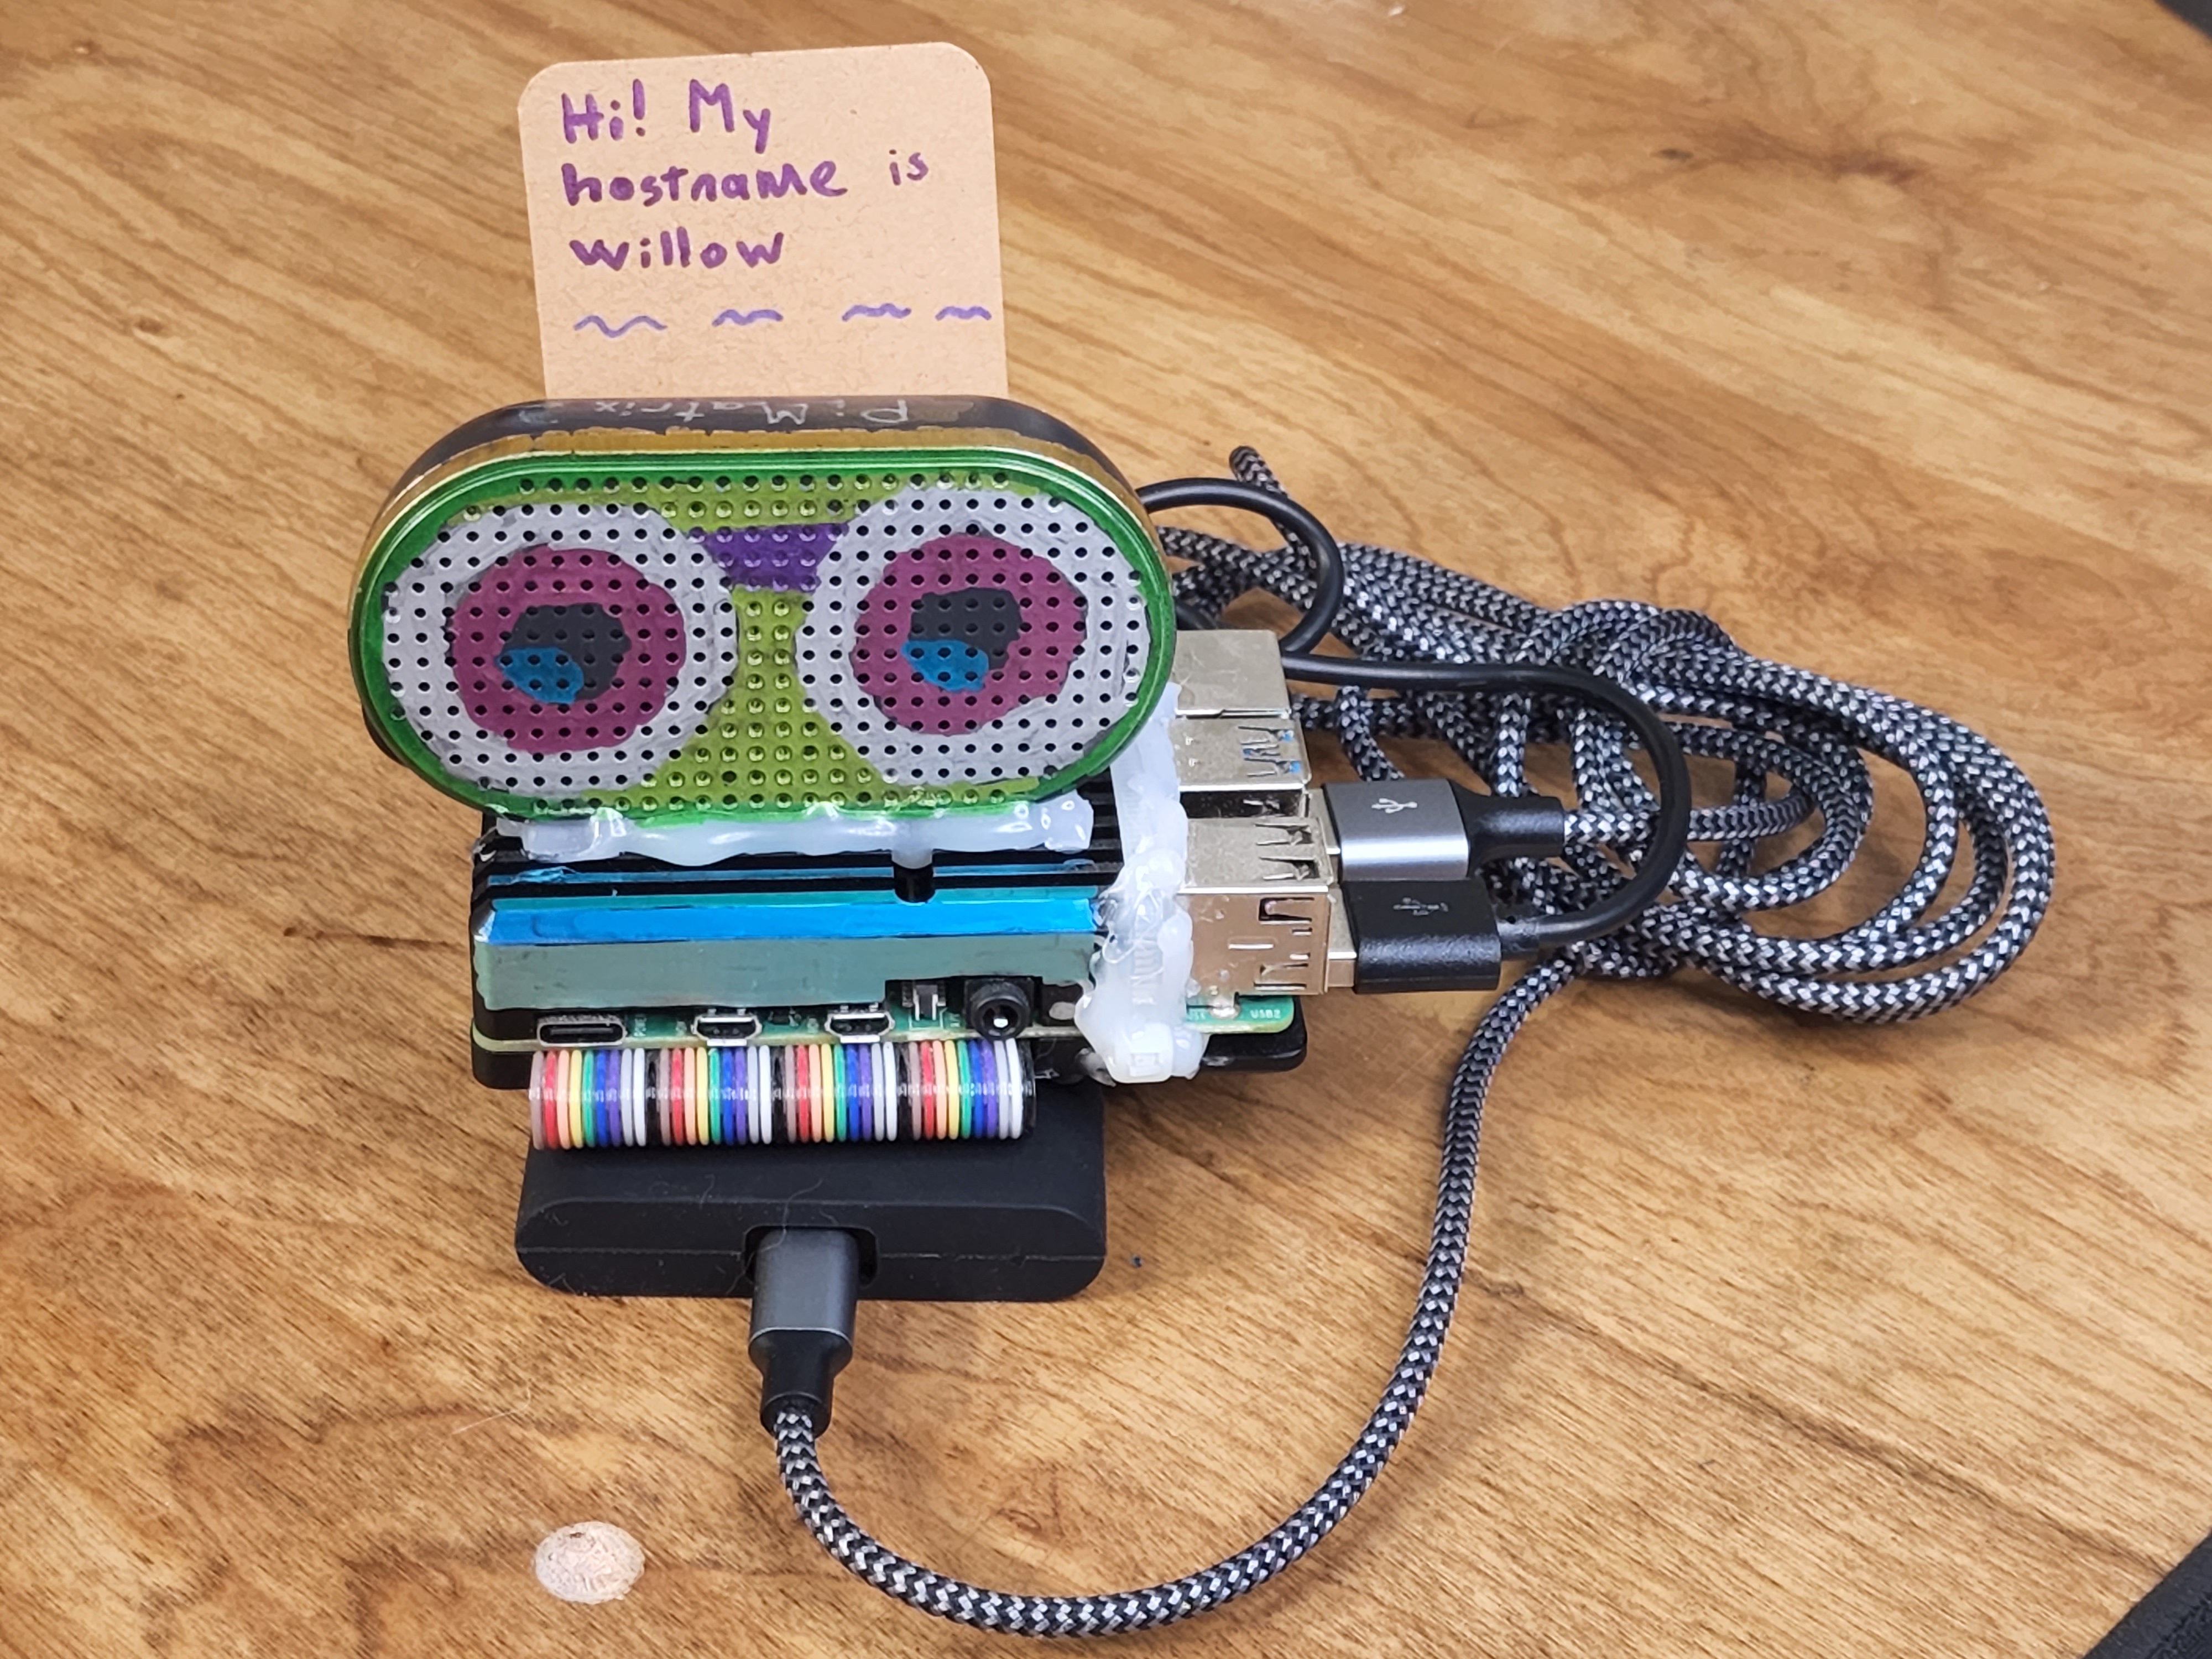
Controller (v3)
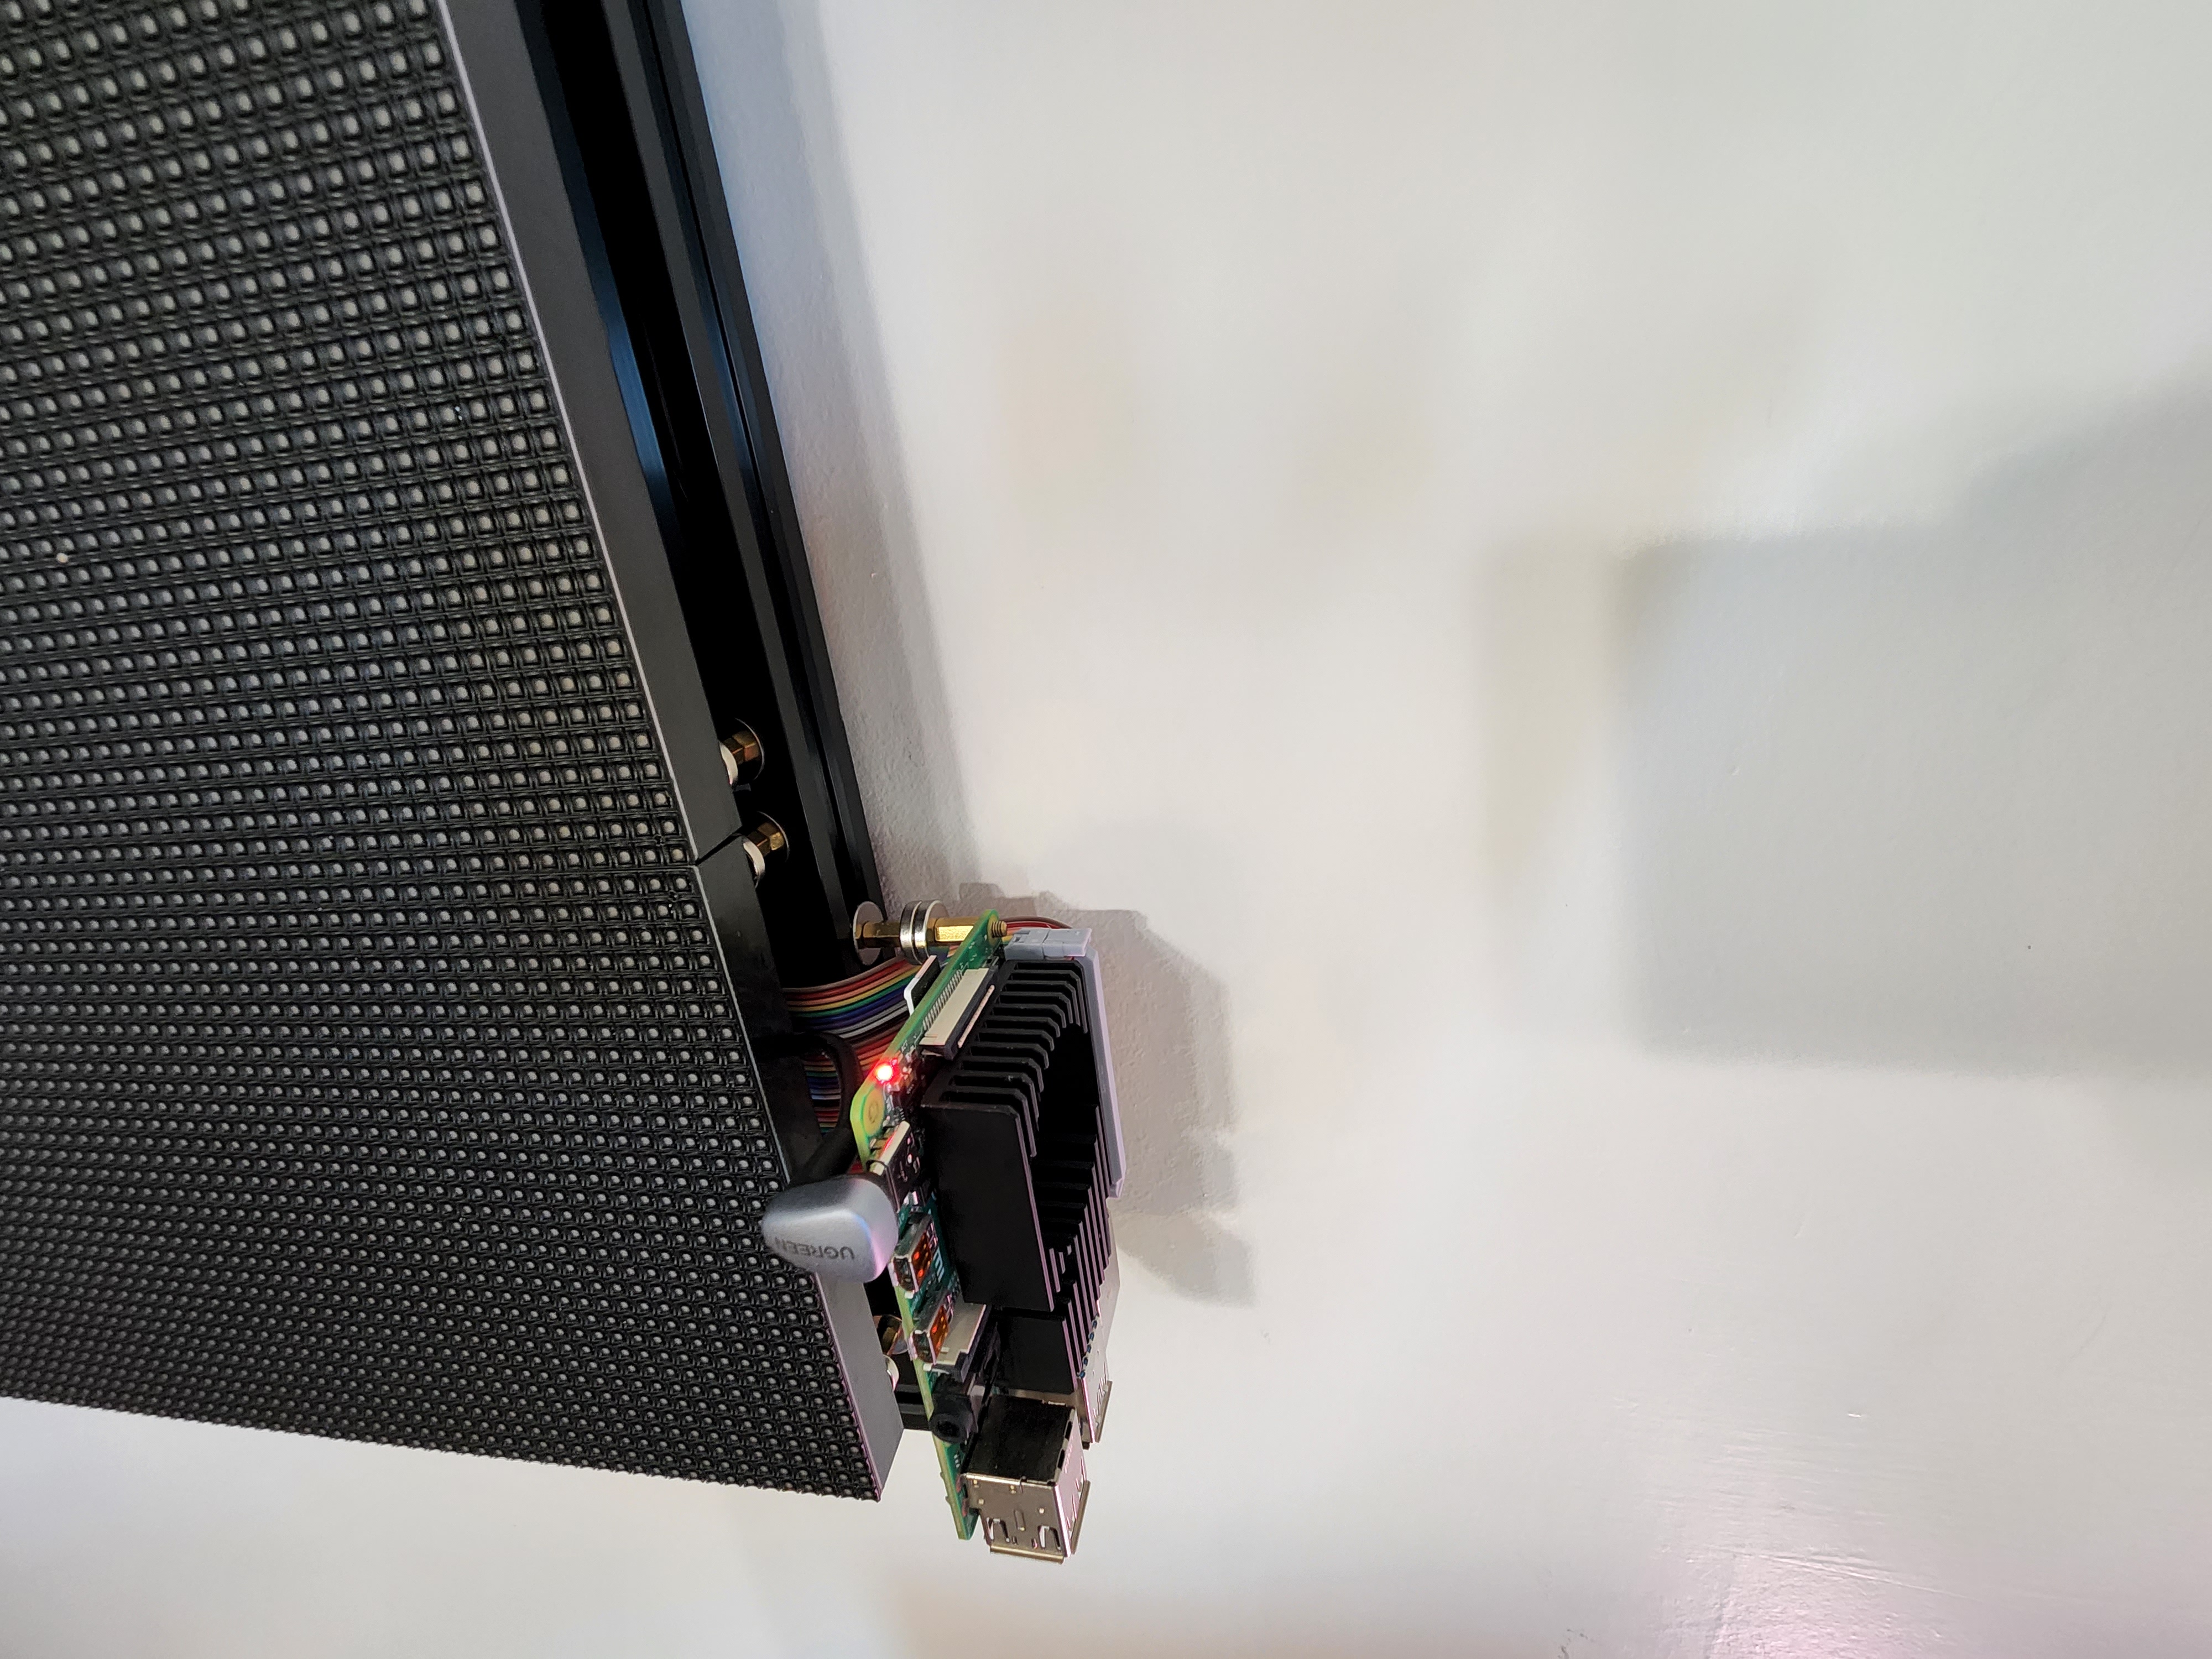
Completed build pics
| Front | Side |
|---|---|
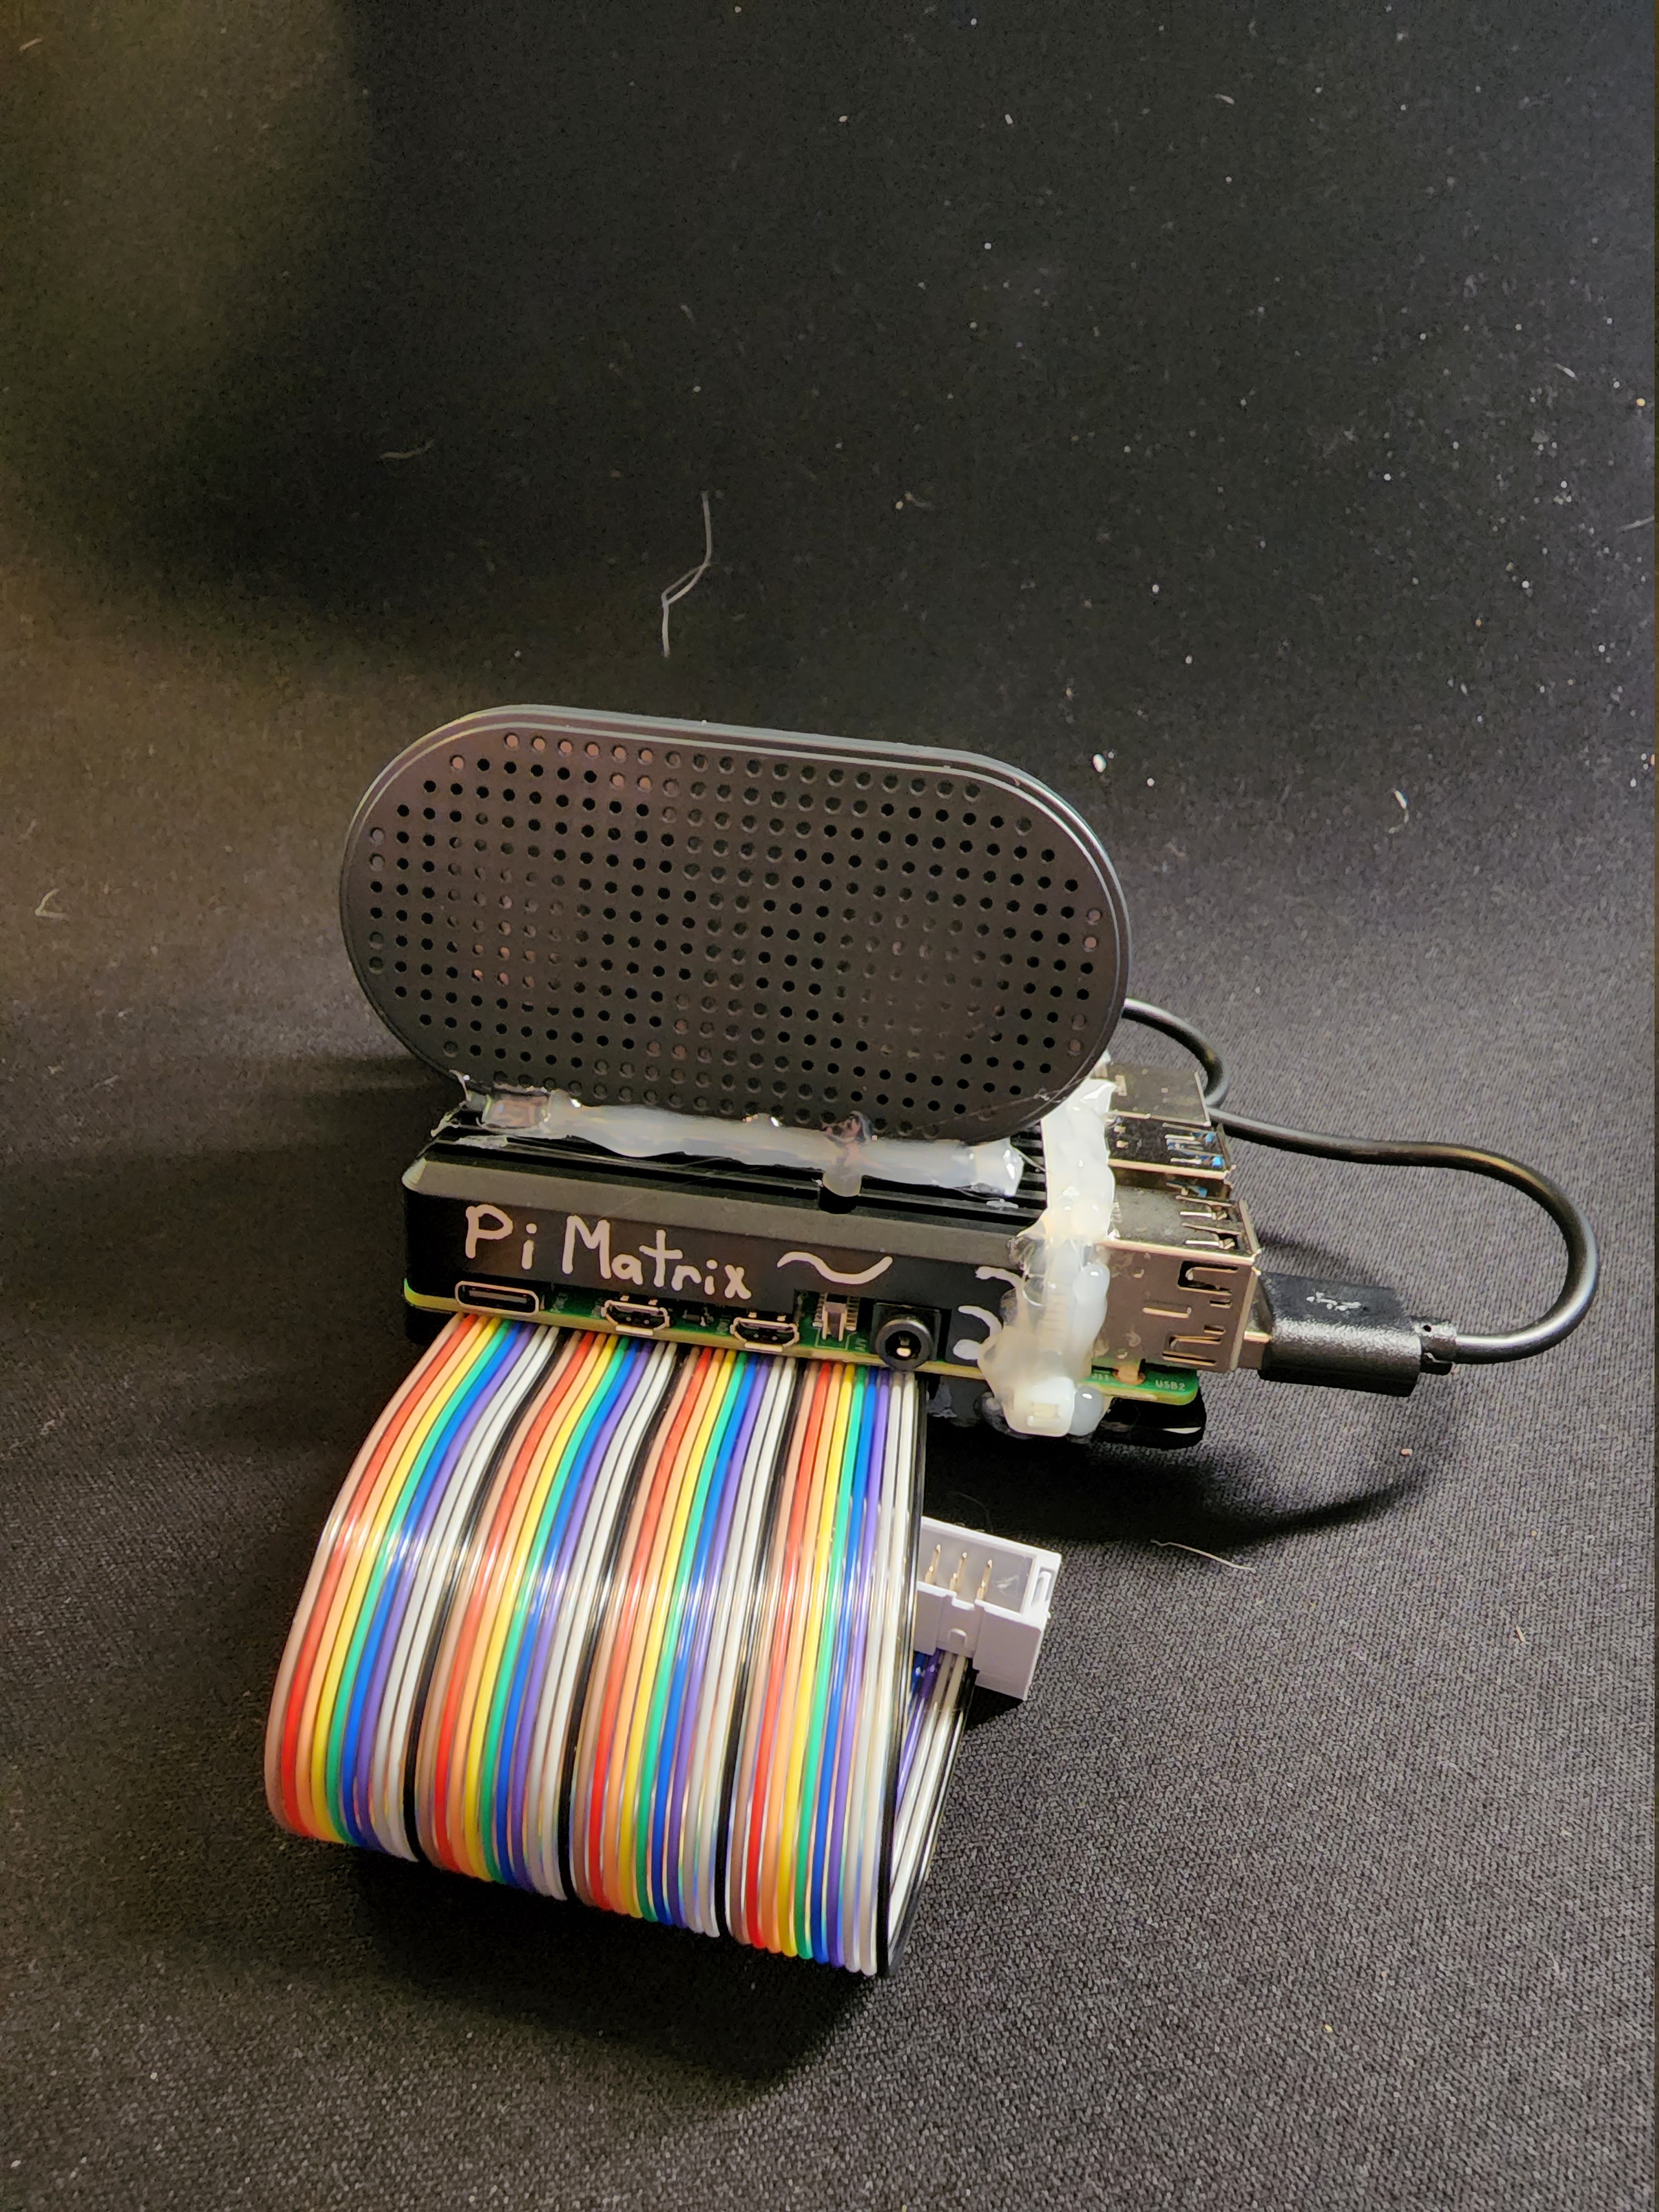 | 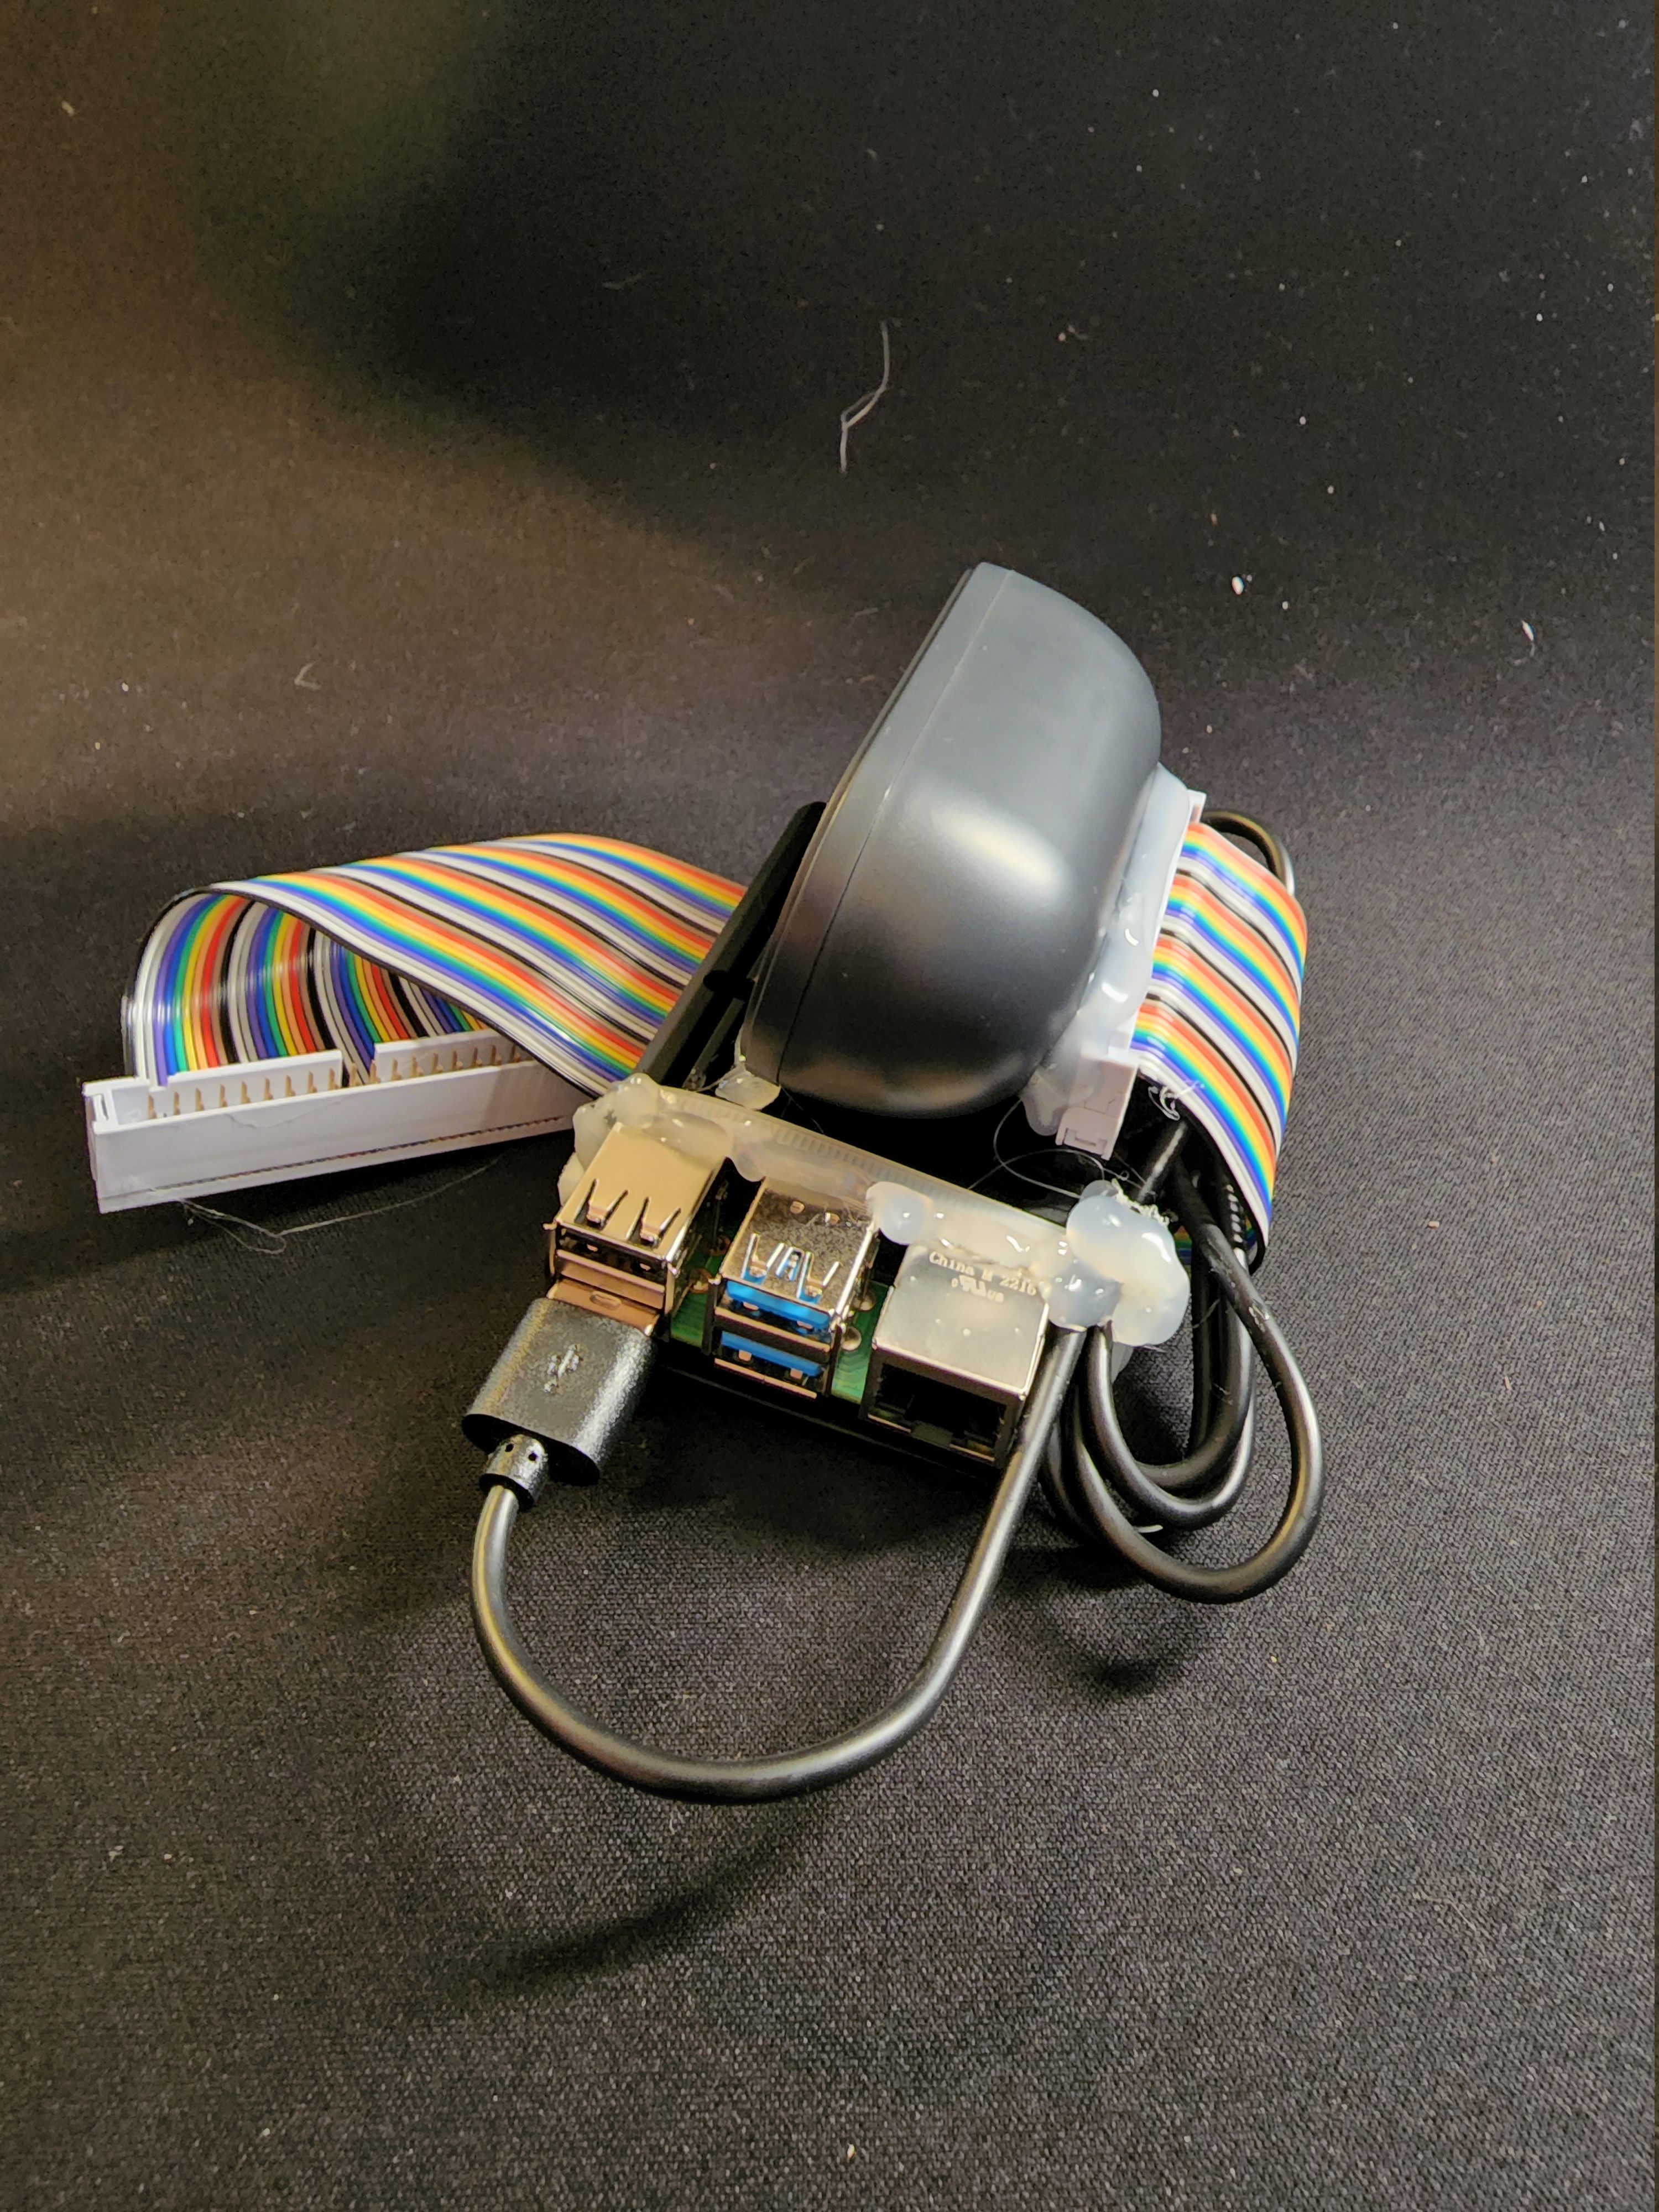 |
Parts list
| Name | Purchase Link | Required | Notes | Image |
|---|---|---|---|---|
| Raspberry Pi 4 | n/a | Y | ---- | |
| Cooling / case | Amazon | N | This one is very solid, and is great for keeping things contained. Version 1 uses a different cooler (see magnetic mounting section) | 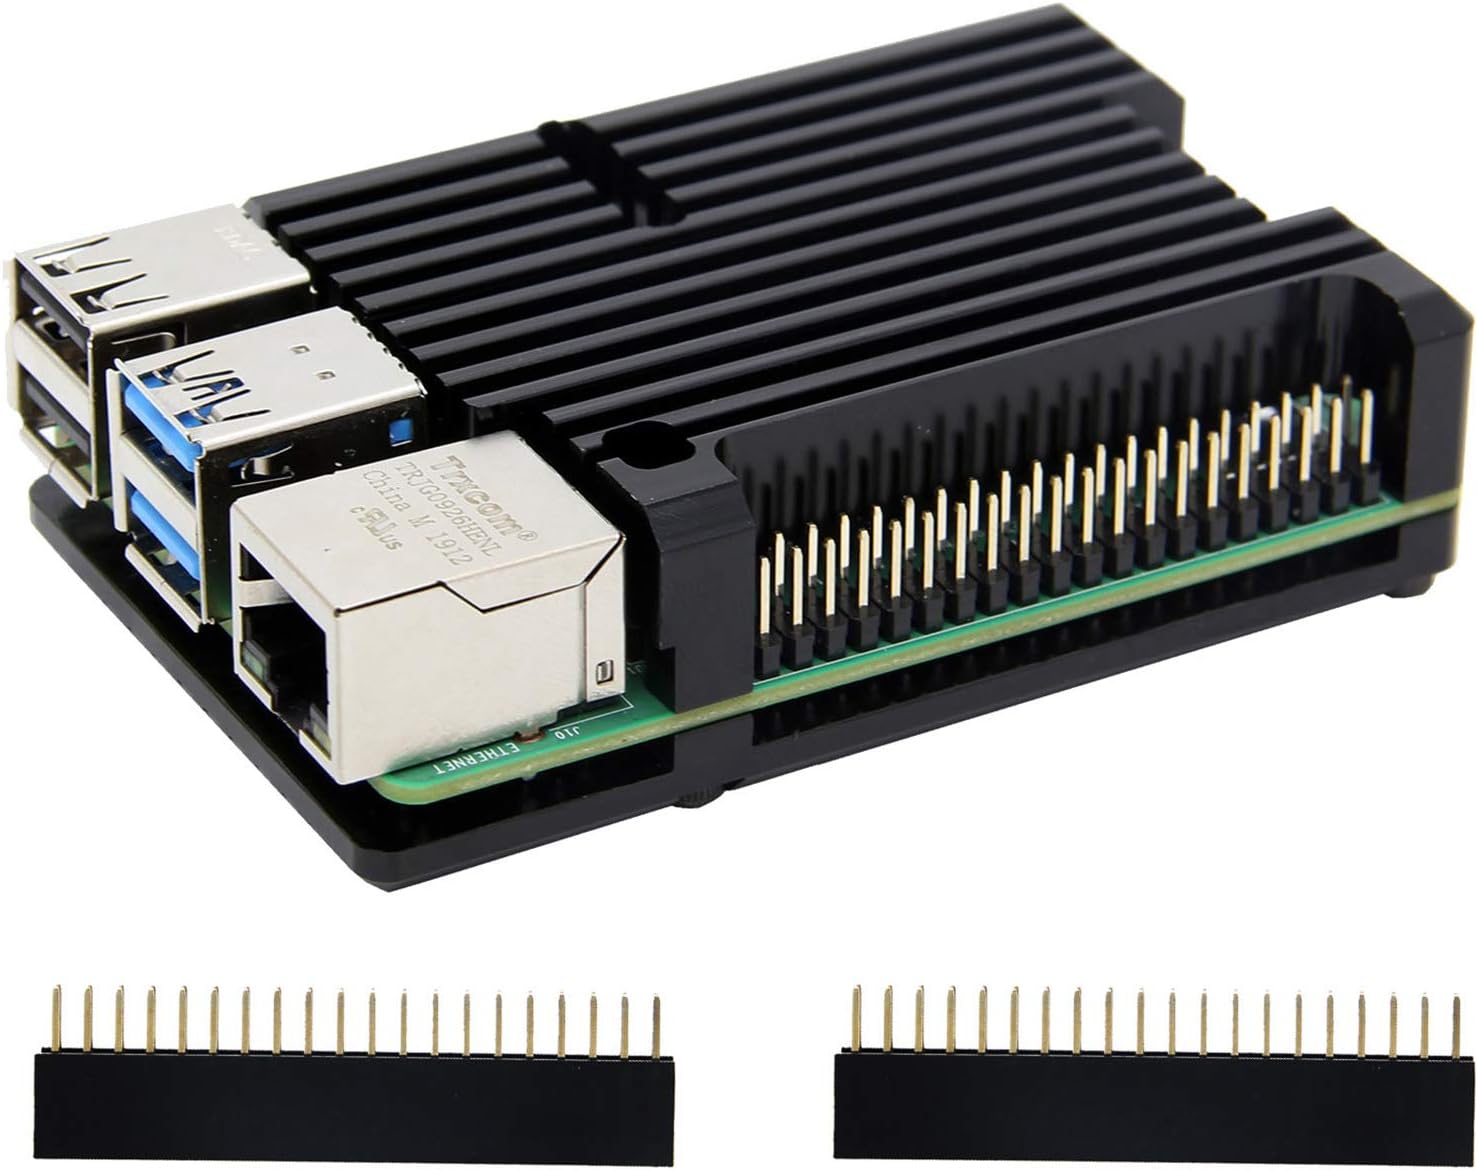 |
| USB Speaker | Amazon | N | Used for audio alerts |  |
| Ribbon Cable | Amazon | N | For orgnization. Can use jumpers to go from device directly to 16 pin cable if desired | 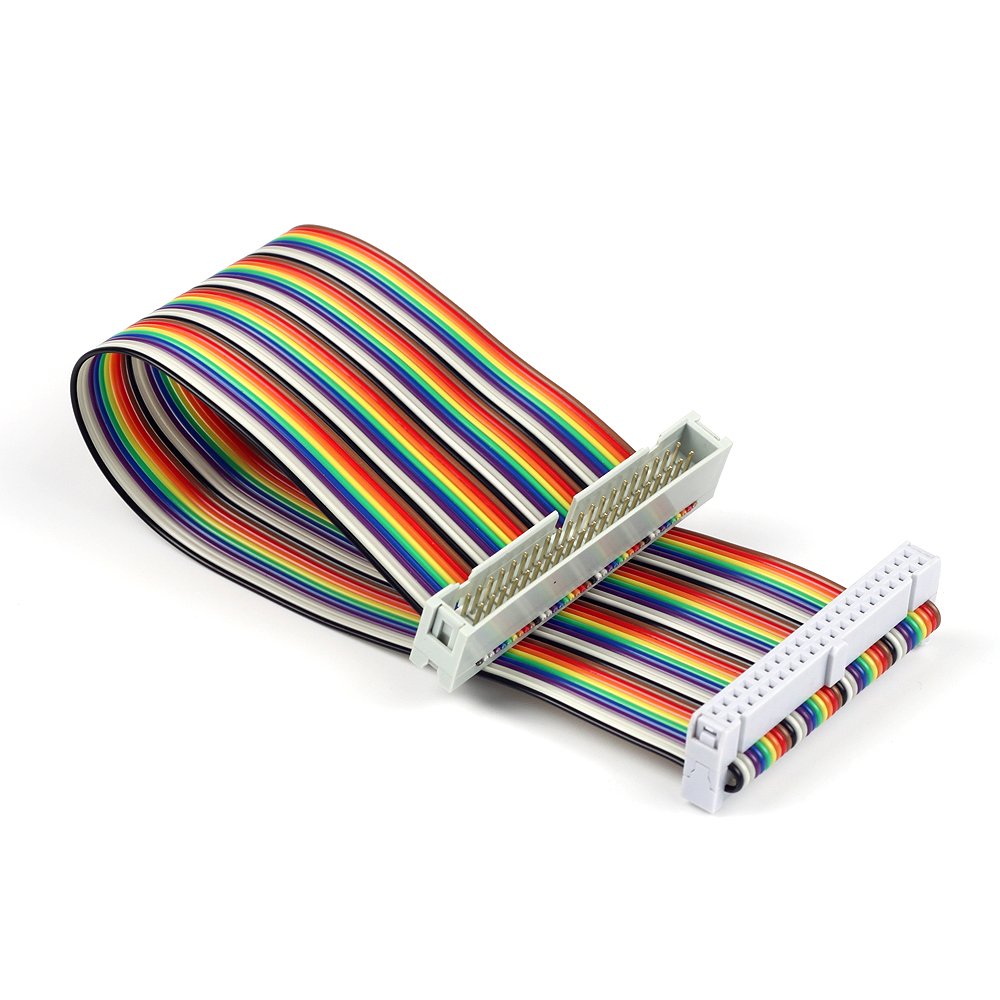 |
💅 Look good
Highly recommended step: break out the metallic markers! 🎨
🧺 Odds and ends
Random odds and ends used in the build.
| Name | Purchase Link | Required | Notes | Image |
|---|---|---|---|---|
| Power Supply | Amazon | Y | Any 5V power source should be fine with sufficient amperage |  |
| SD Card | -- | You need some boot device |
- Power cord
- Hot glue
- Zip ties
- Velcro ties
- Wire nuts / wago connectors
- Network cable
- Independent power supply for Raspberry Pi
- Extra wire
- Hacksaw
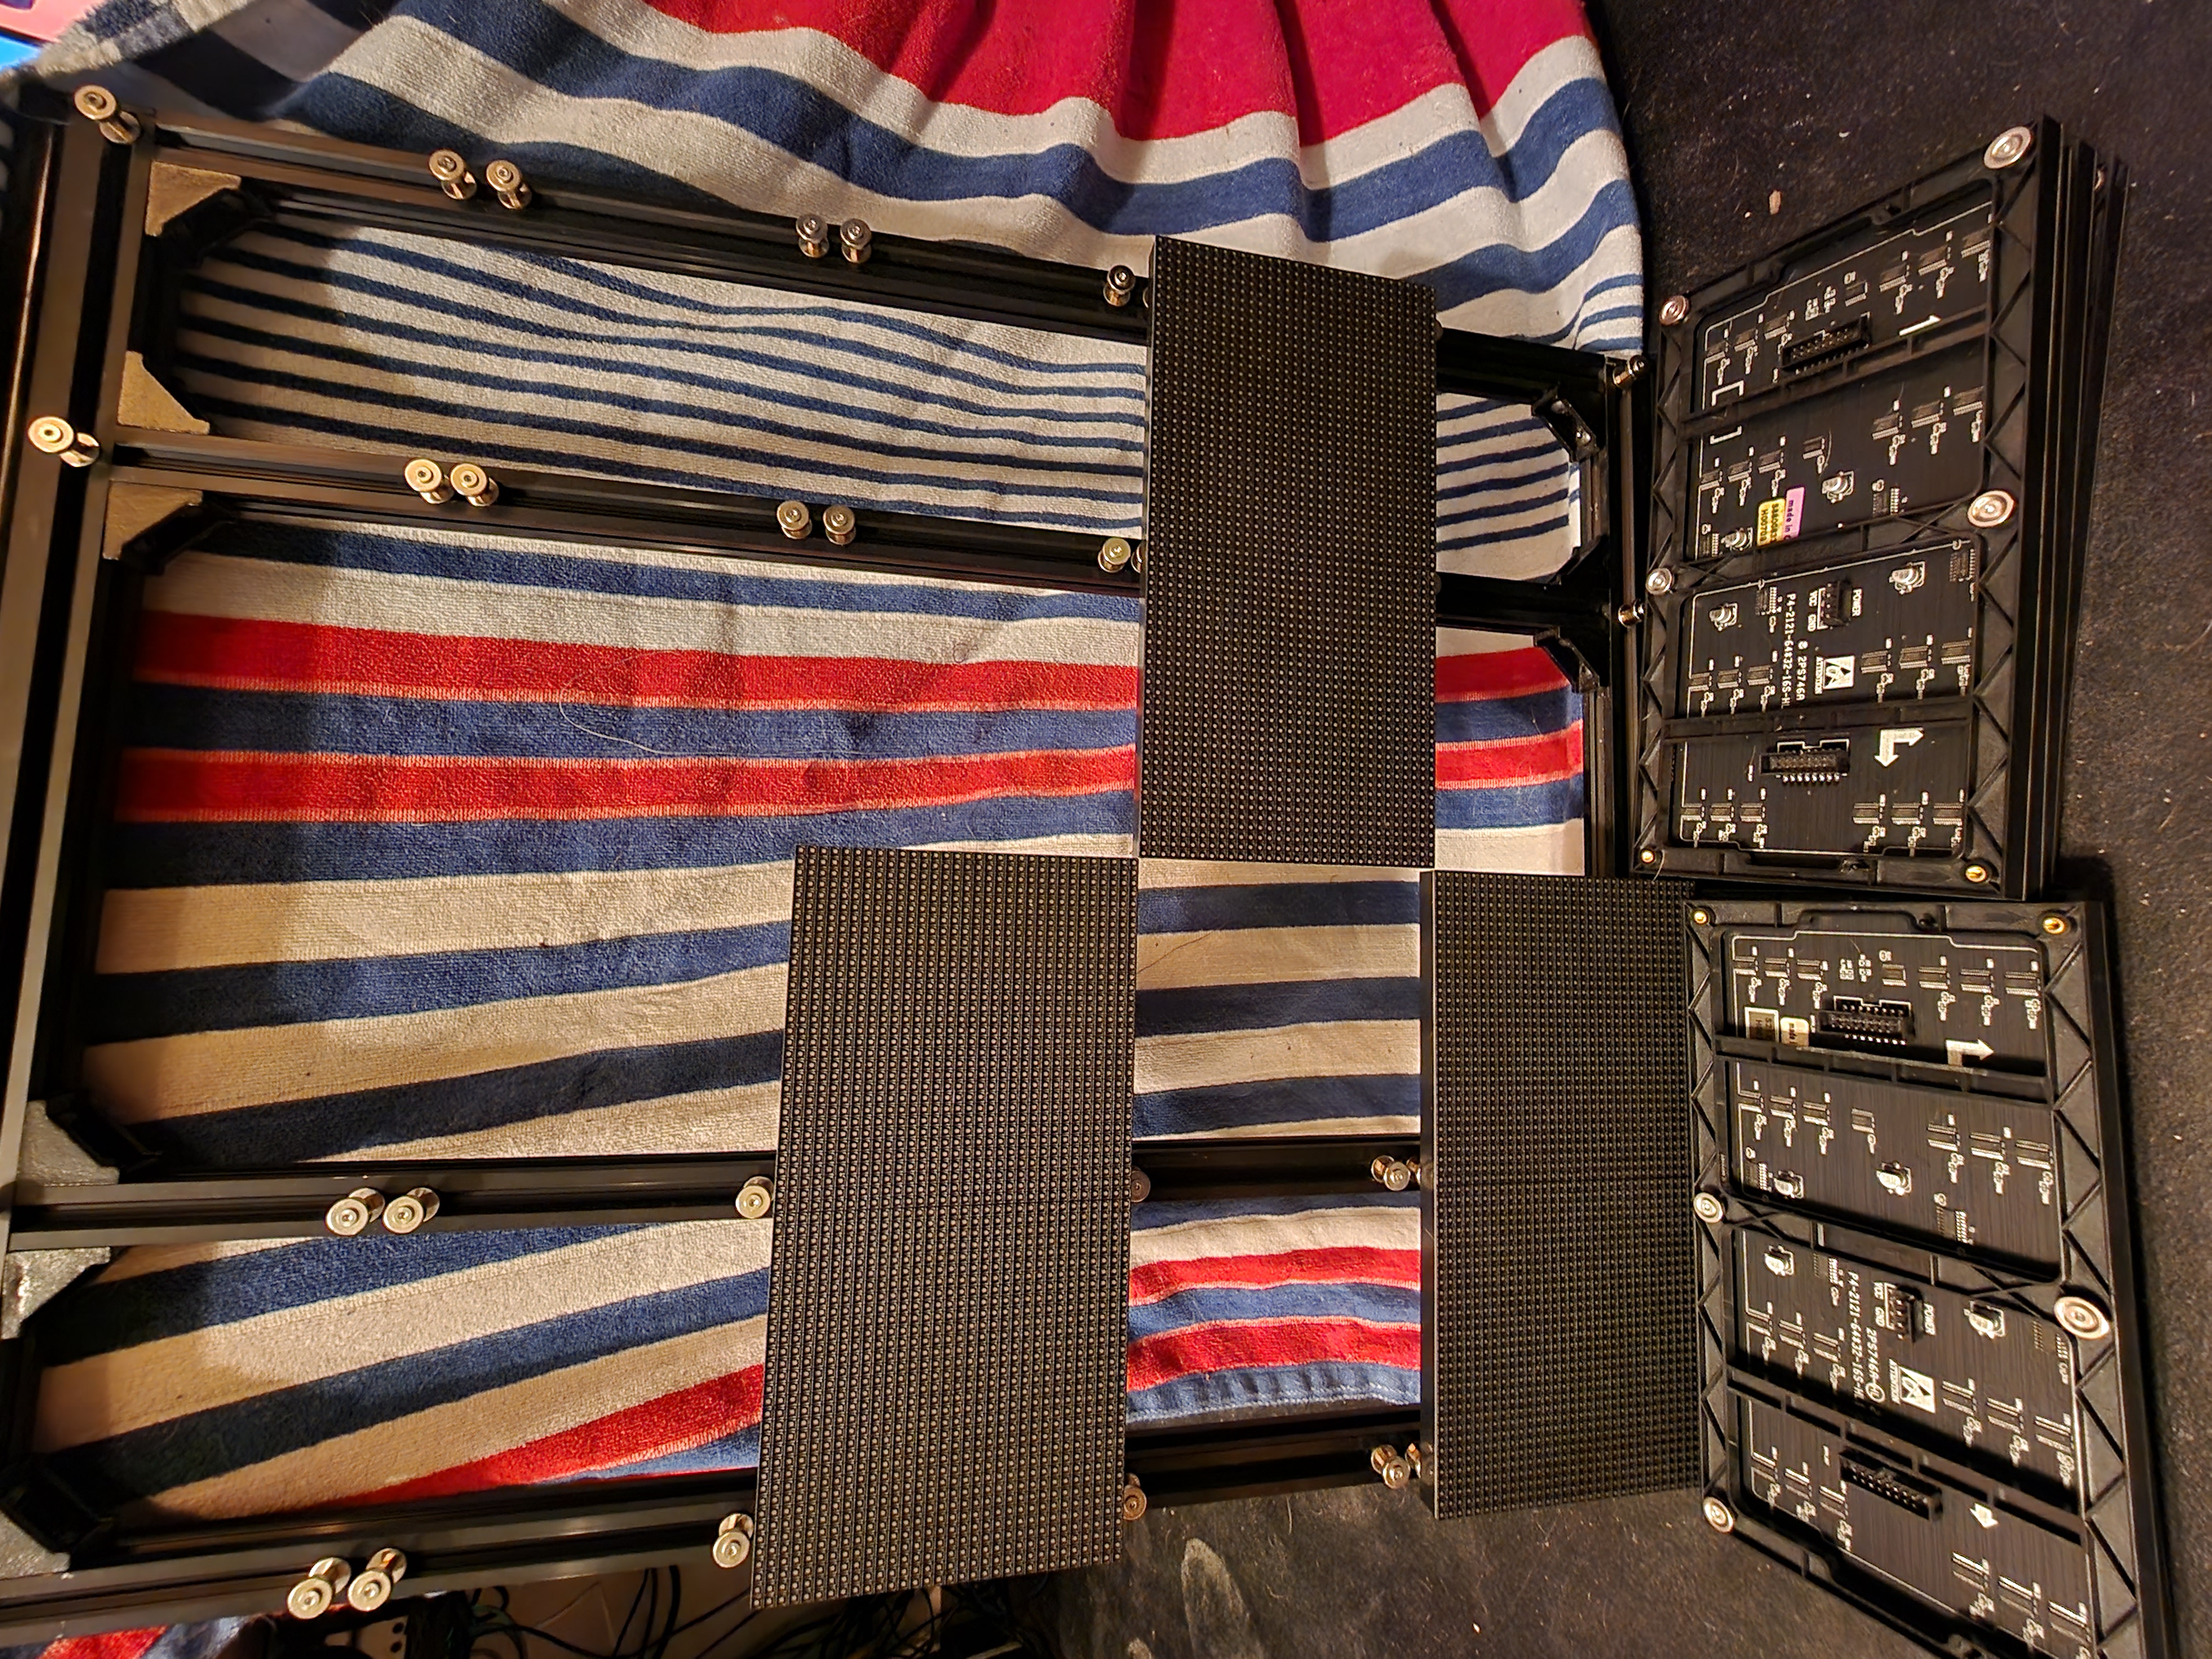
🚦 Display Construction
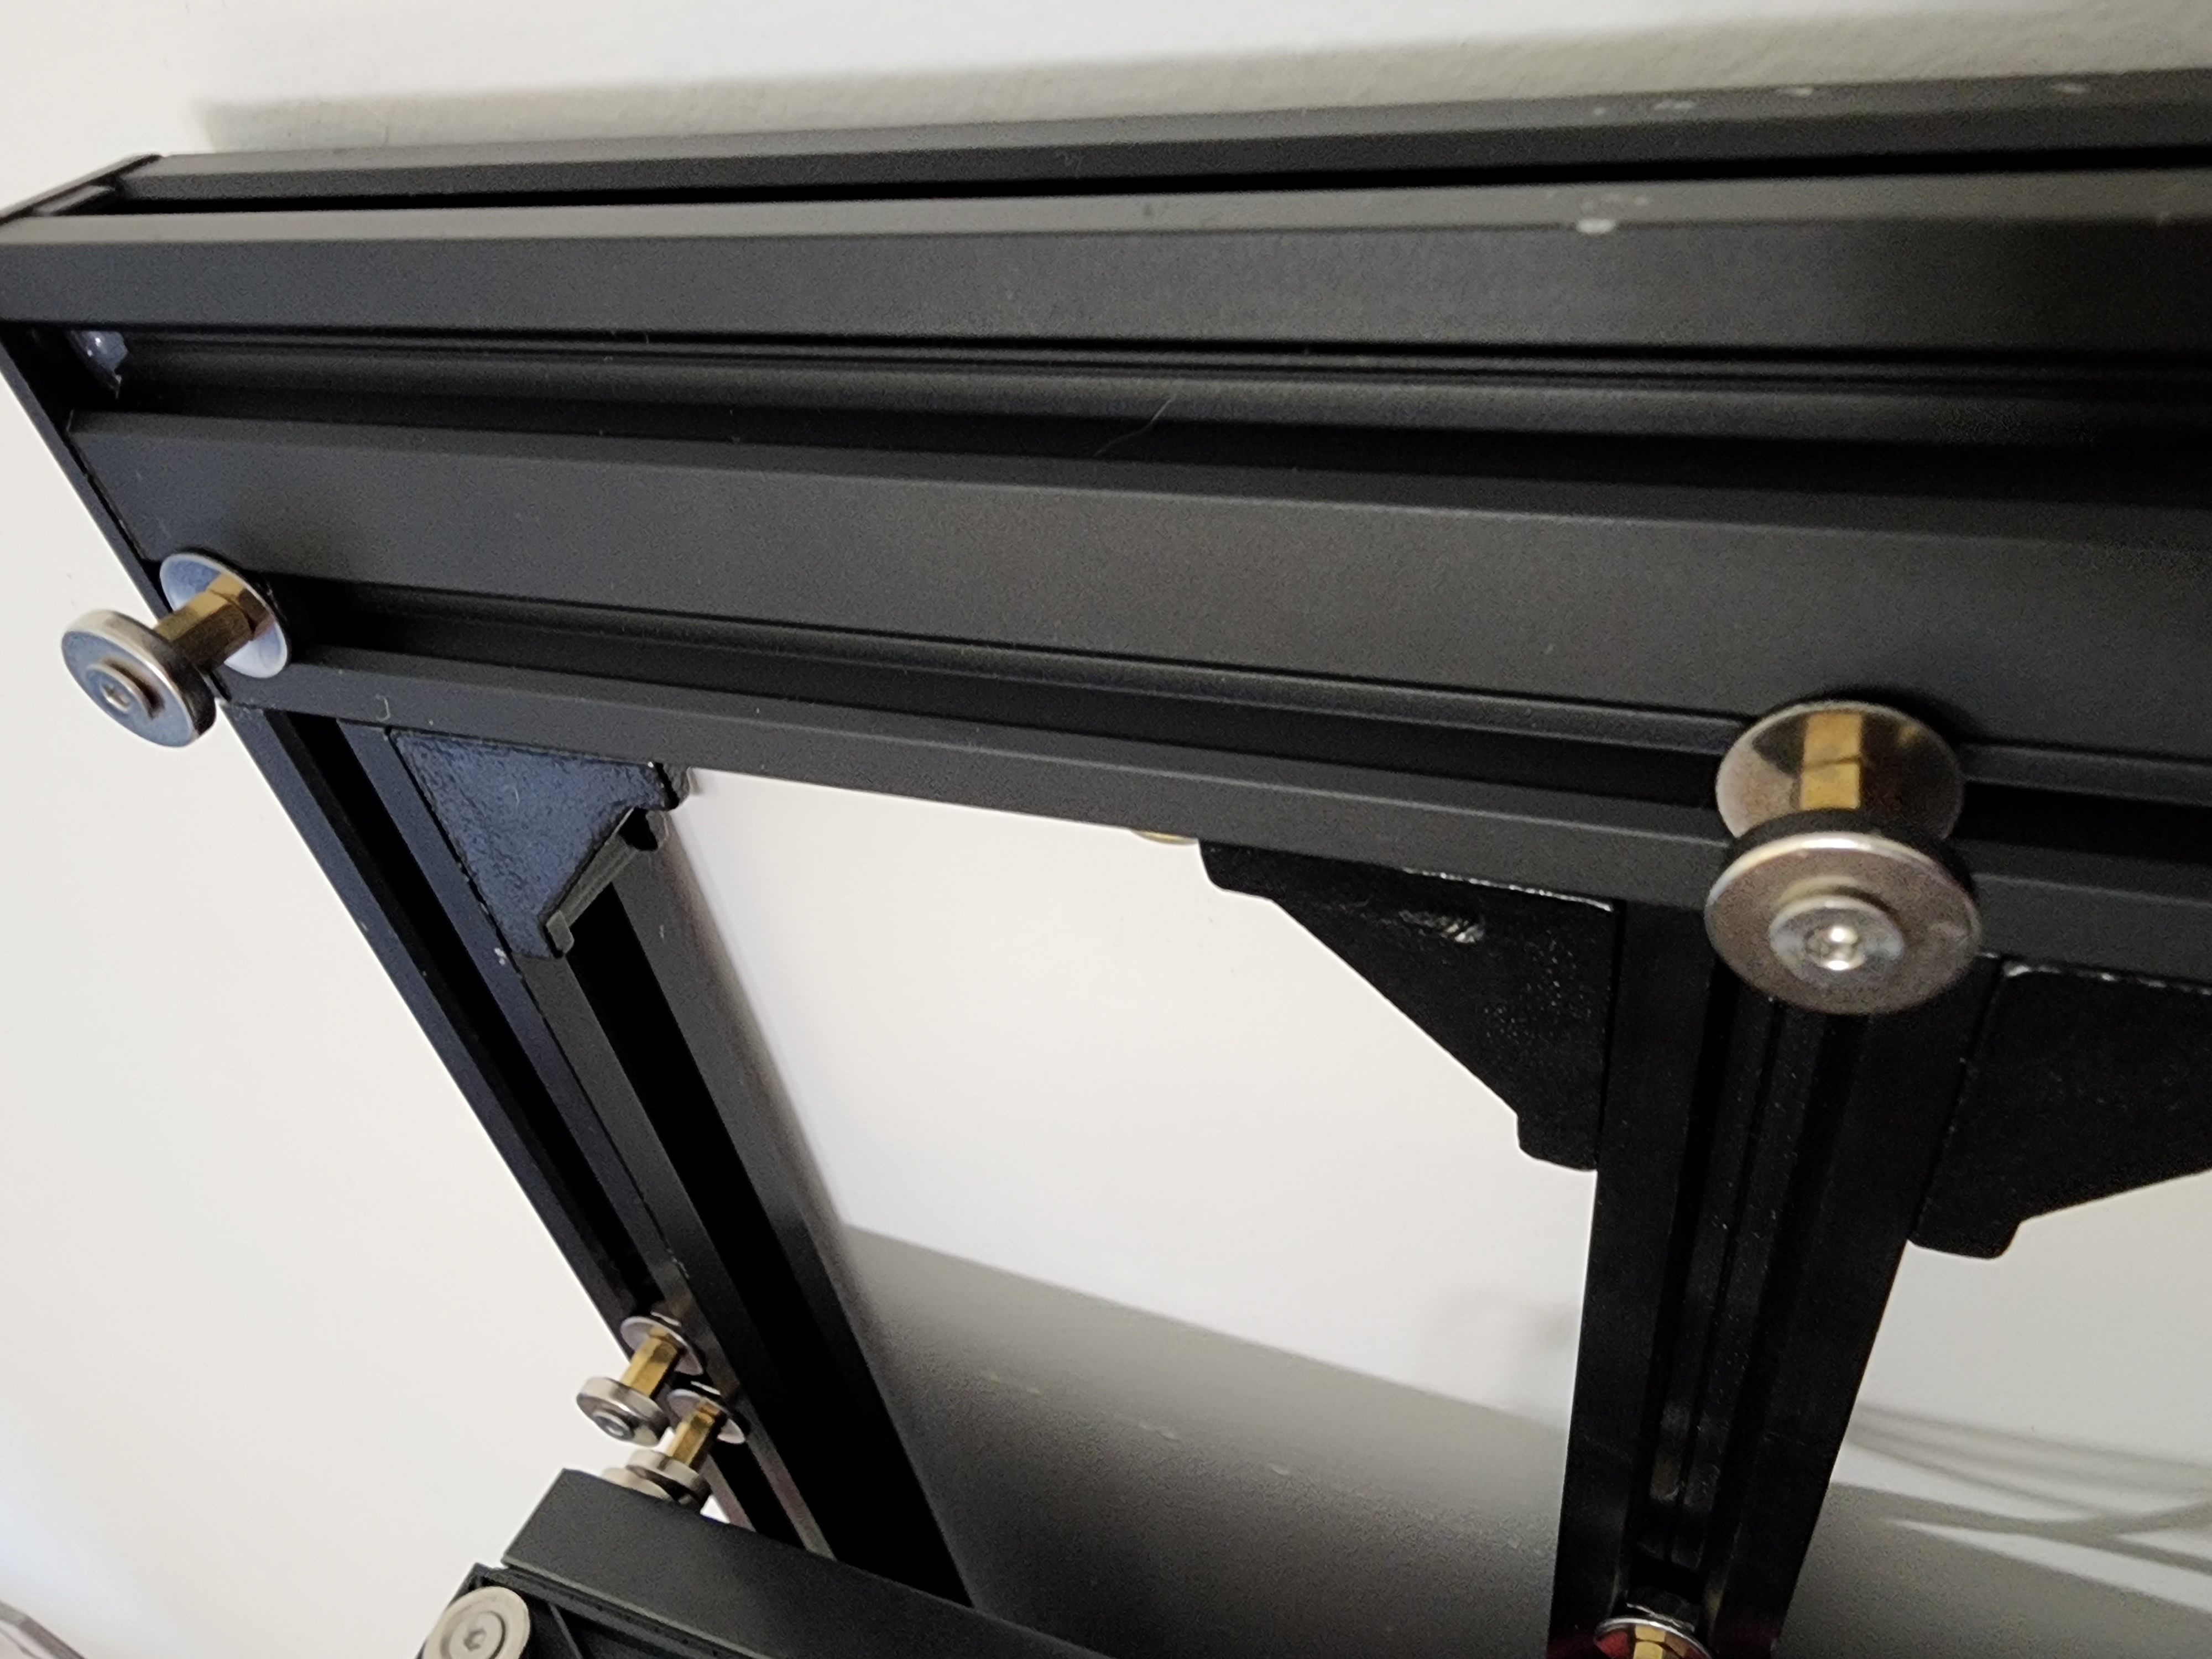
The matrix is made up of 2 layers: the aluminum frame, and the rgb matrix display. Magnets on standoffs are used to provide a hot swap friendly connection
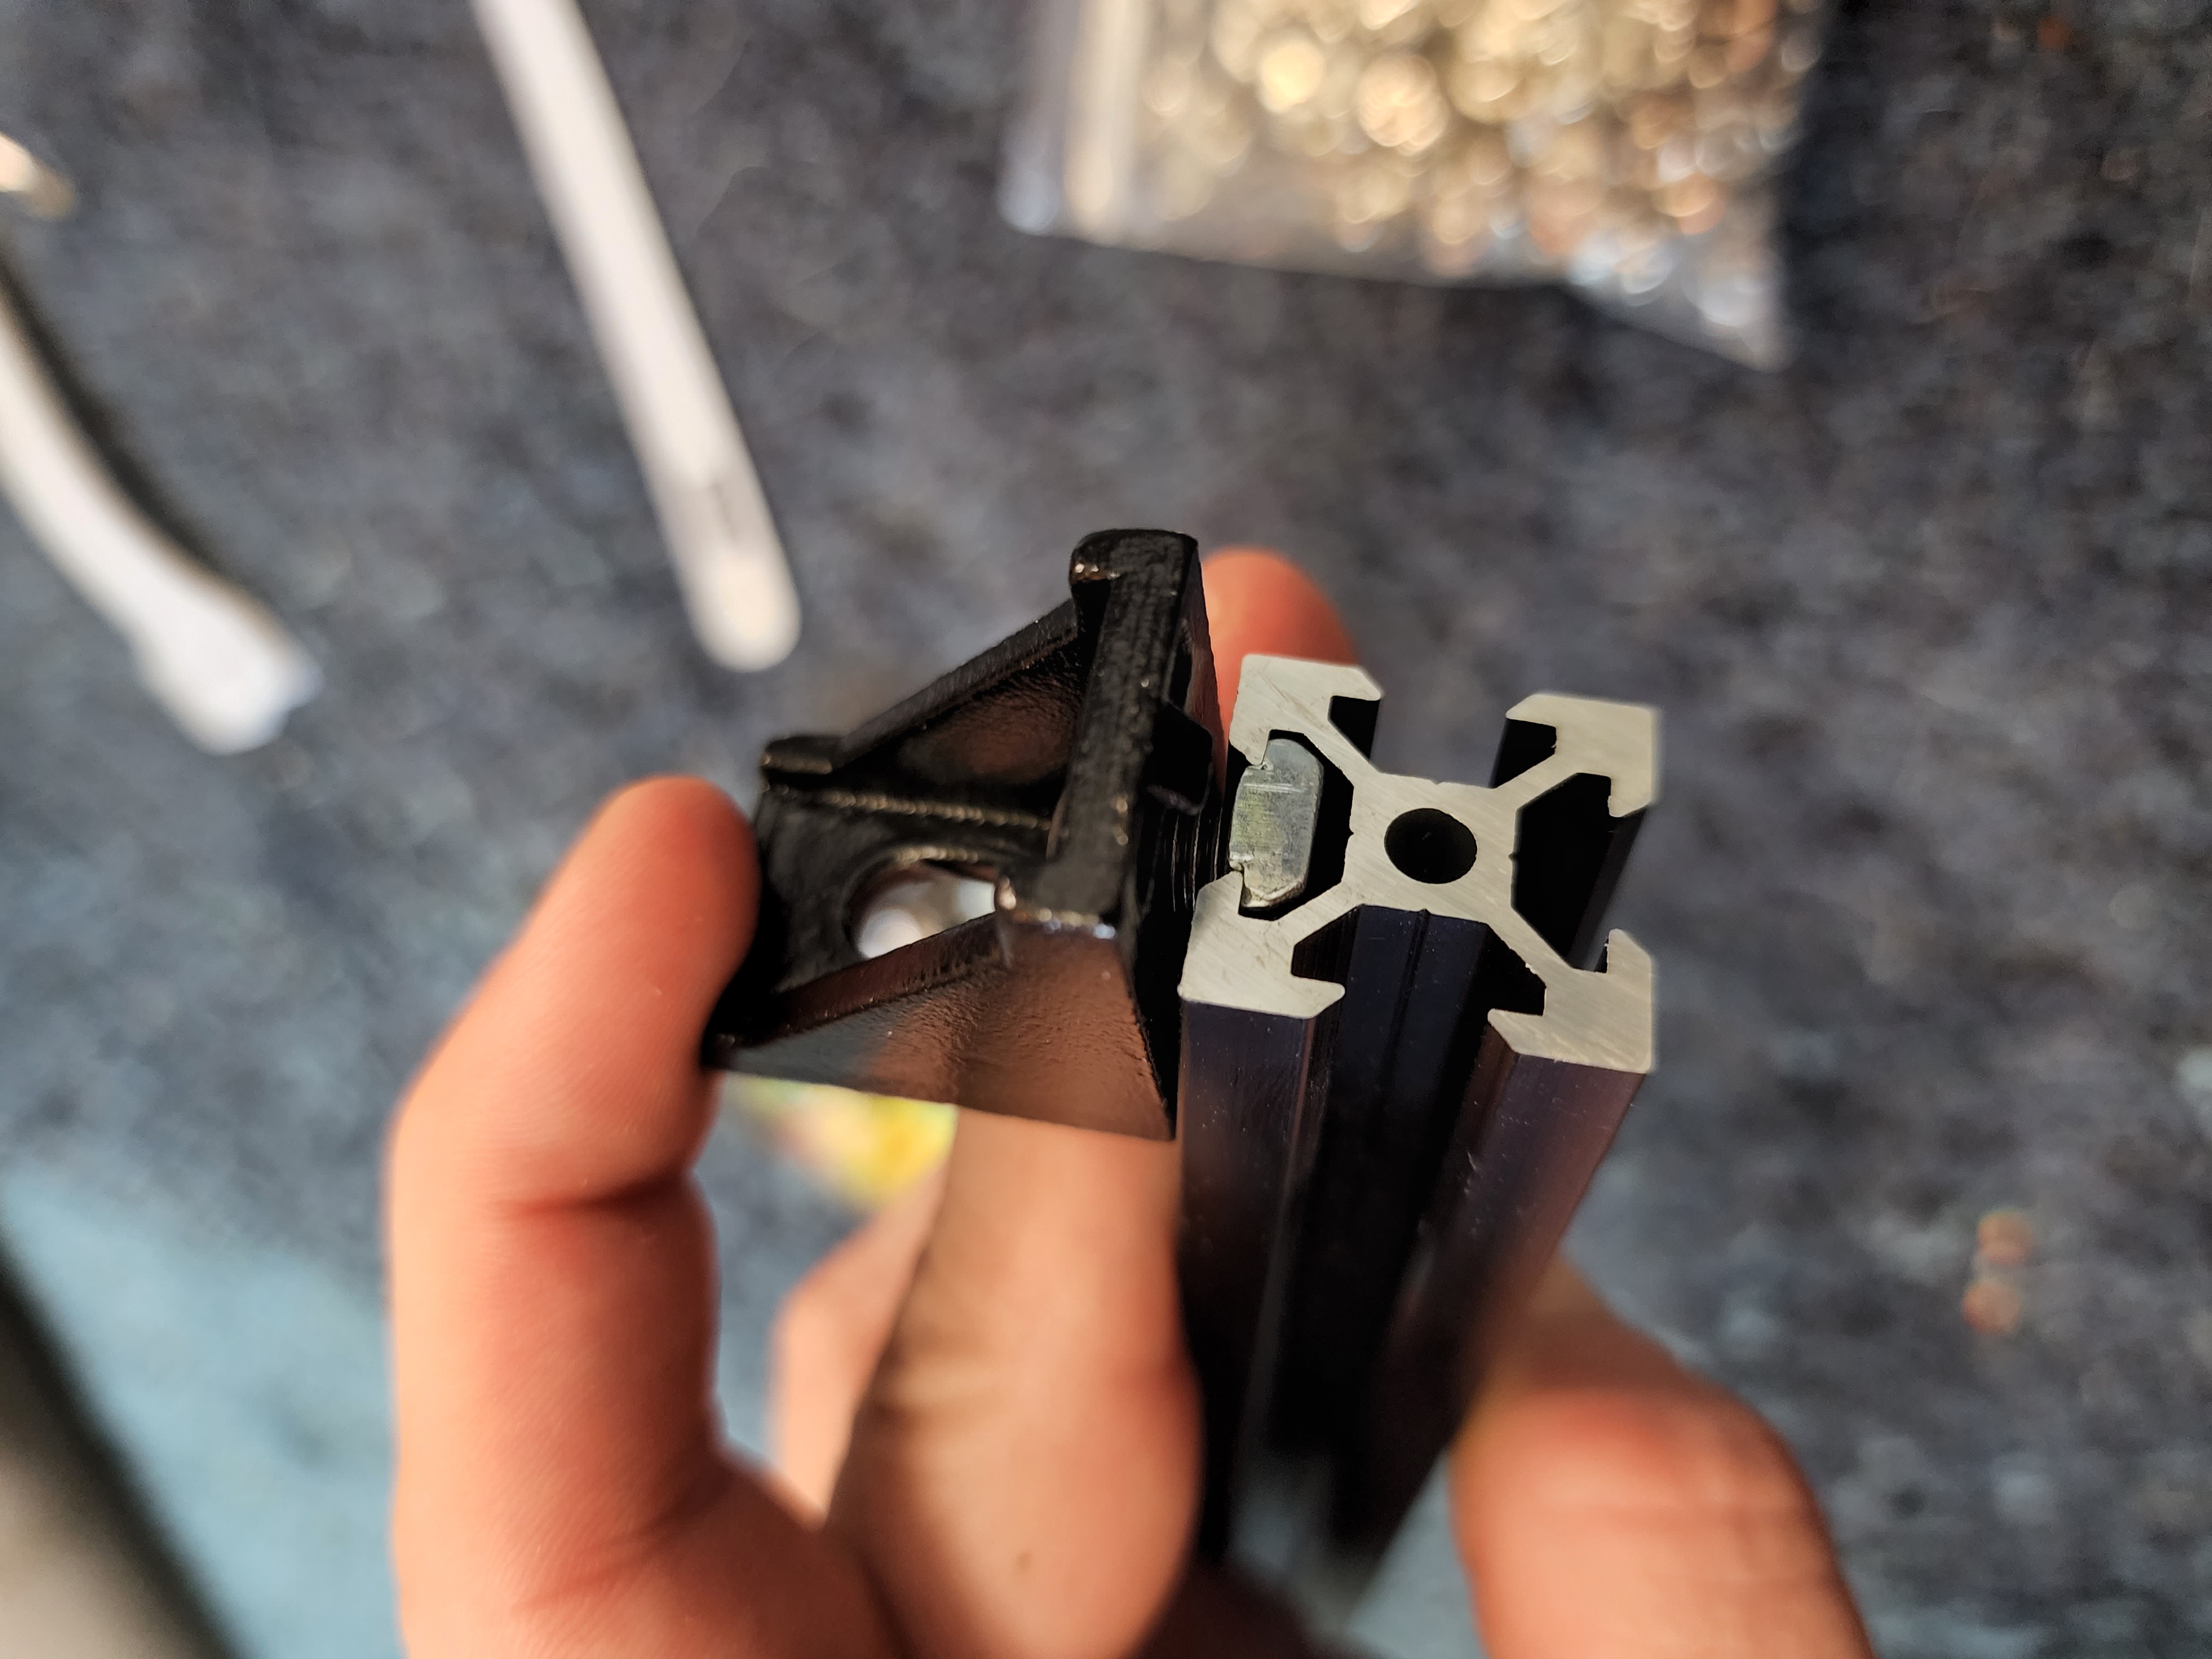
🏗️ Frame
The frame is a fairly straightforward build. The dual channel aluminum isn't technically needed, but I personally enjoy the aesthetics with the slot clovers in the final build
| Corner bracket joins | Dry fitting |
|---|---|
 |  |
Frame parts list
| Name | Purchase Link | Required | Notes | Image |
|---|---|---|---|---|
| Dual extruded aluminum | Amazon | Y | Structural |  |
| Single extruded aluminum | Amazon | Y | Structural | 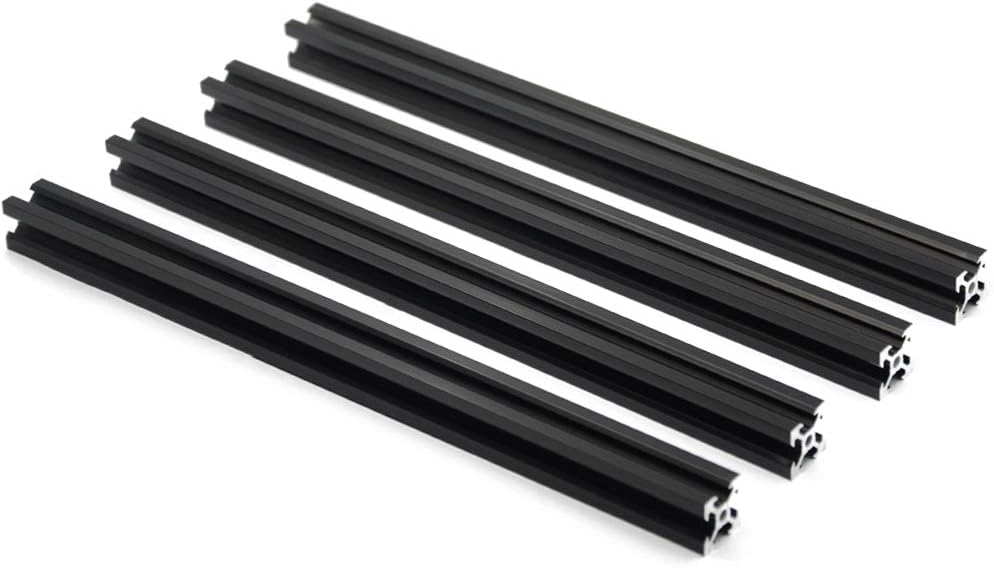 |
| Corner bracket | Amazon | Y | Structural | 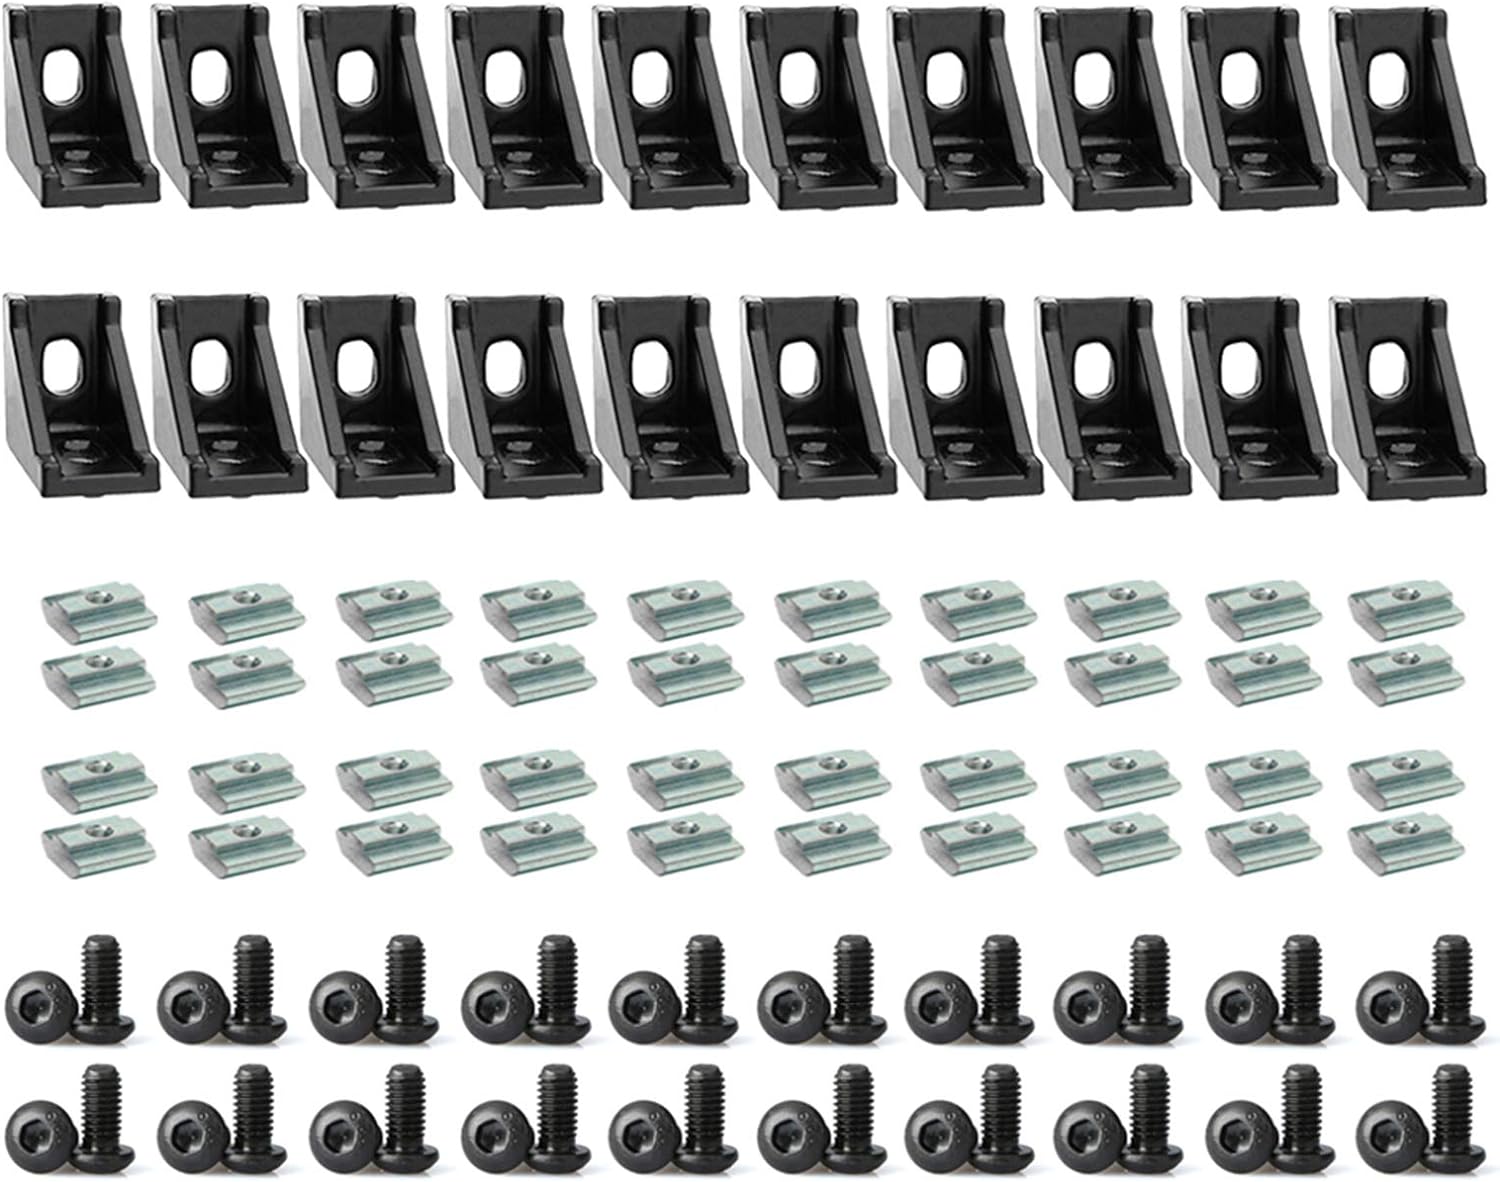 |
| End Cap | Amazon | N | Aesthetics | 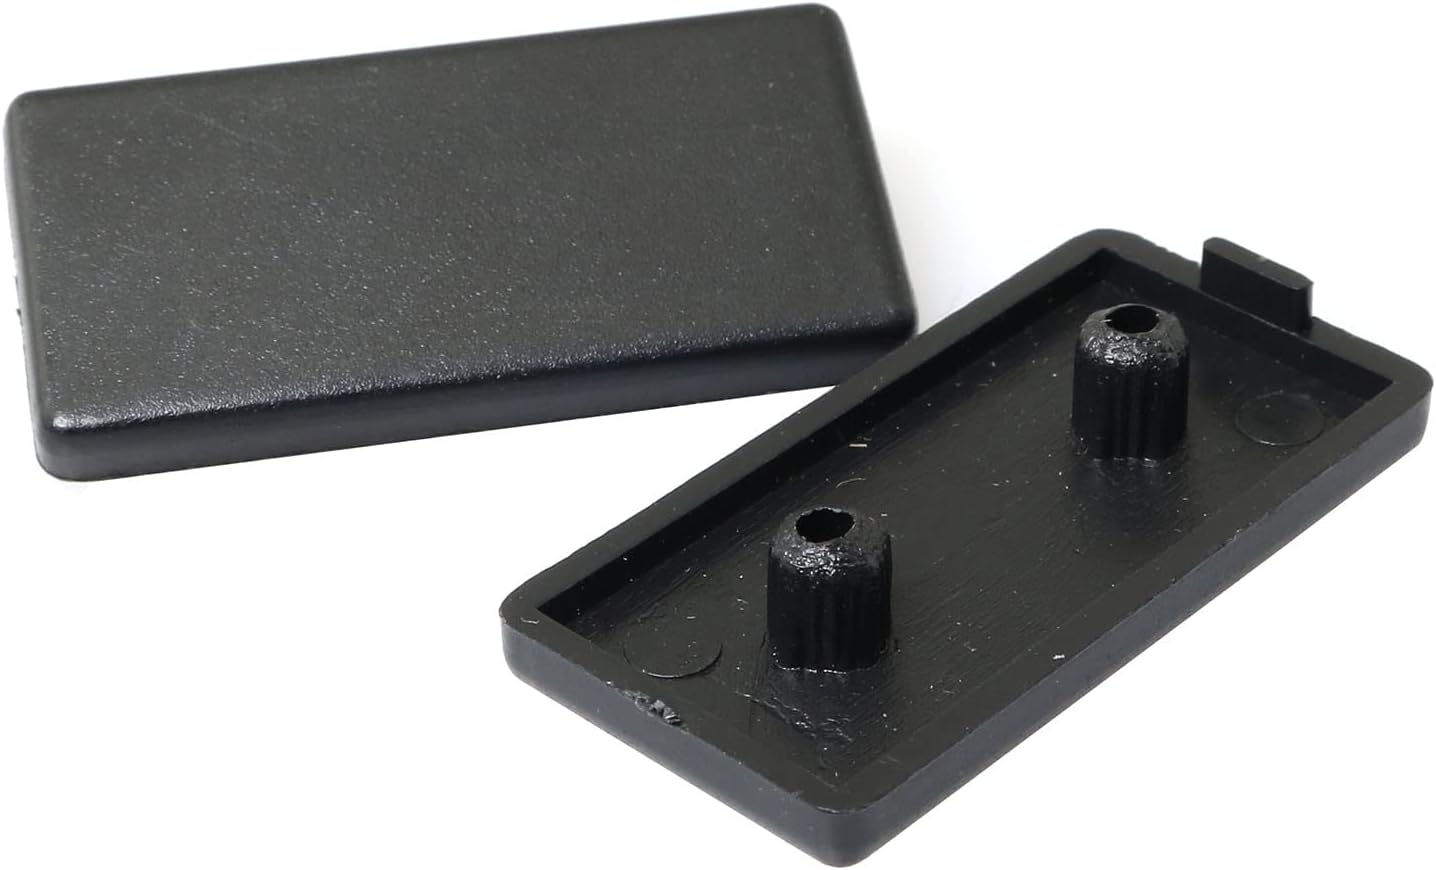 |
| Slot cover | Amazon | N | Aesthetics | 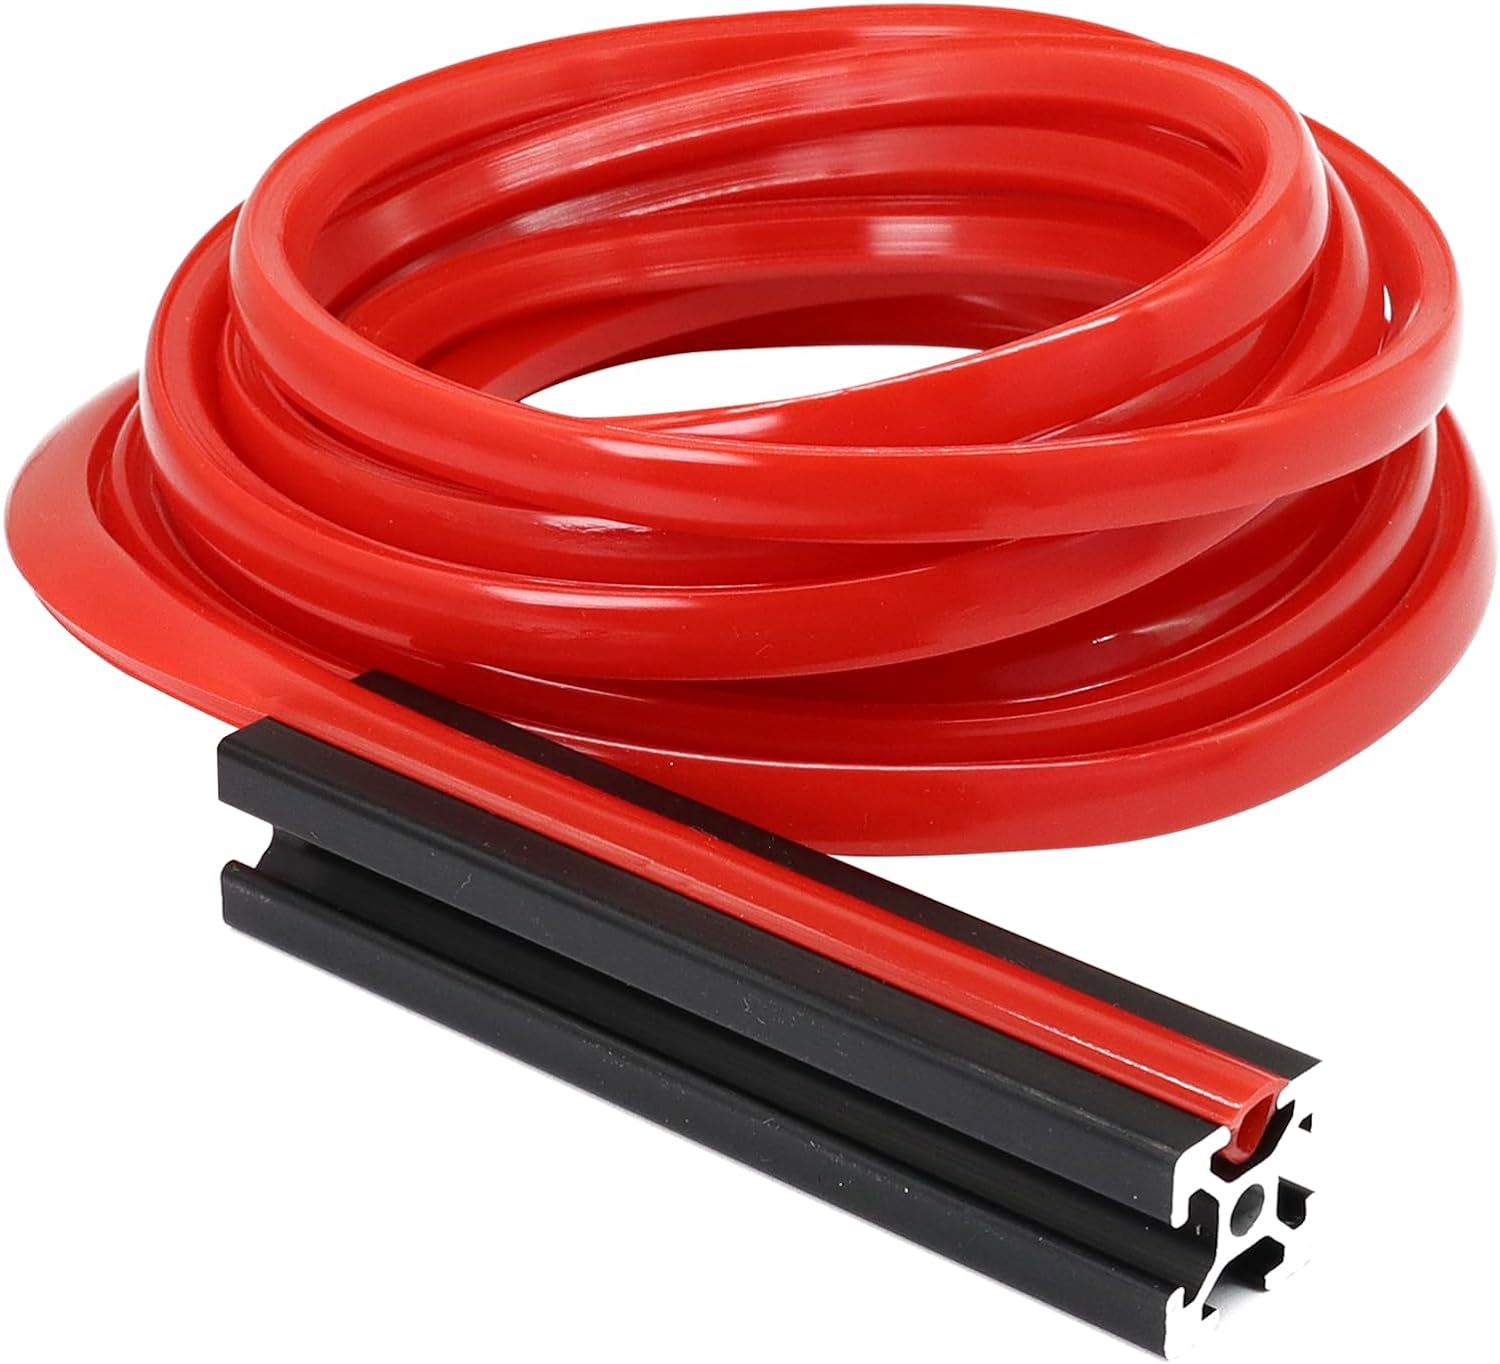 |
It's dimensions are going to be determined by the positions of the mounts on your panels. It's recommended to get at least 4 points of contact on each panel for proper stability. It's not required to get all points, and may make final assembly more difficult.
This part is a time consuming process, tweaking the individual pieces into position and locking them down. Cutting to final dimensions should be saved for the very end of this. Once dimensions are determined, mark everything with a silver sharpie and cut to size. 🪚
🧲 Magnetic mounts
The panels are intended to be hot swappable, and use a mounting system intended for tool free maintenance. No fussing with screwdrivers and small parts on a ladder! 🪜
Warning: Keep an eye on the polarity & orientation of the magnets!
Not all magnets are polarized the same in cheap magnet sets. It is easy to get combinations where a single pair repel each other 😡
Washer will bend if over tightened: Just enough to be secure is perfect
| Magnet interface | Frame side mount |
|---|---|
 |  |
Parts list
| Name | Purchase Link | Required | Notes | Image |
|---|---|---|---|---|
| Countersunk Magnets | Amazon | Y | The countersink is nice for getting a flush mount | 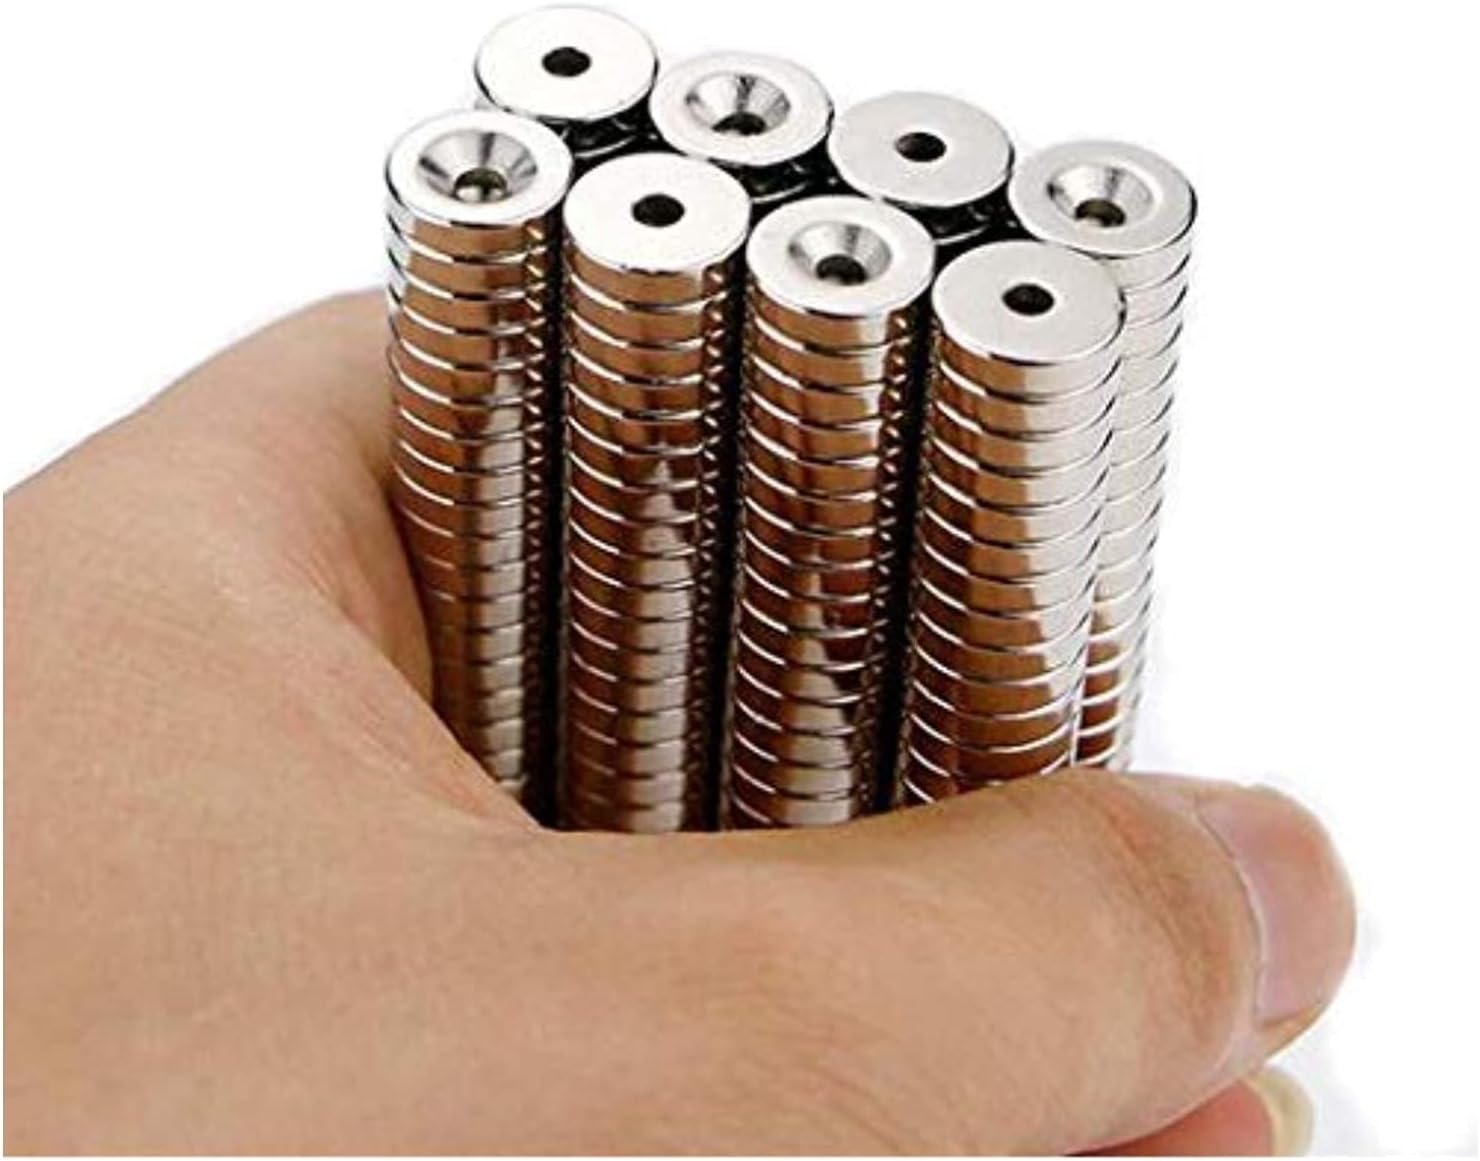 |
| M3 screw | Amazon | Y | Attaching magnets to standoffs and panels | 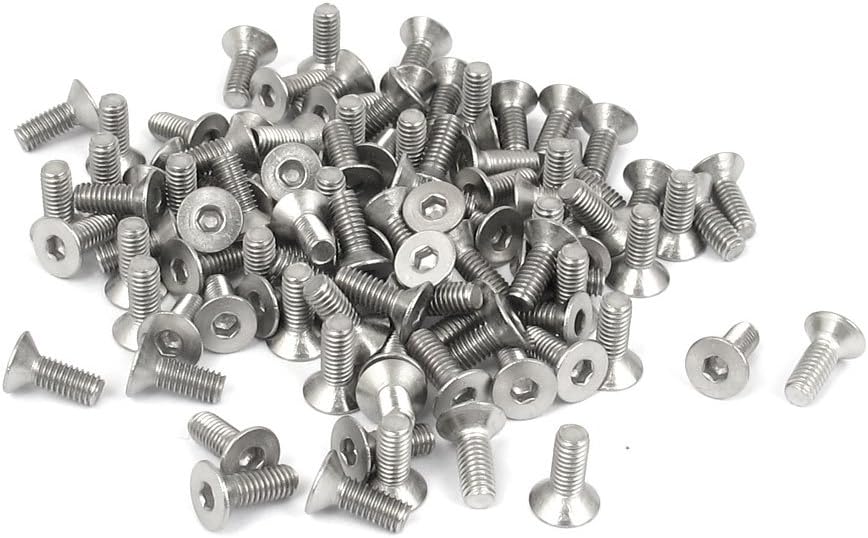 |
| M3 washers | Amazon | Y | For clamping to frame | 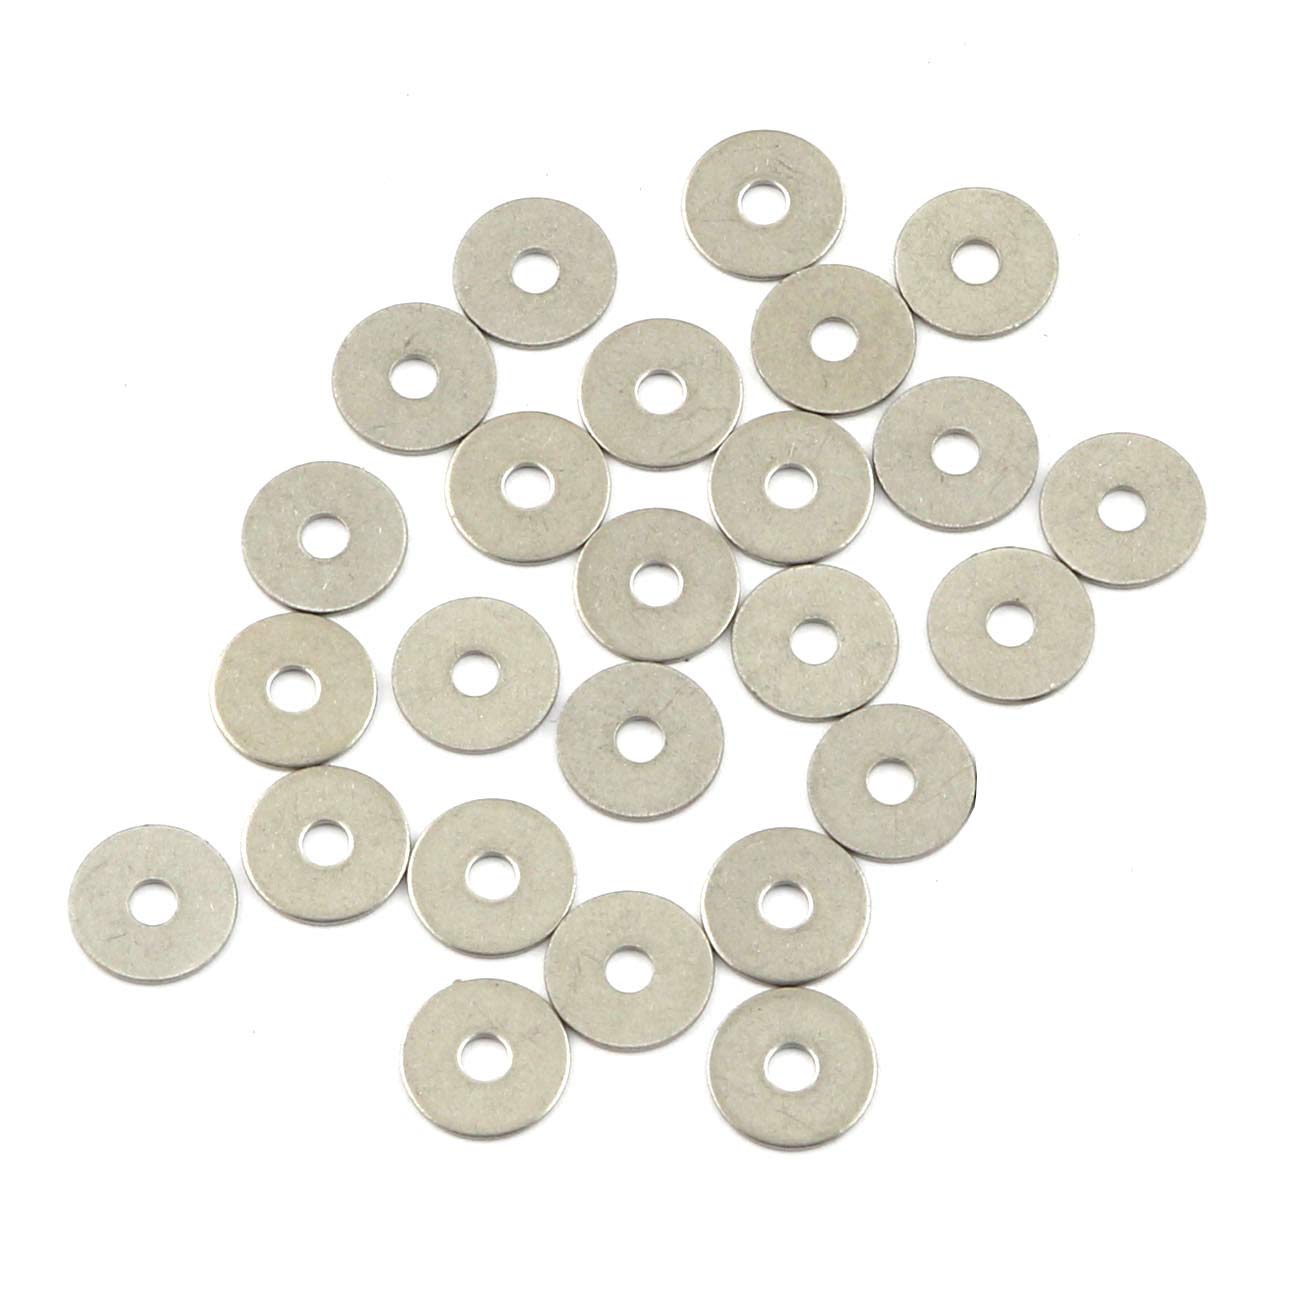 |
| M3 T-nut | Amazon | Y | Add to extruded aluminum to create sliding mounts | 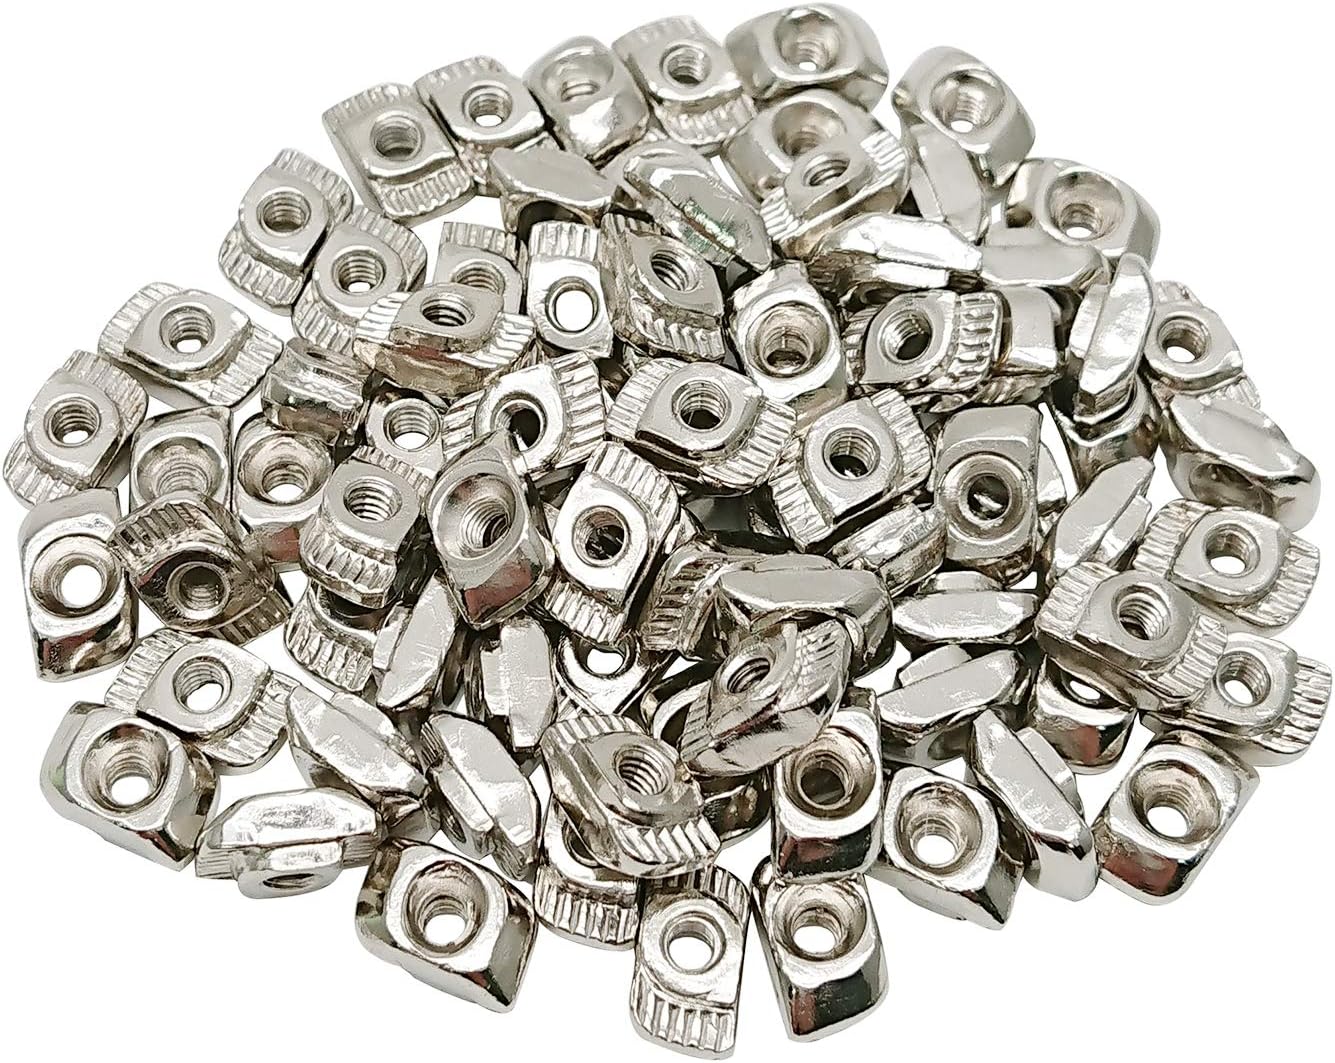 |
| M3 standoff | Amazon | Y | Attach to t-nuts to create mount points | 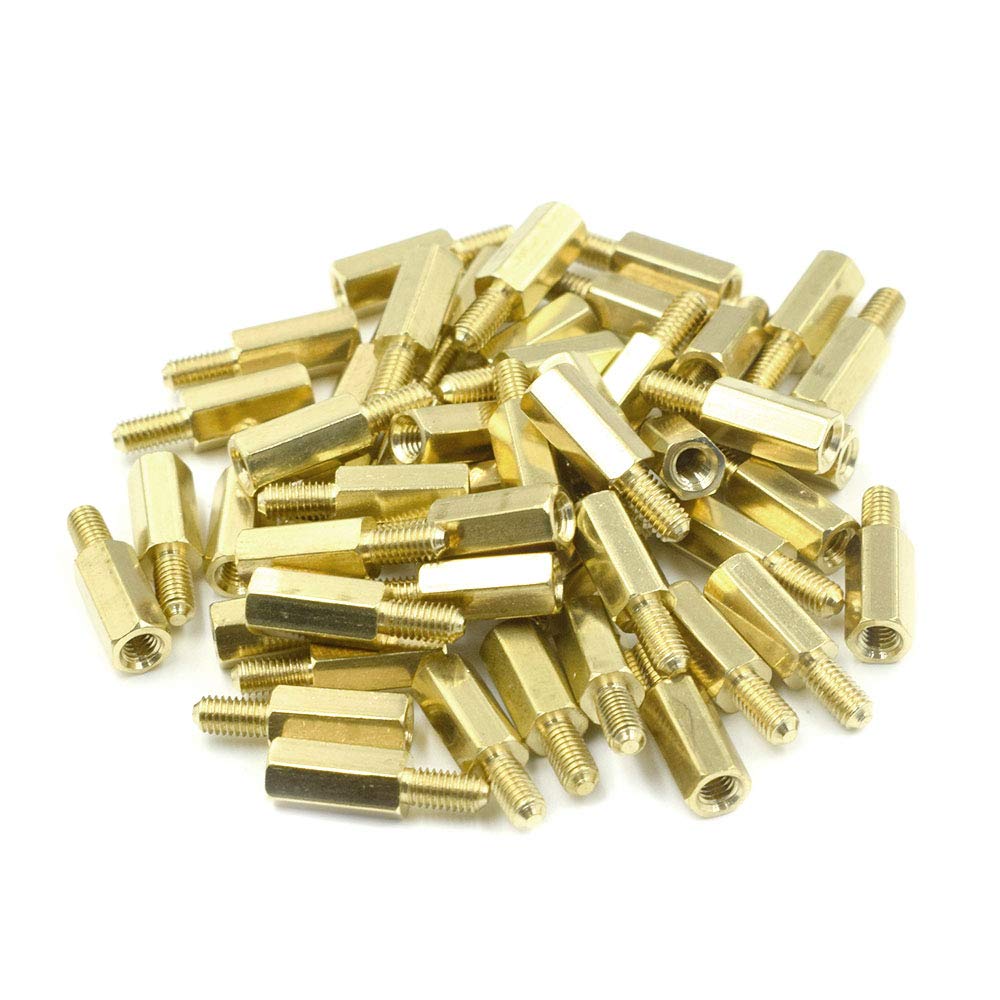 |
🧷 Attached controller mod
The controller can also be attached to the frame via a similar magnetic mount to the panels
| Name | Purchase Link | Notes | Image |
|---|---|---|---|
| Heat sink | Amazon | Removed fan, passive cooling is enough for use case | 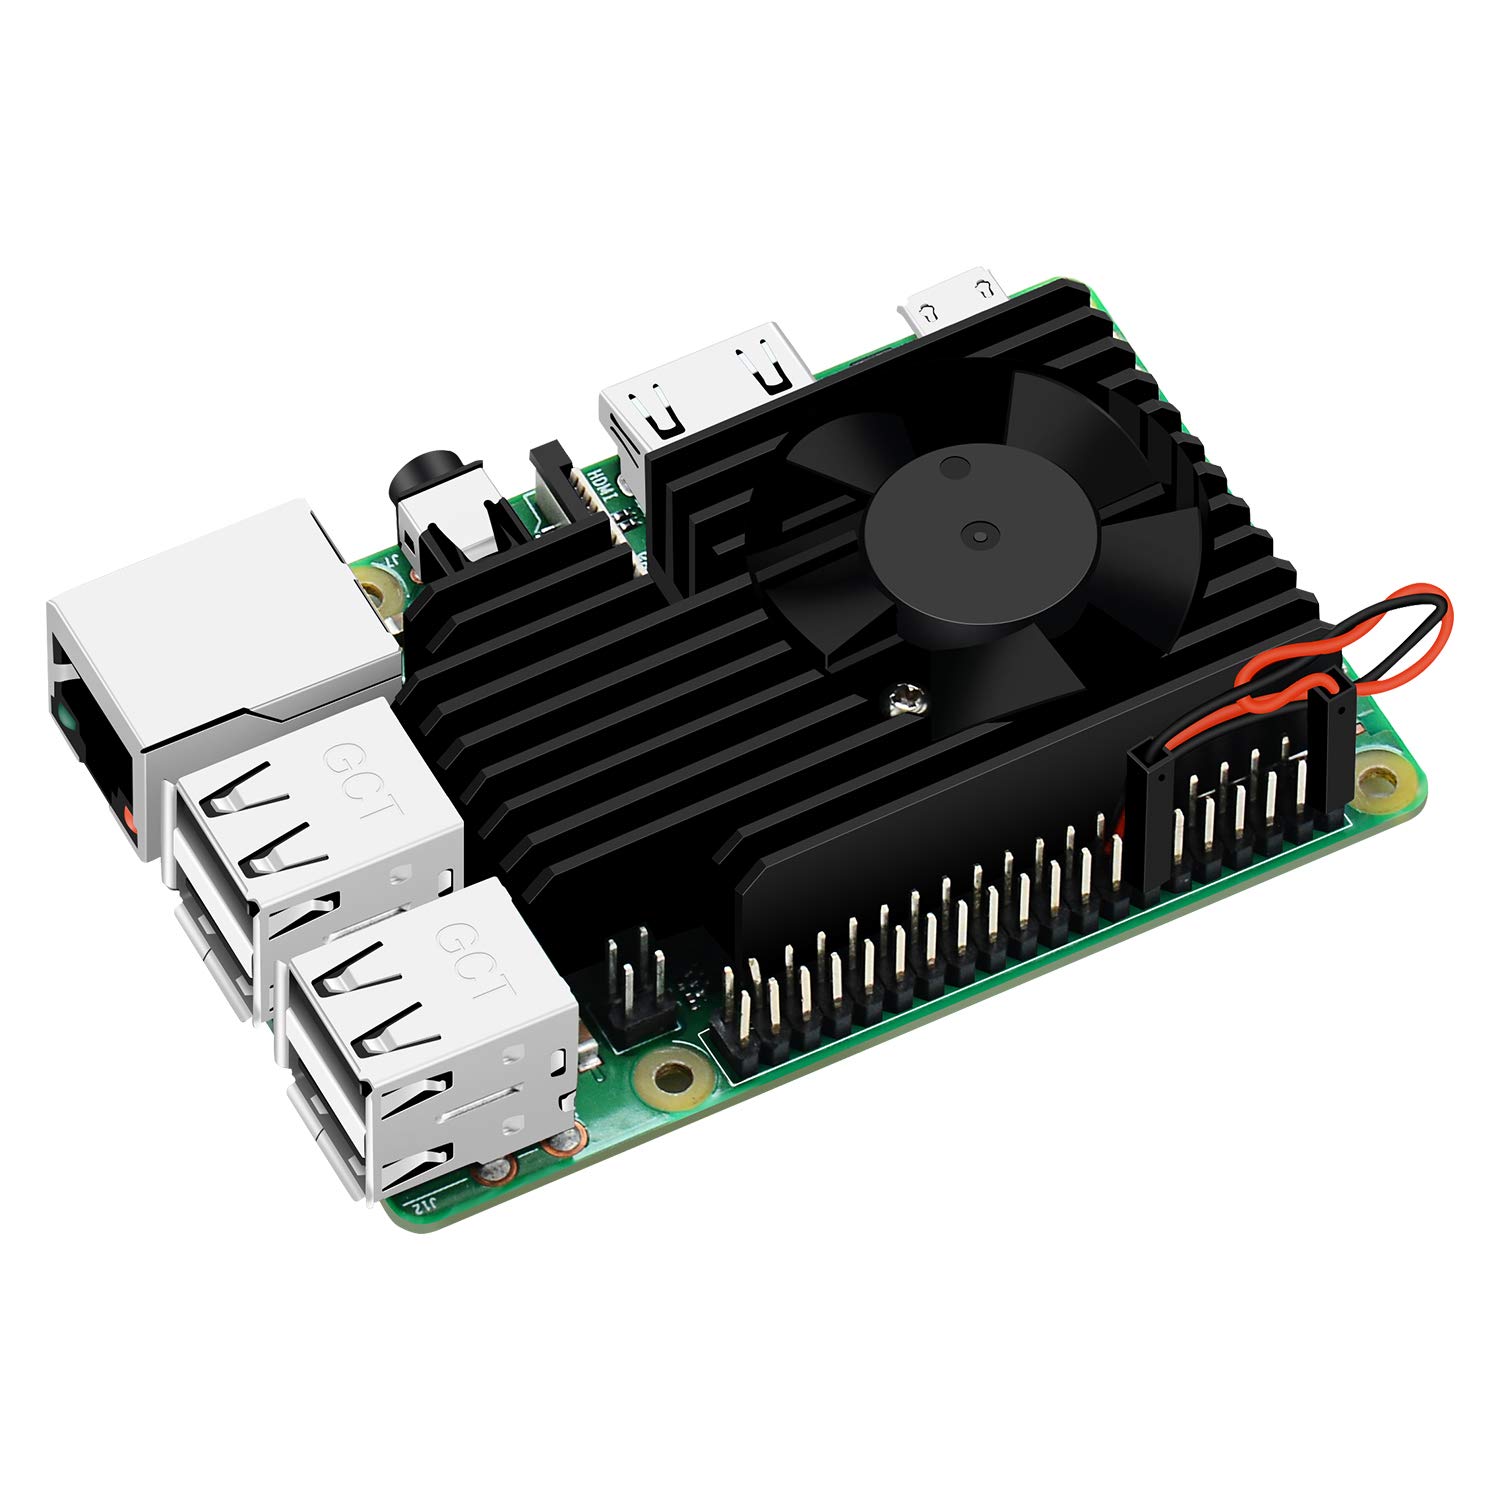 |
| Power Cord | Amazon | For a clean look |  |
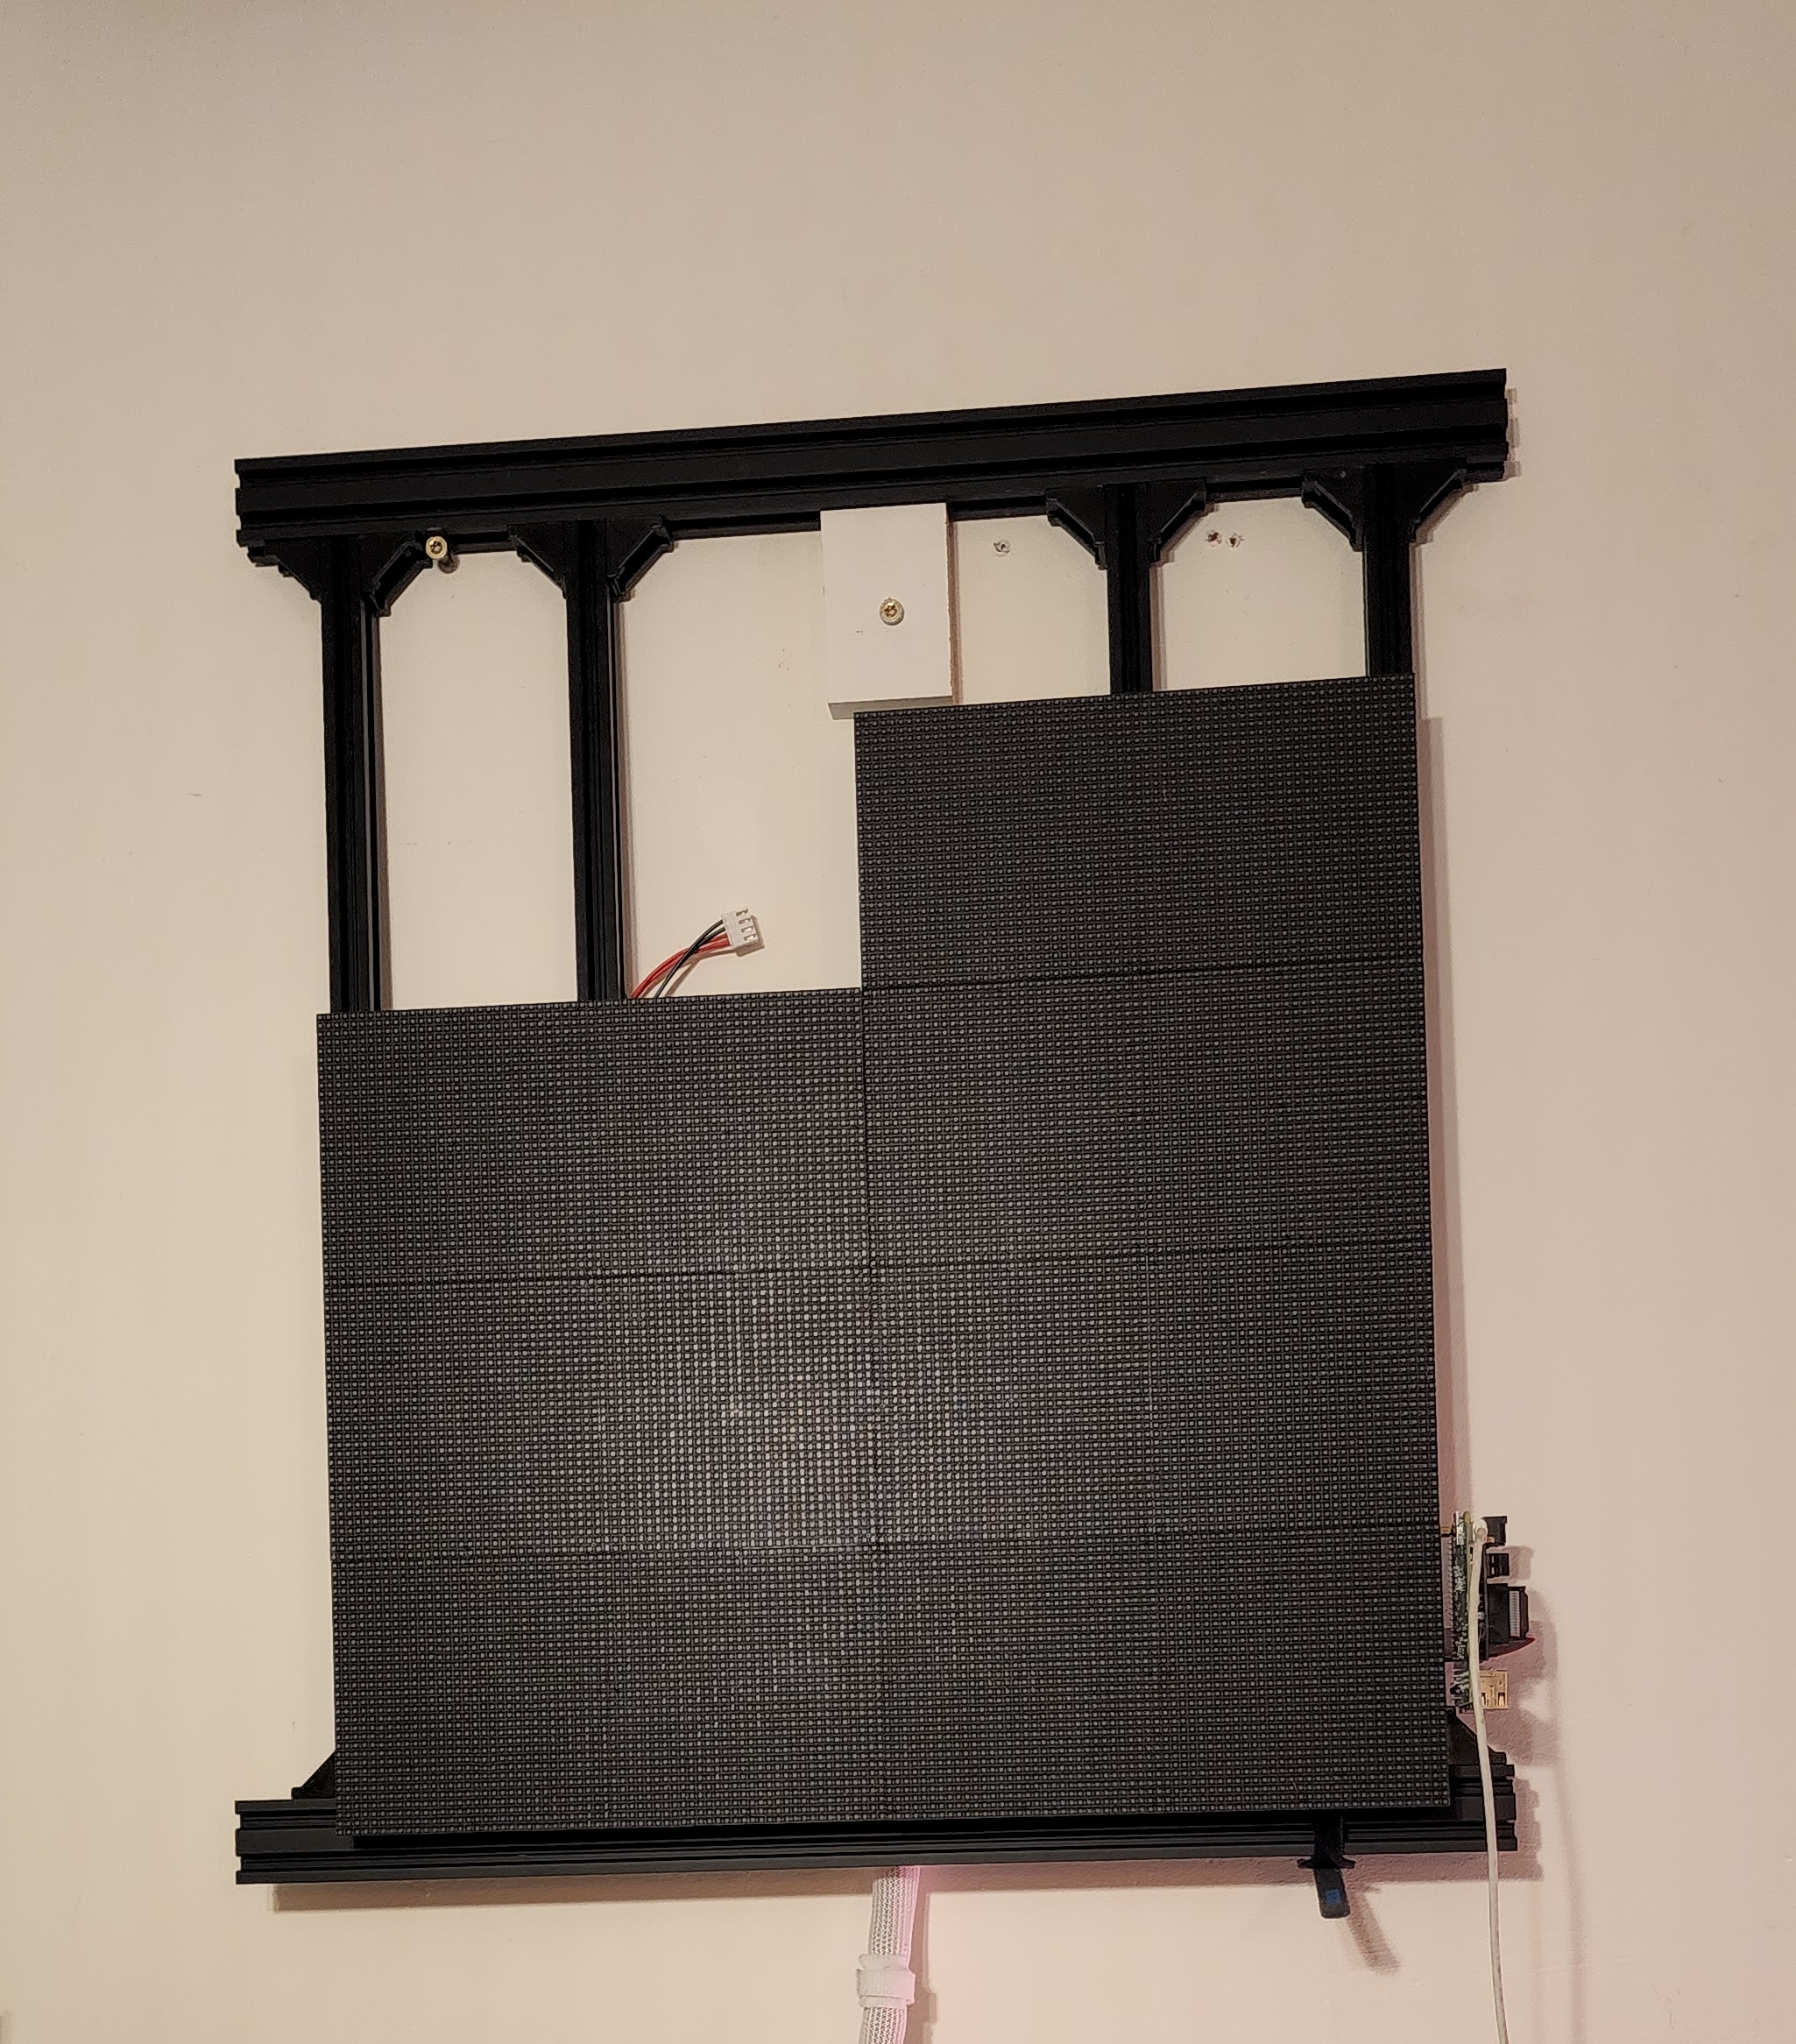
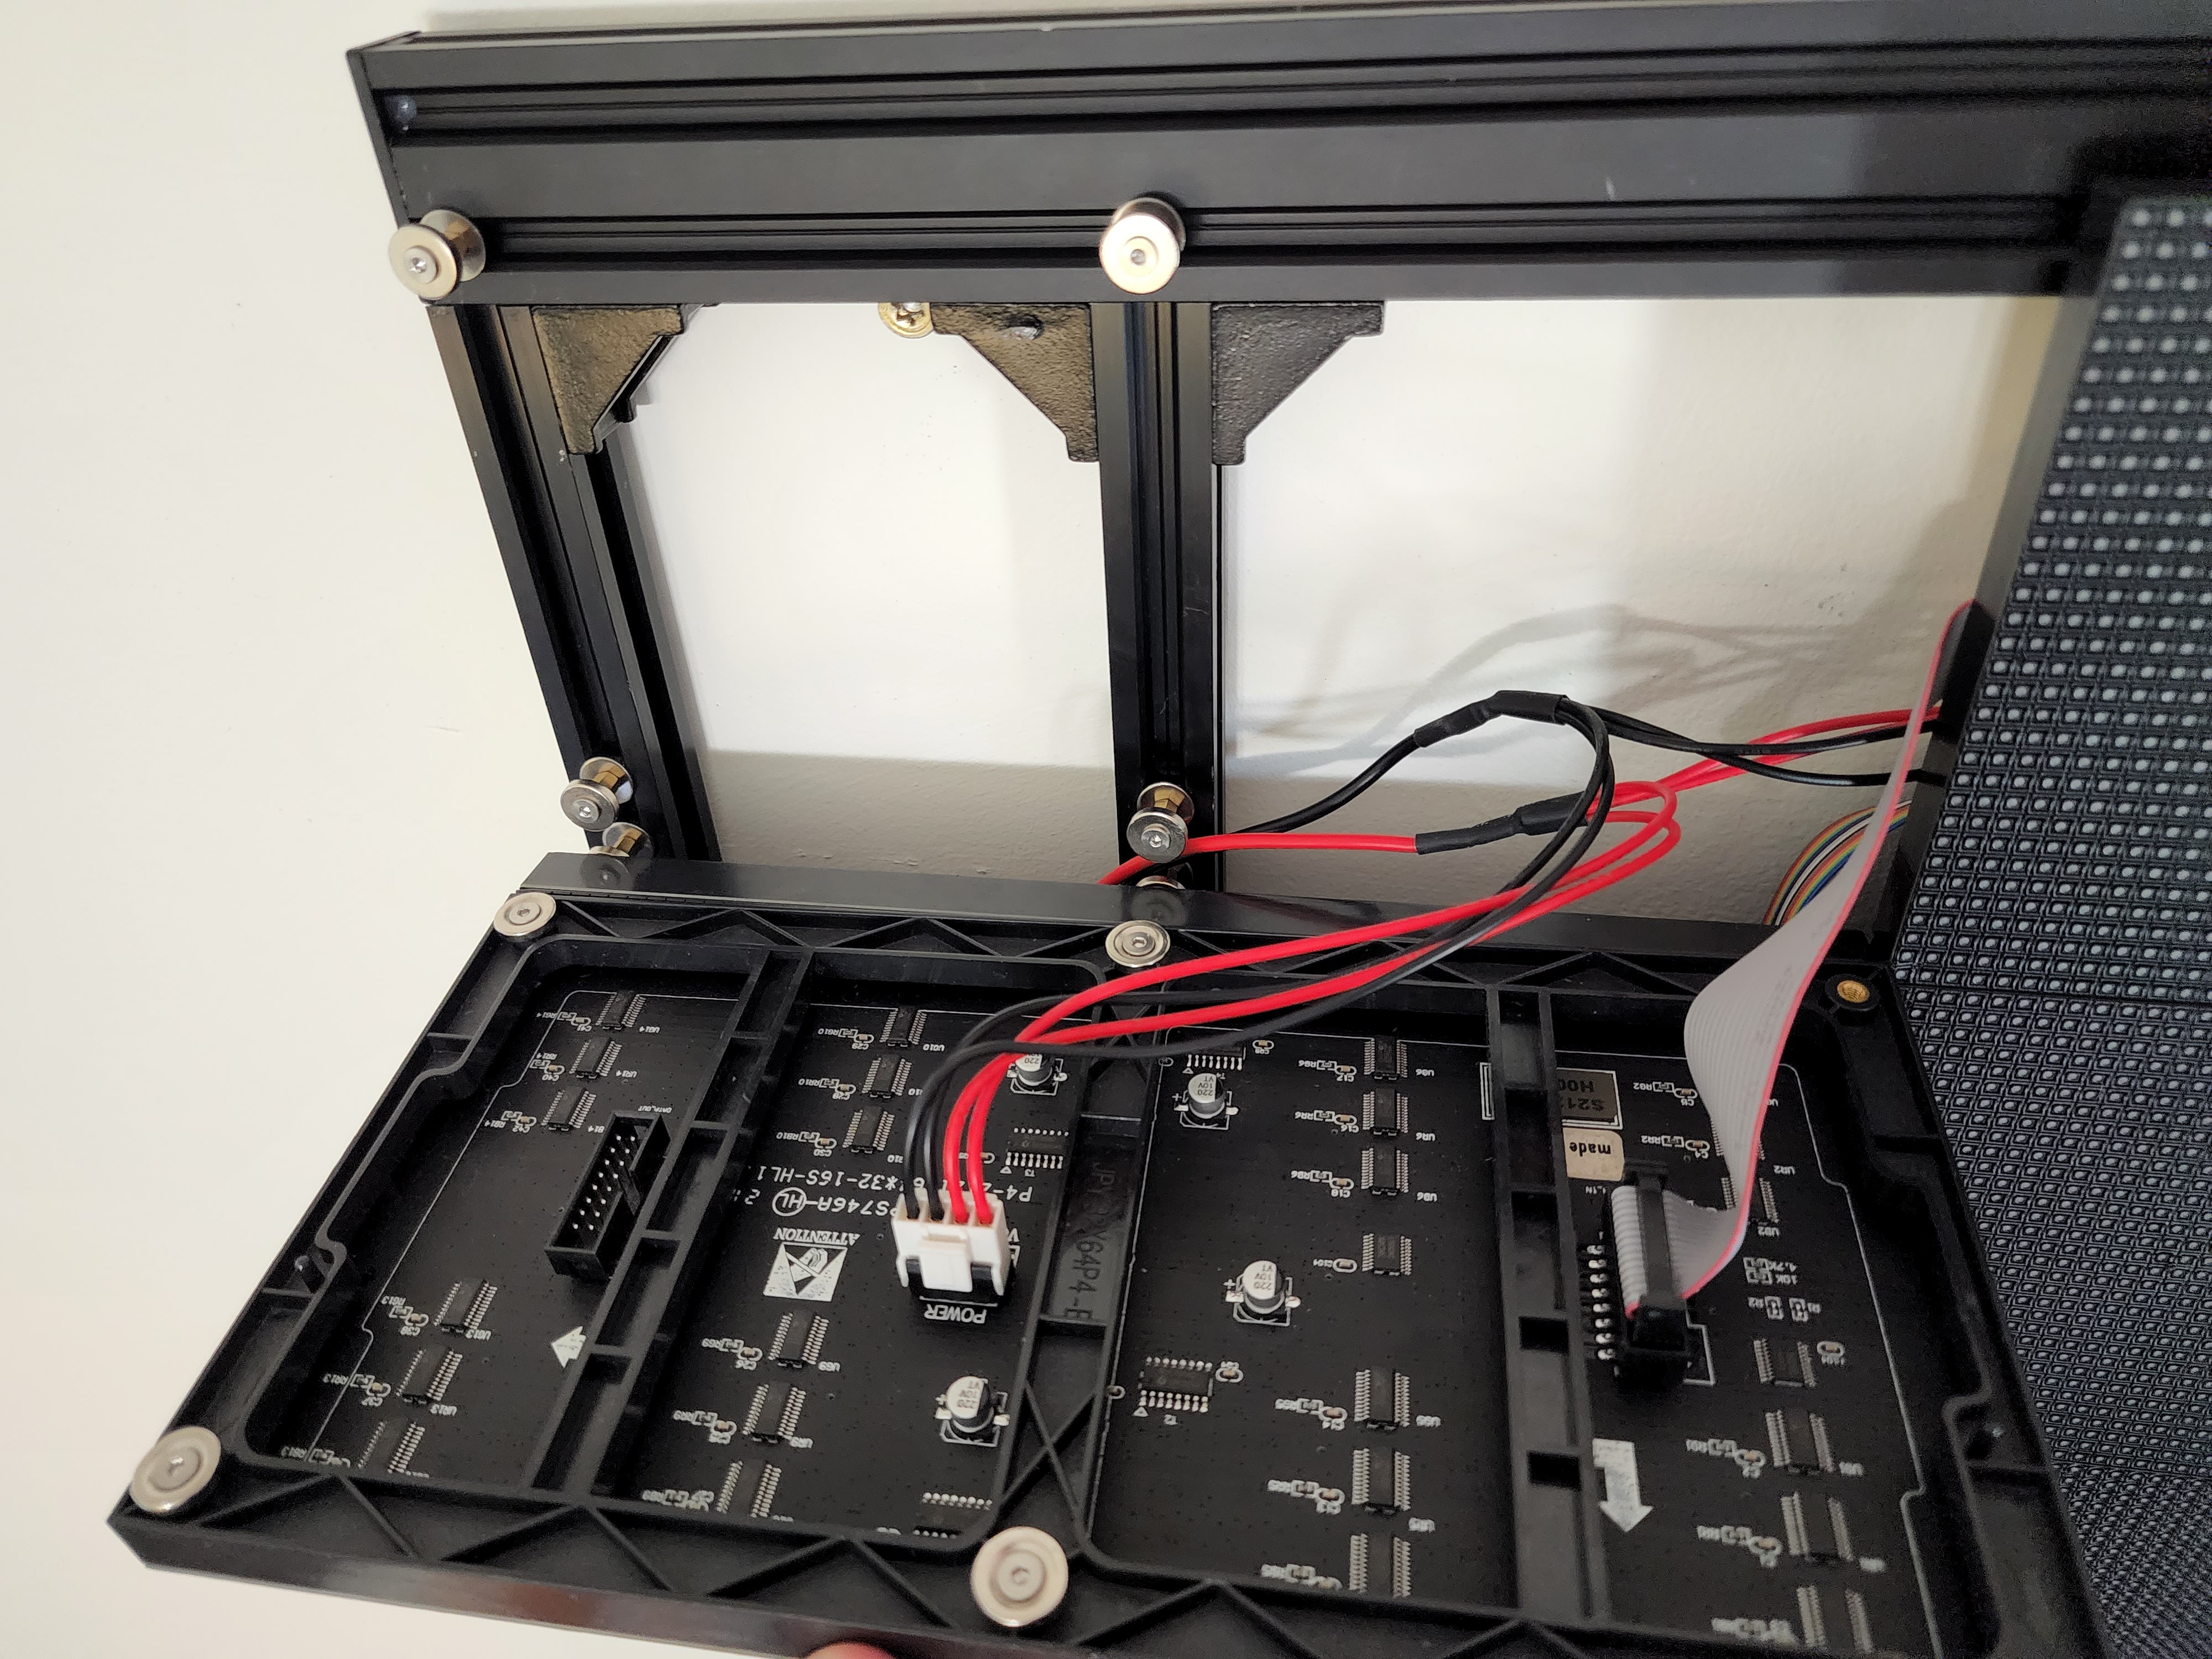
📱 Final Assembly
Time to finally put the display on the frame and wire it together!
The first part of this is finding a wide flat surface for the frame to lay down on when you get to the wiring phase
| Partial assembly | Assembled Display |
|---|---|
 | 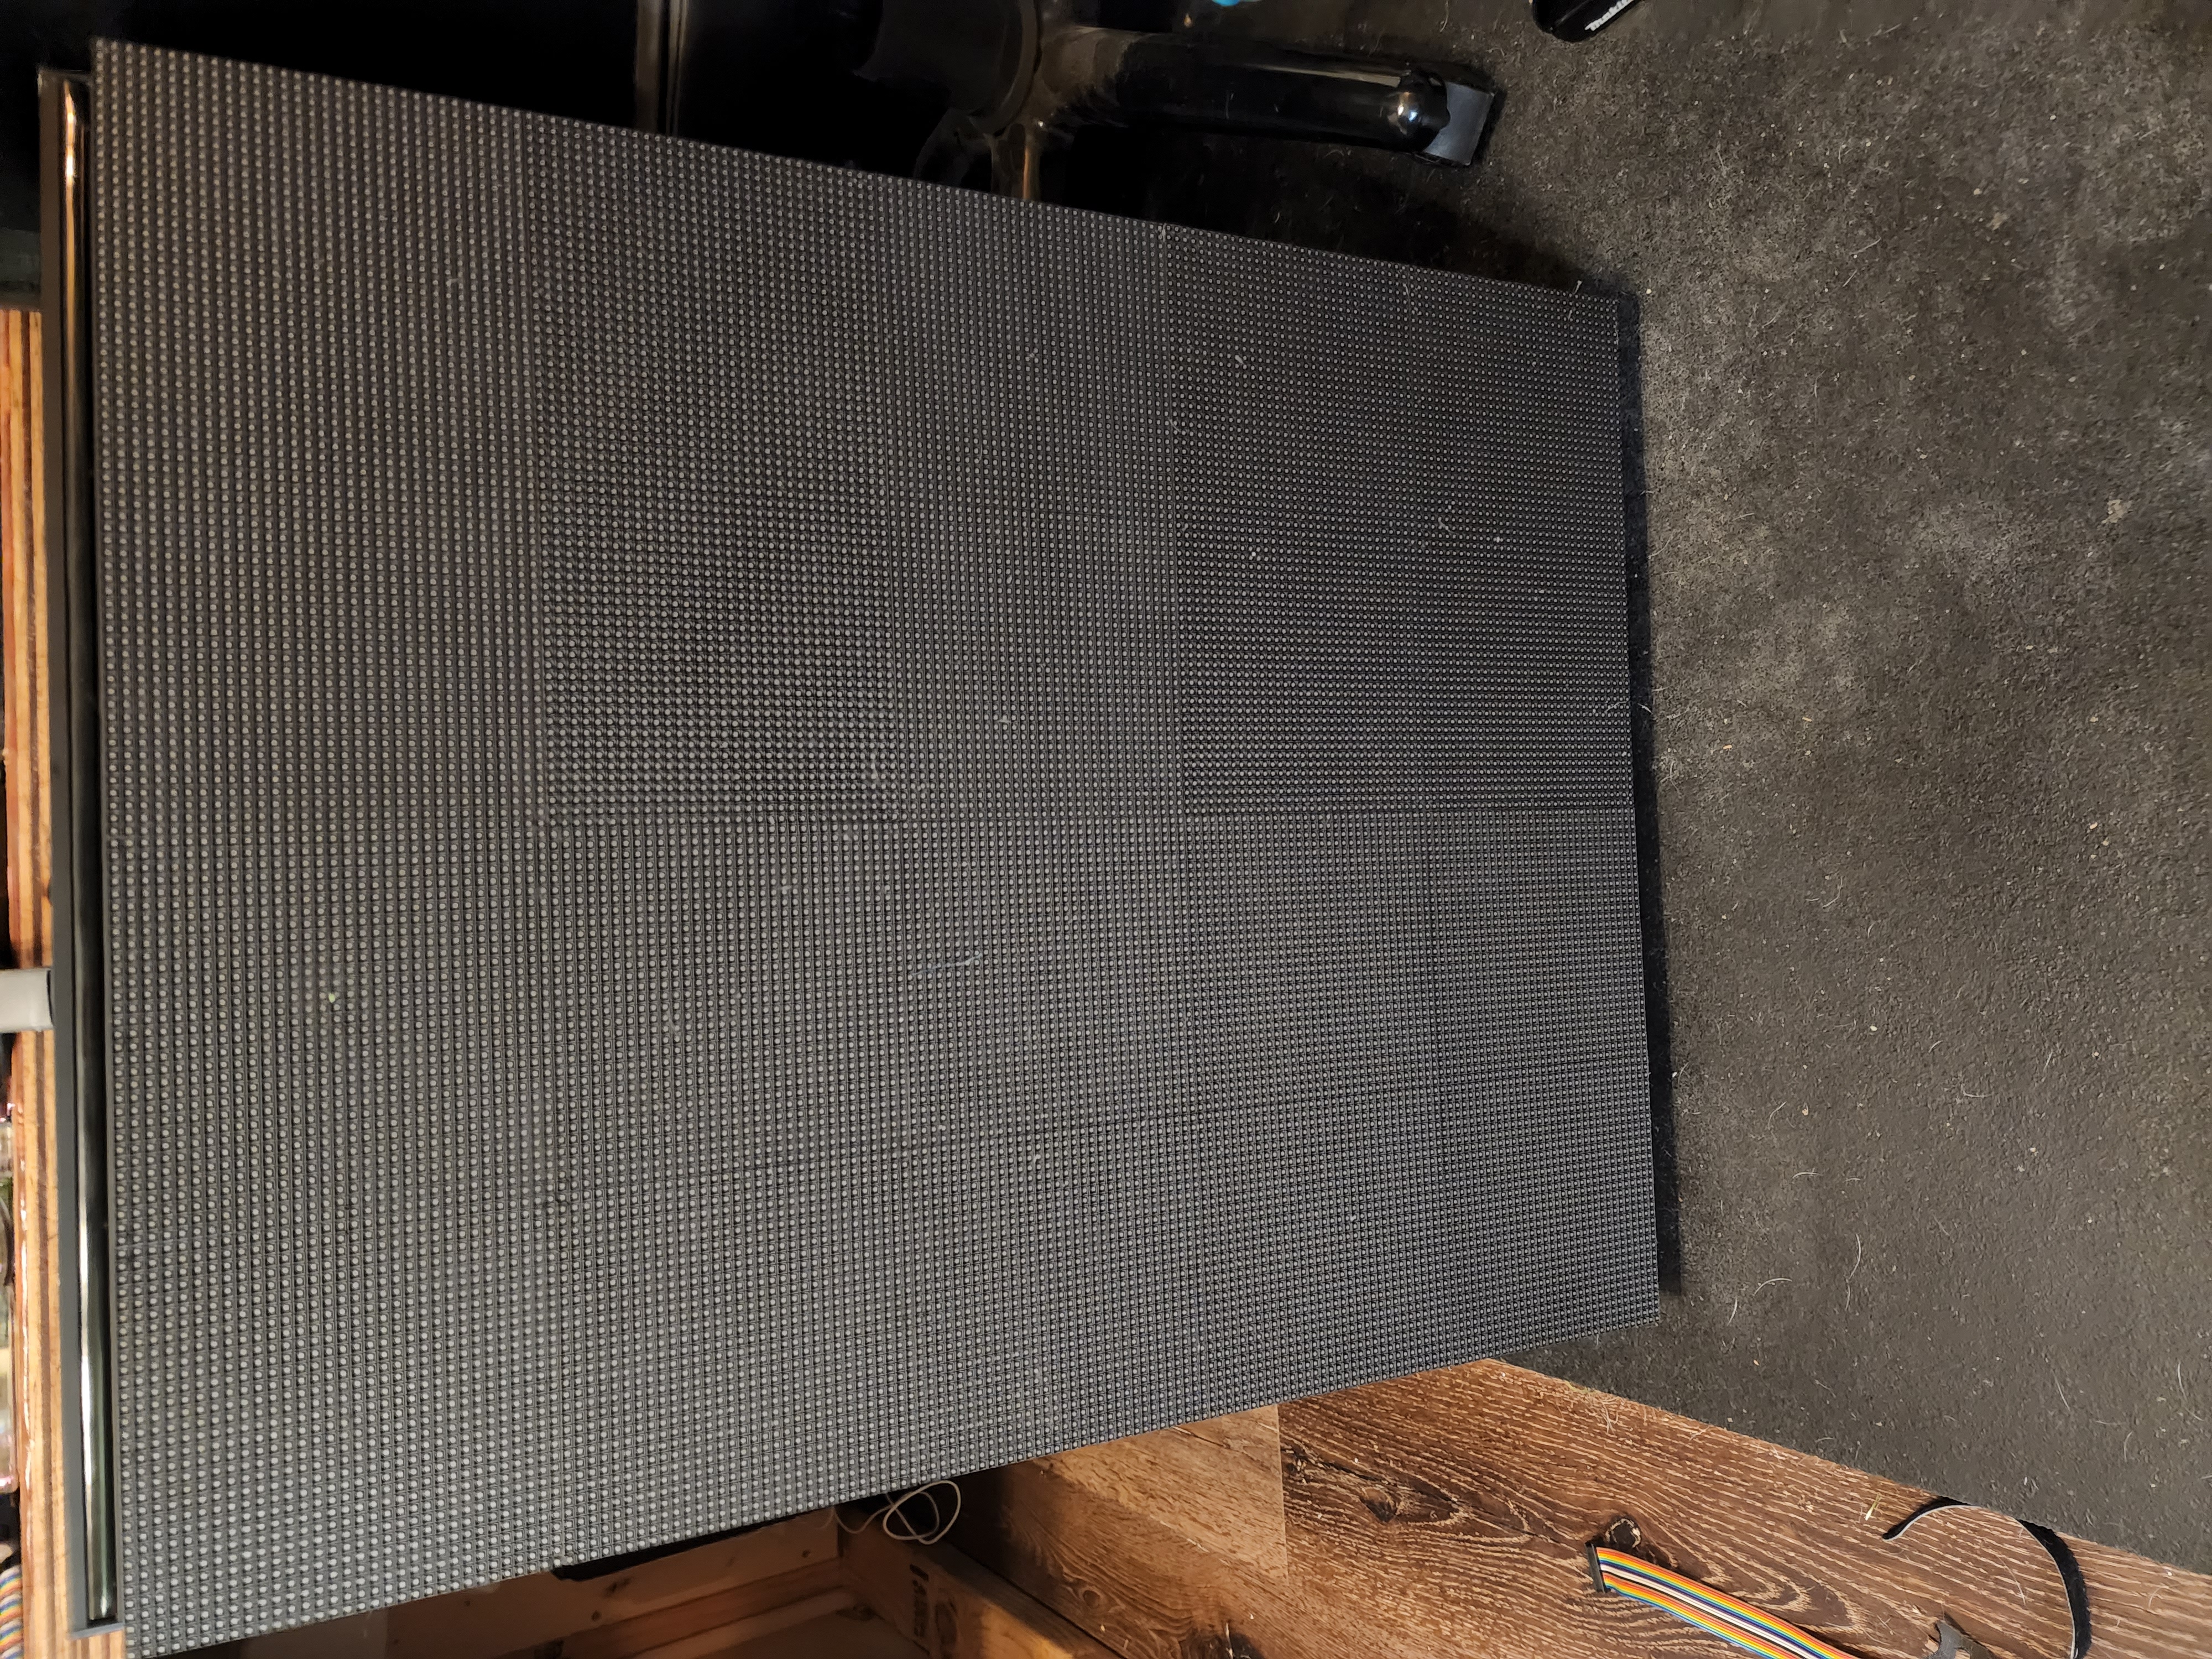 |
Assuming everything went to plan, then you should have a flat display with none of the panels having an obvious visual gap. Adding a bit of hot glue can help everything stay together
Says "hot swappable", adds glue
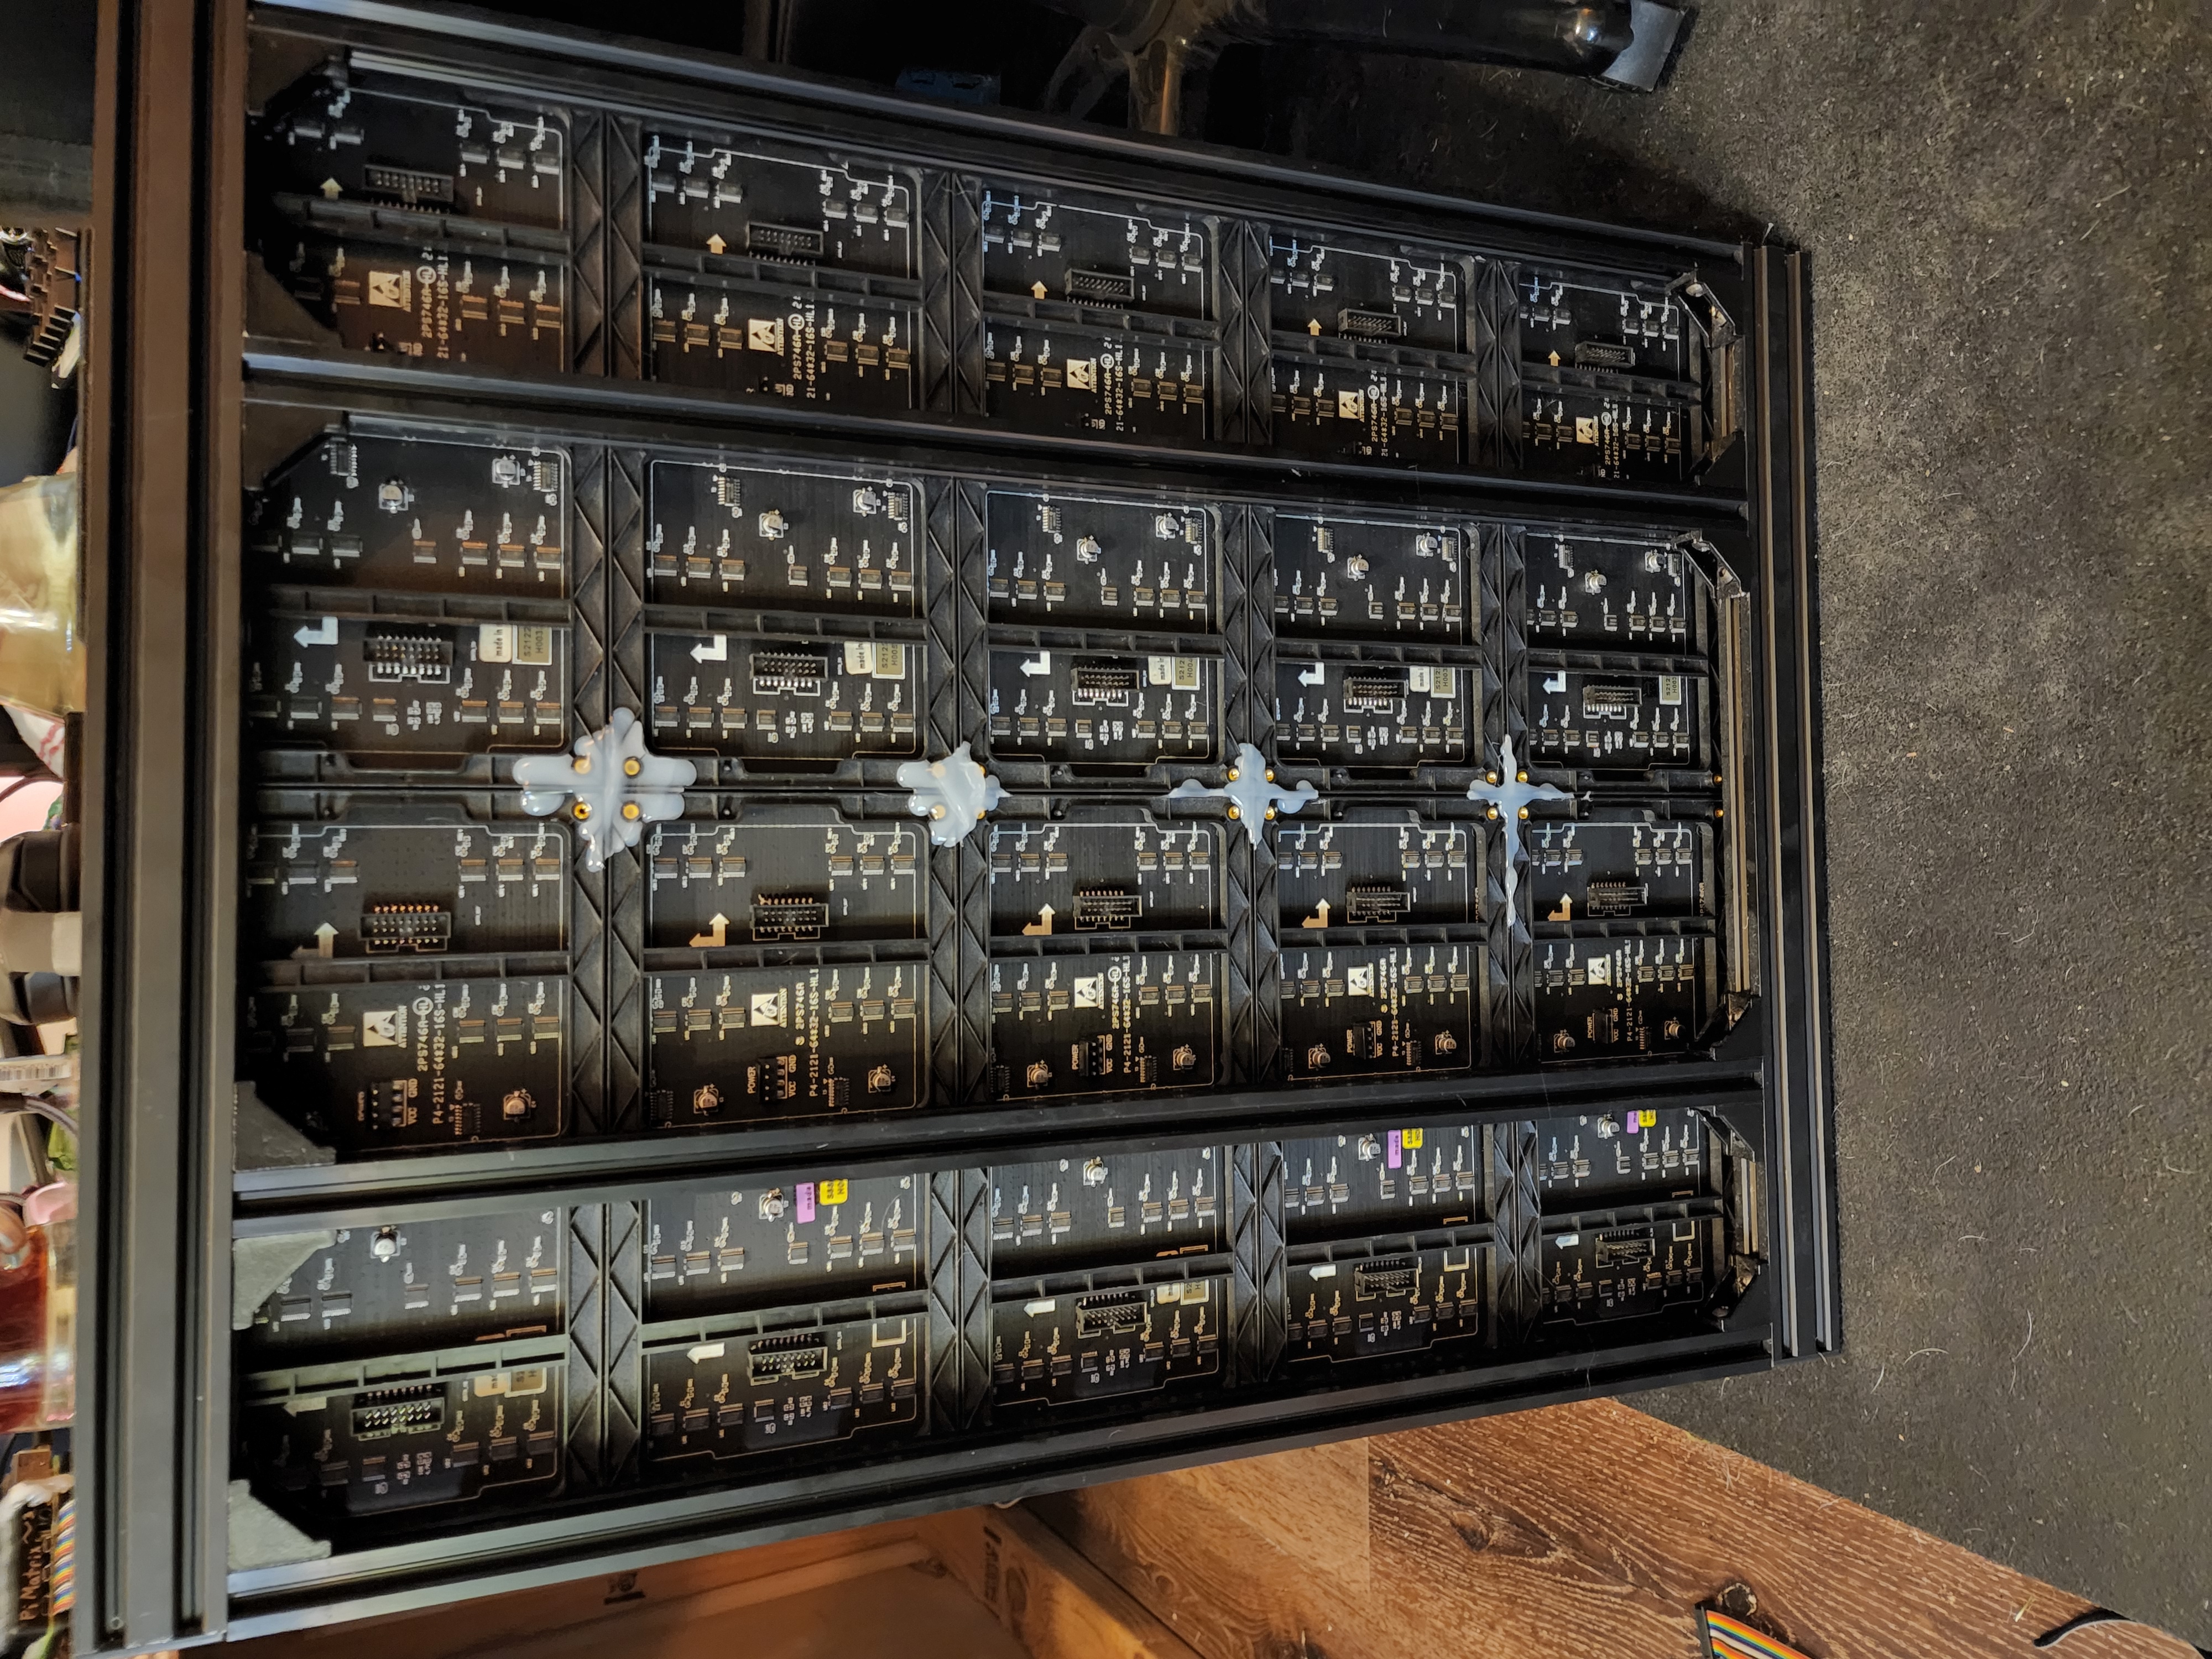 | Adding extra security to the joints |
|---|---|
| Power wiring | 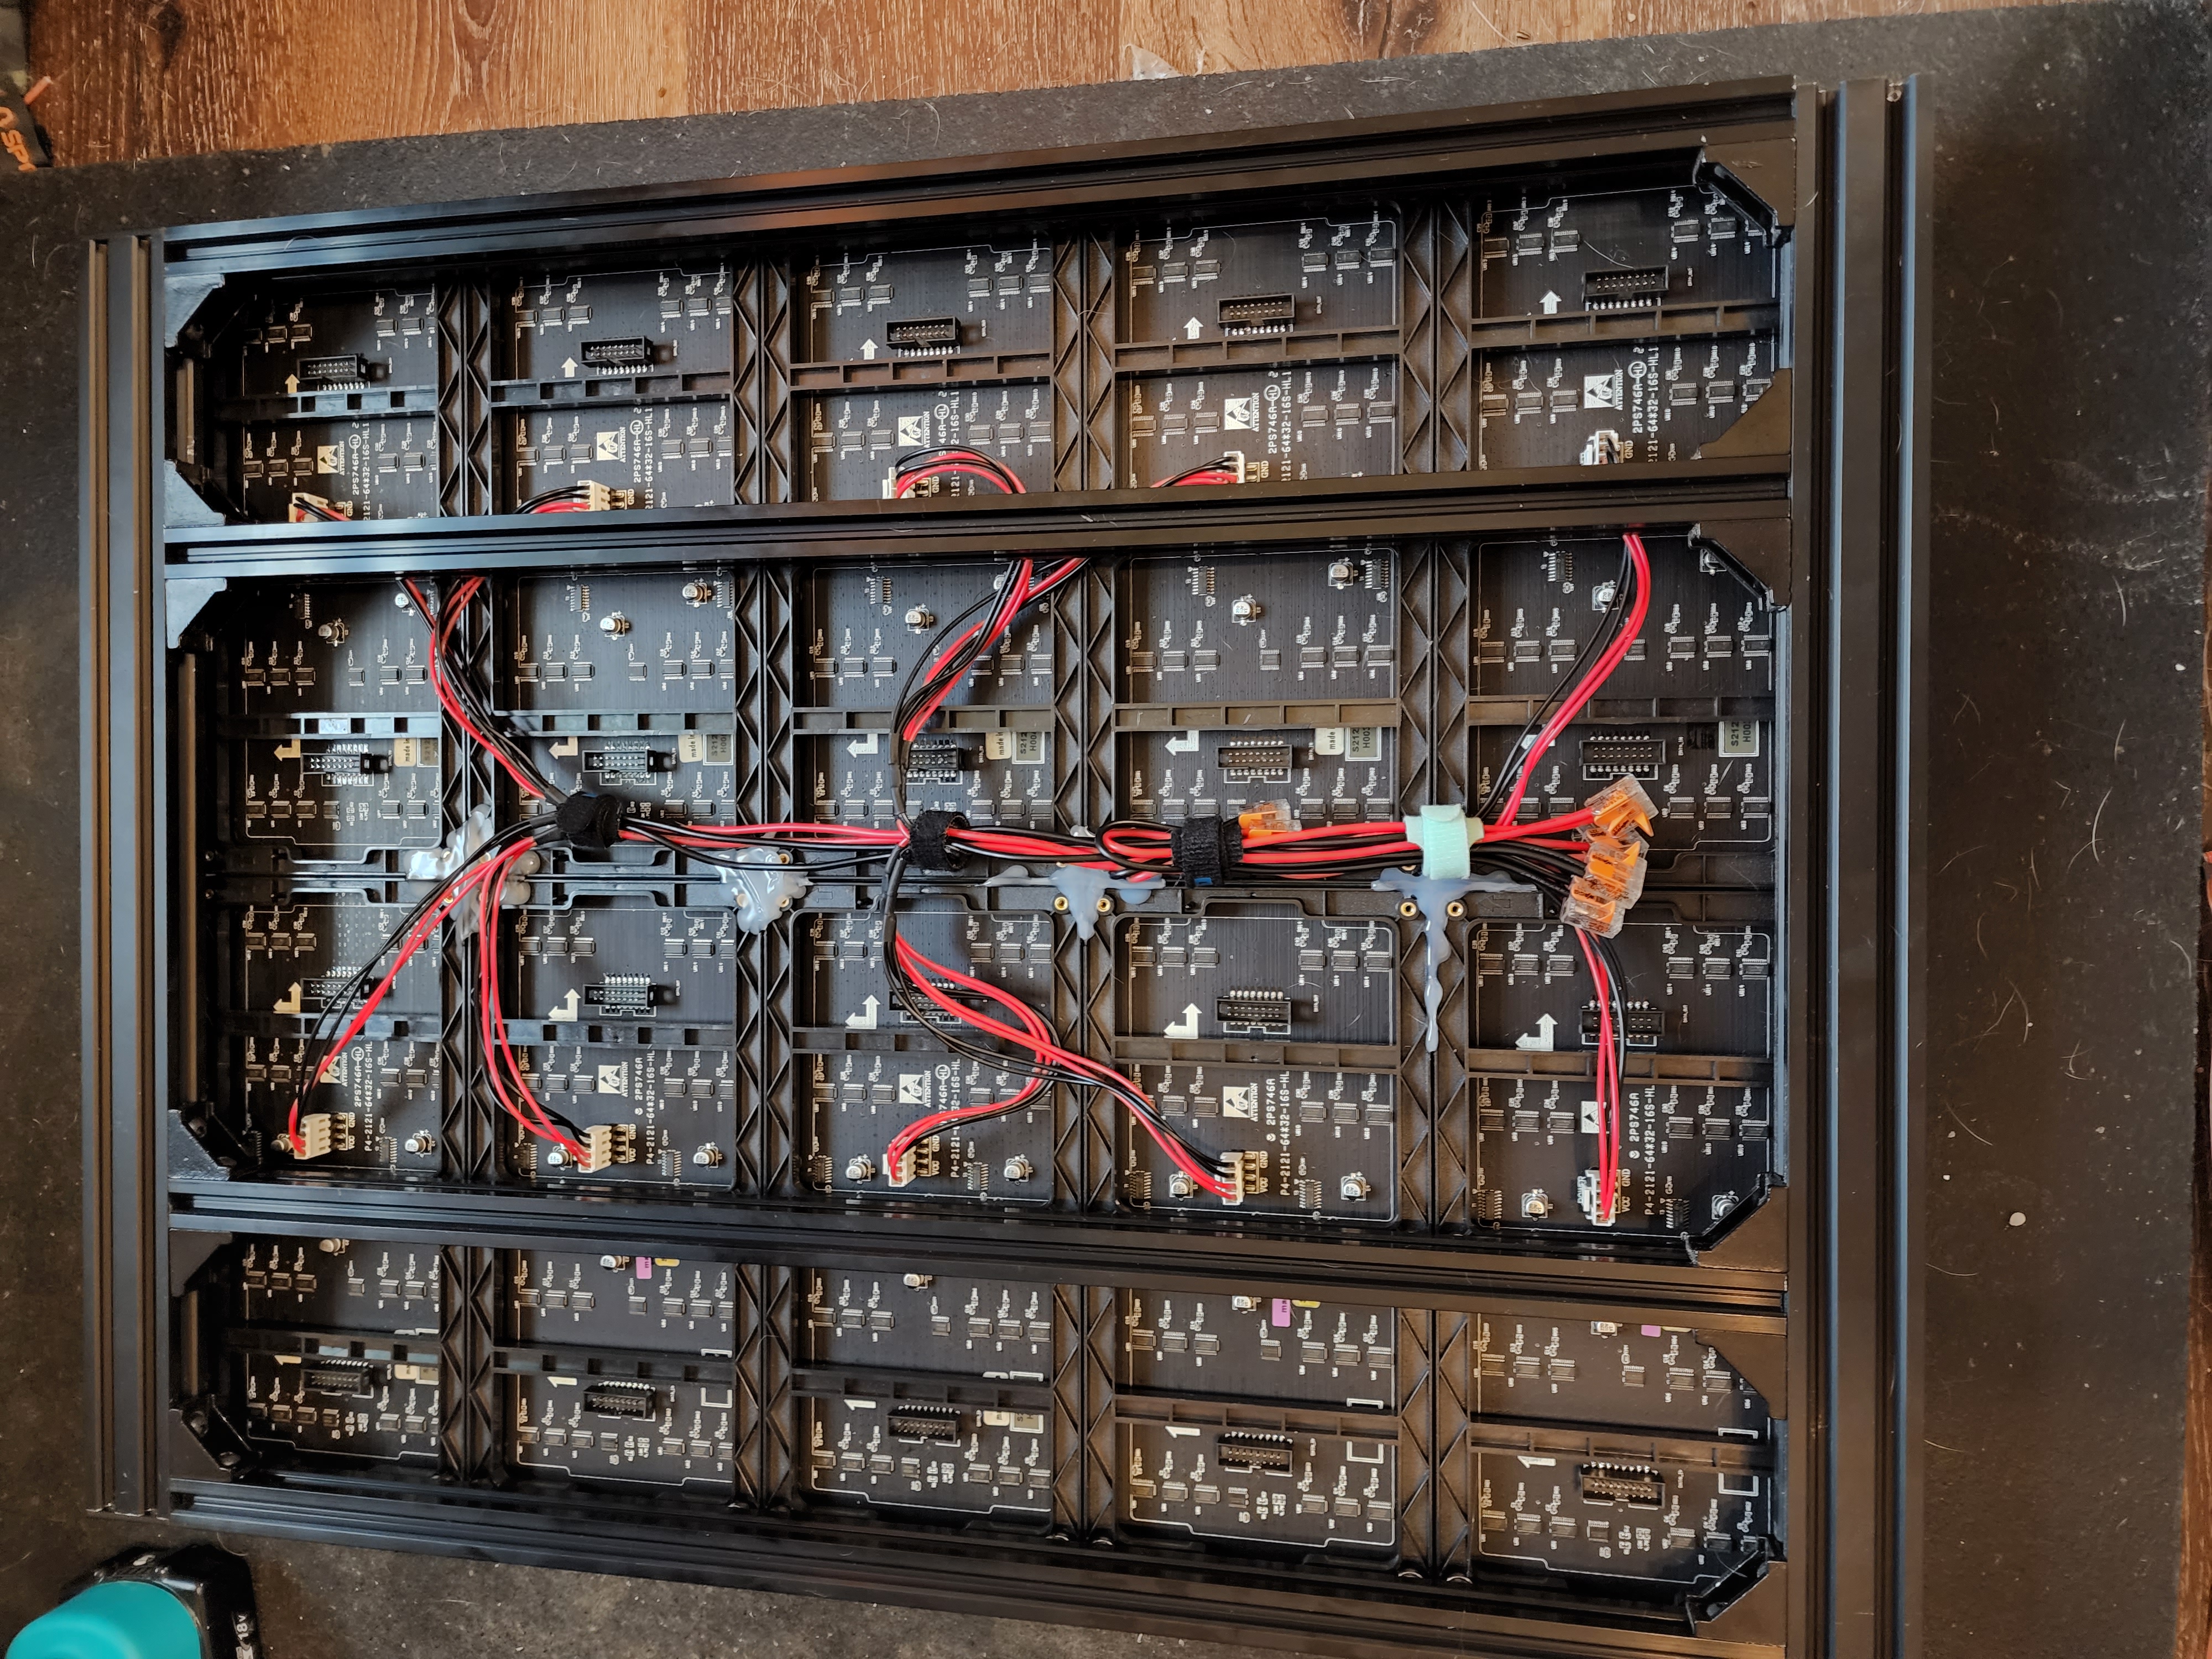 |
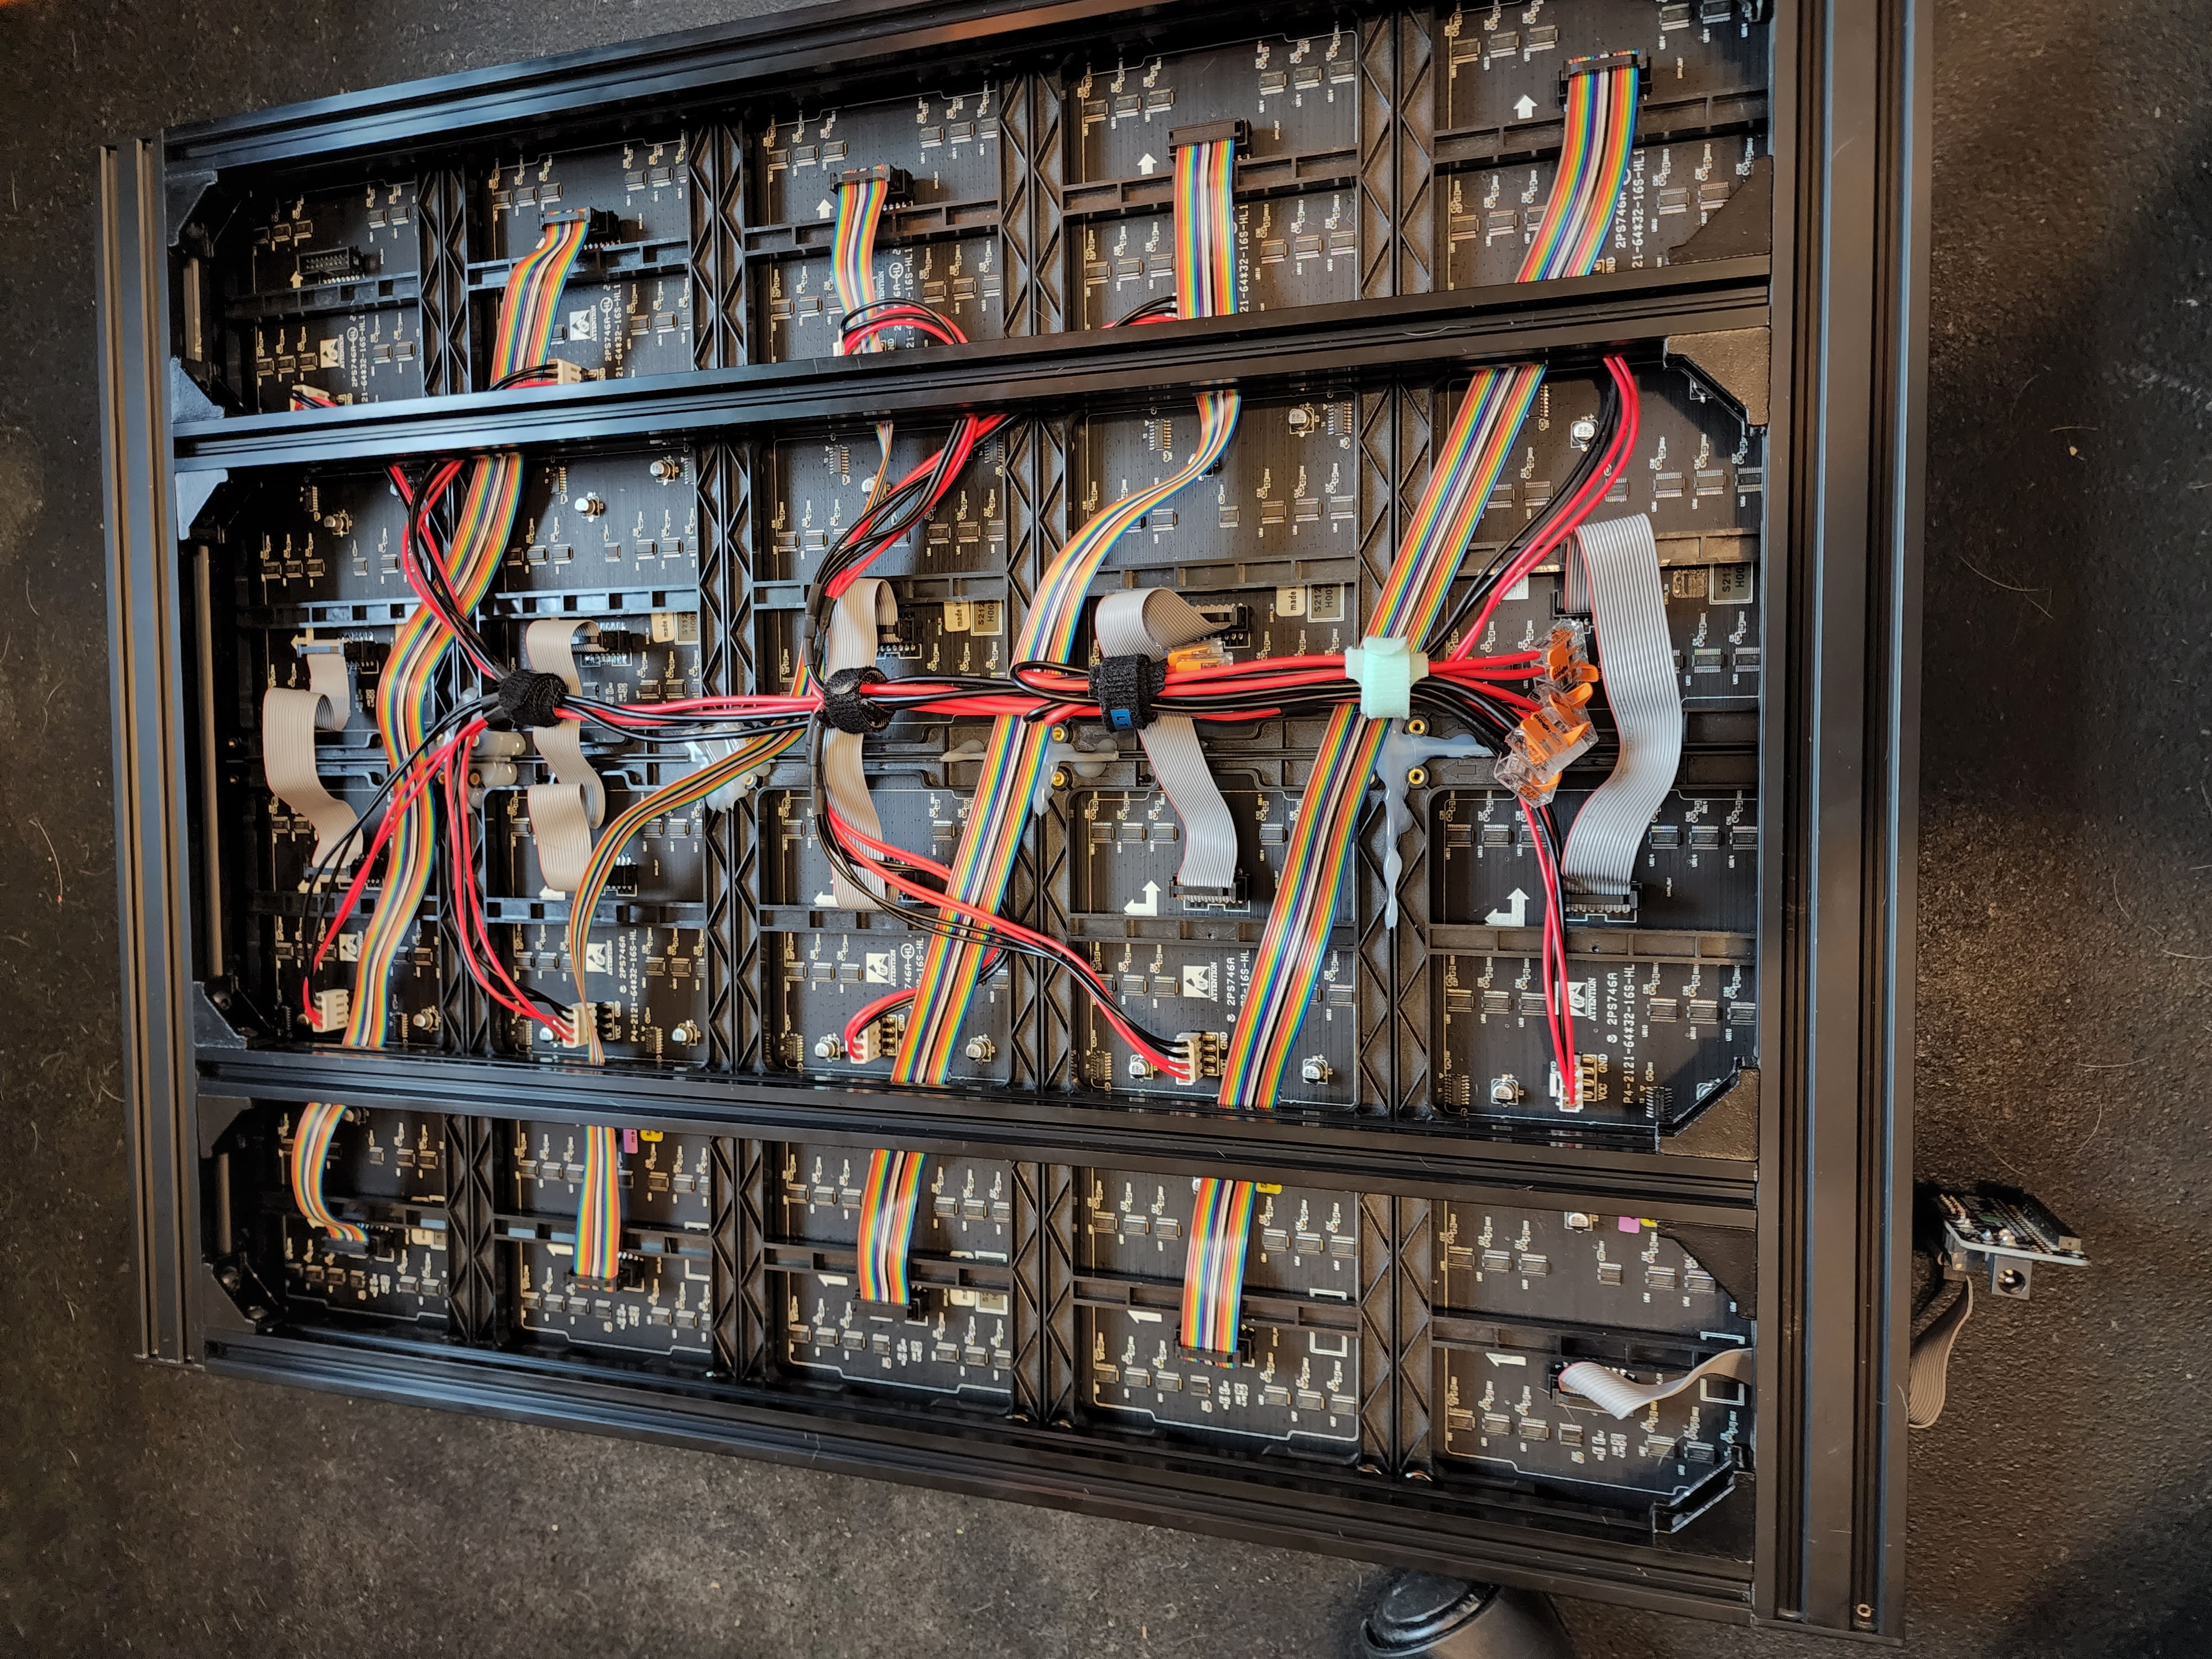 | Data wiring. Gray ribbons (shipped with panels) used to join left/right sides, rainbow ribbons used to join rows -- You can see the data input for the pi in the bottom/right |
| The sacraficial power supply | 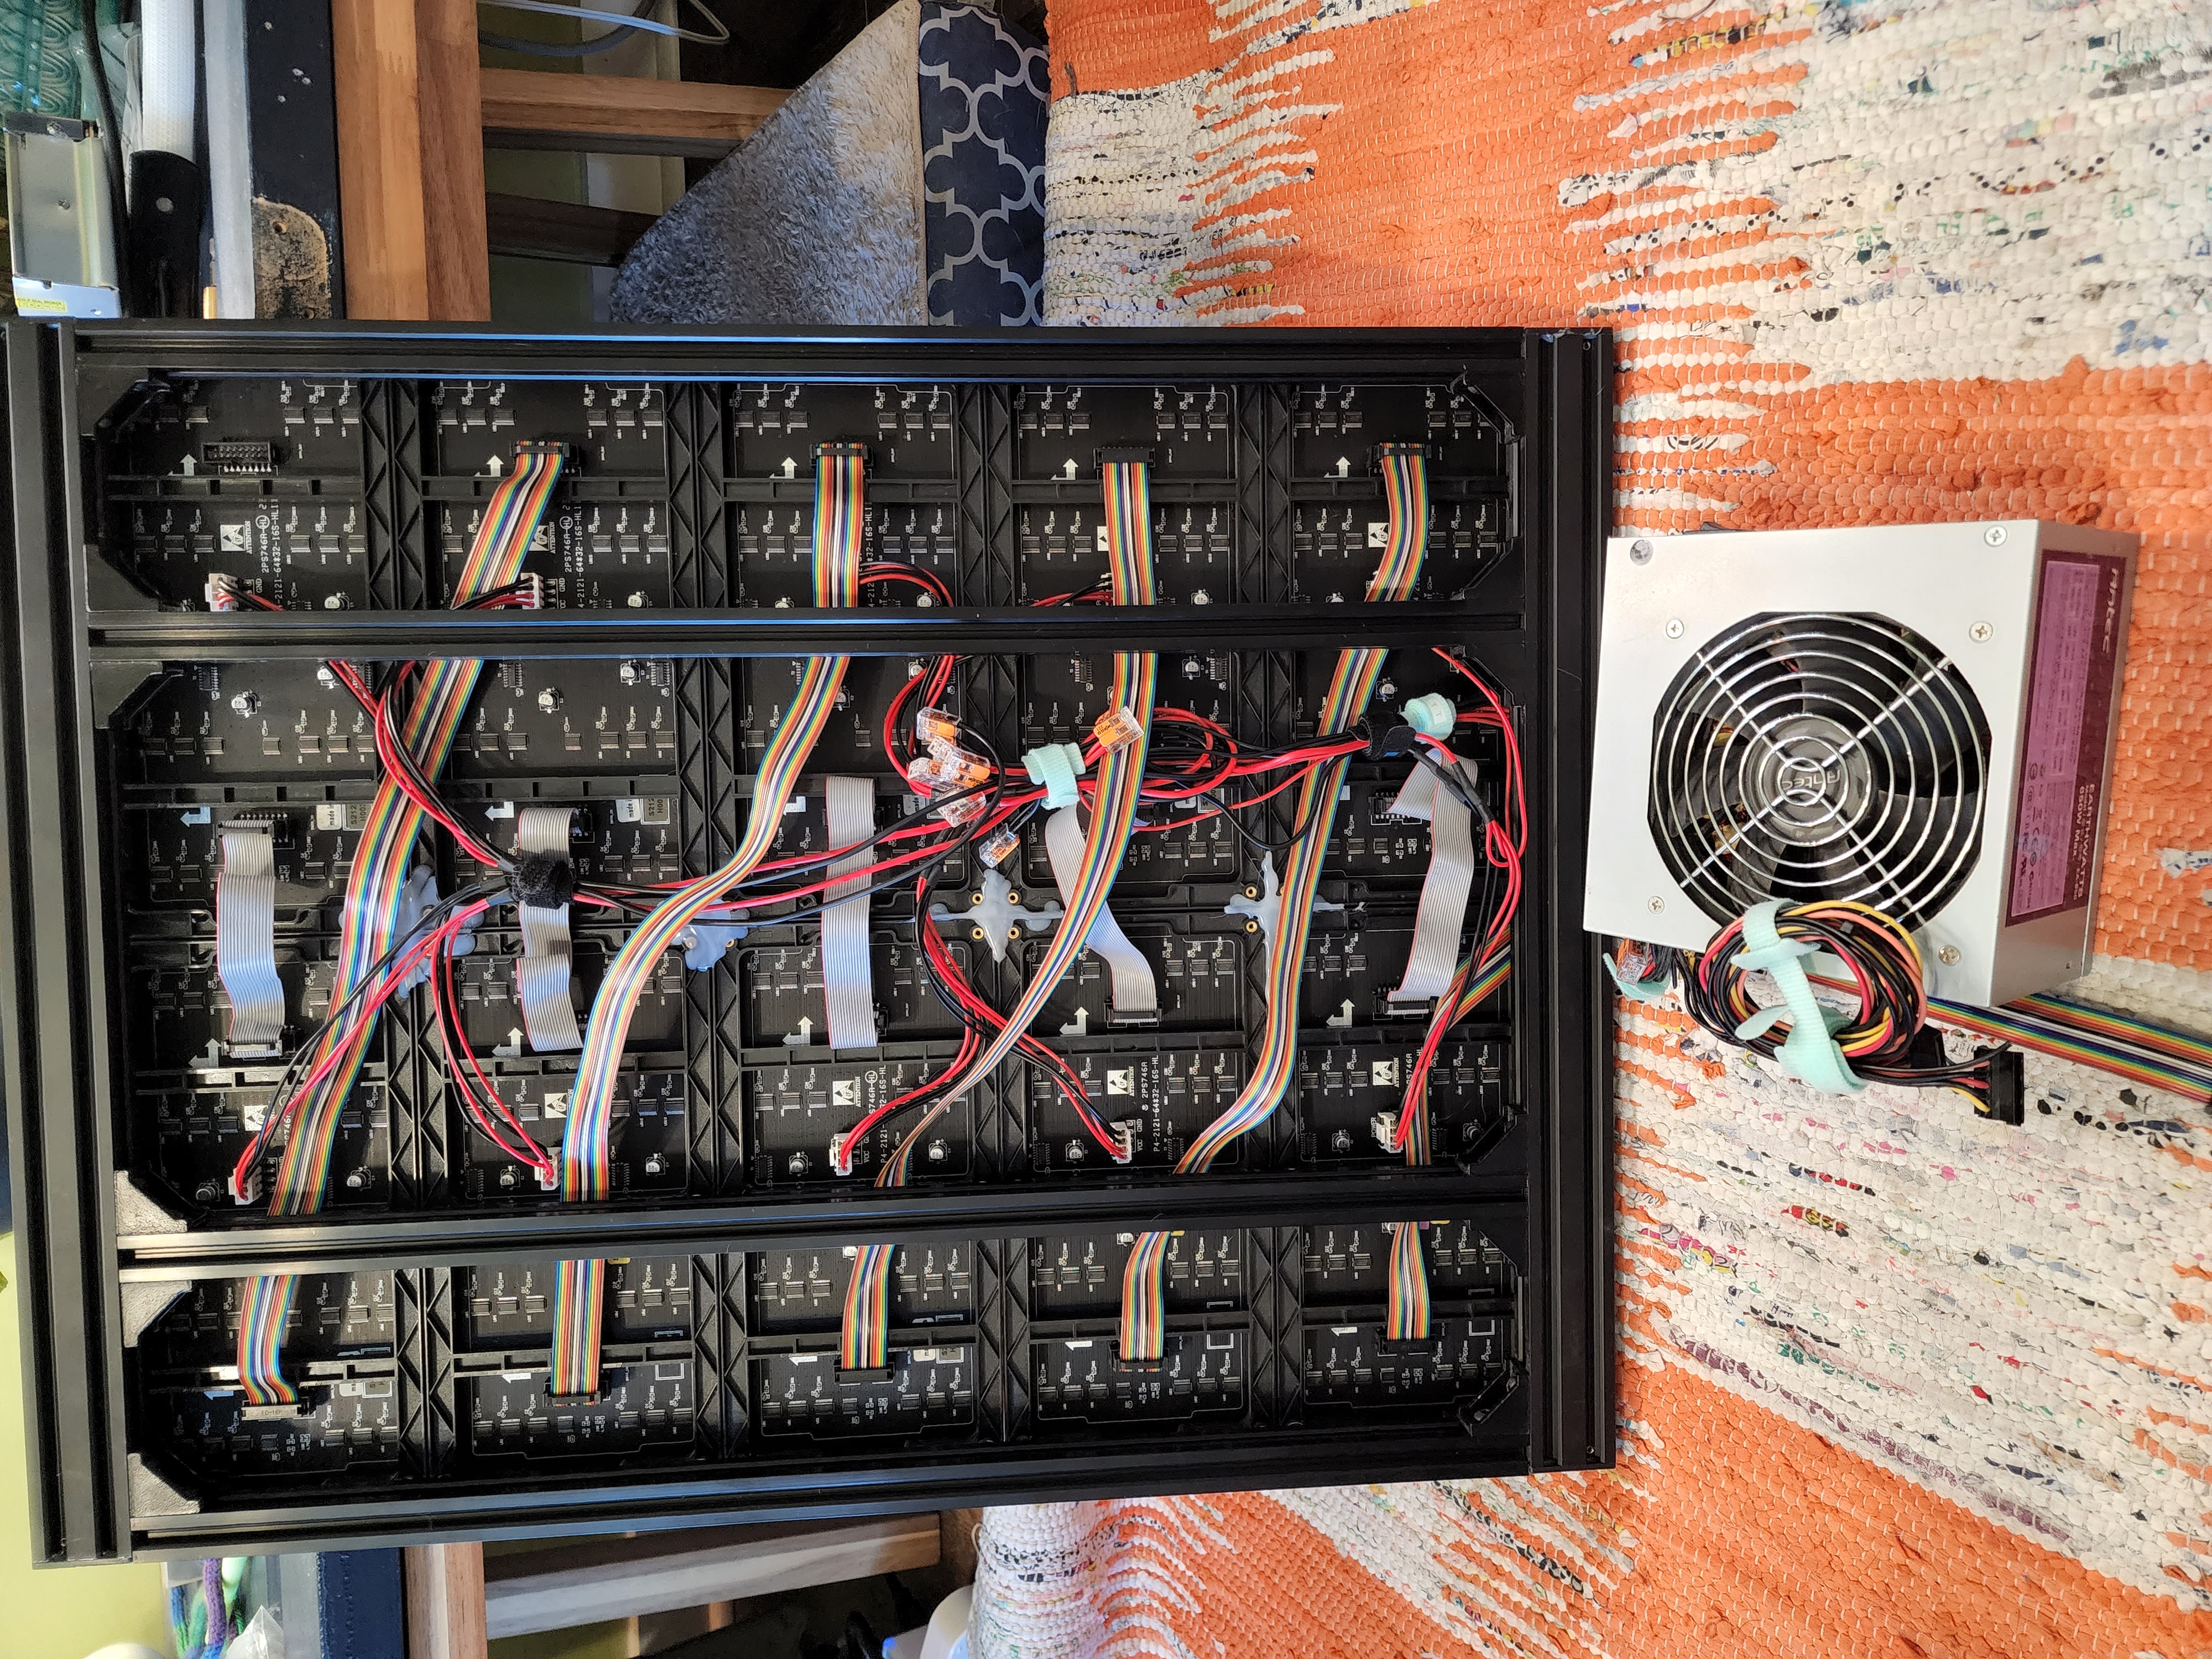 |
- Left and right joined together
- 5x
5vout - 5x
gndout
Parts list
| Name | Purchase Link | Required | Notes | Image |
|---|---|---|---|---|
| Cable connector | Amazon | N | Extra cable needed for laying out matrix in grid | 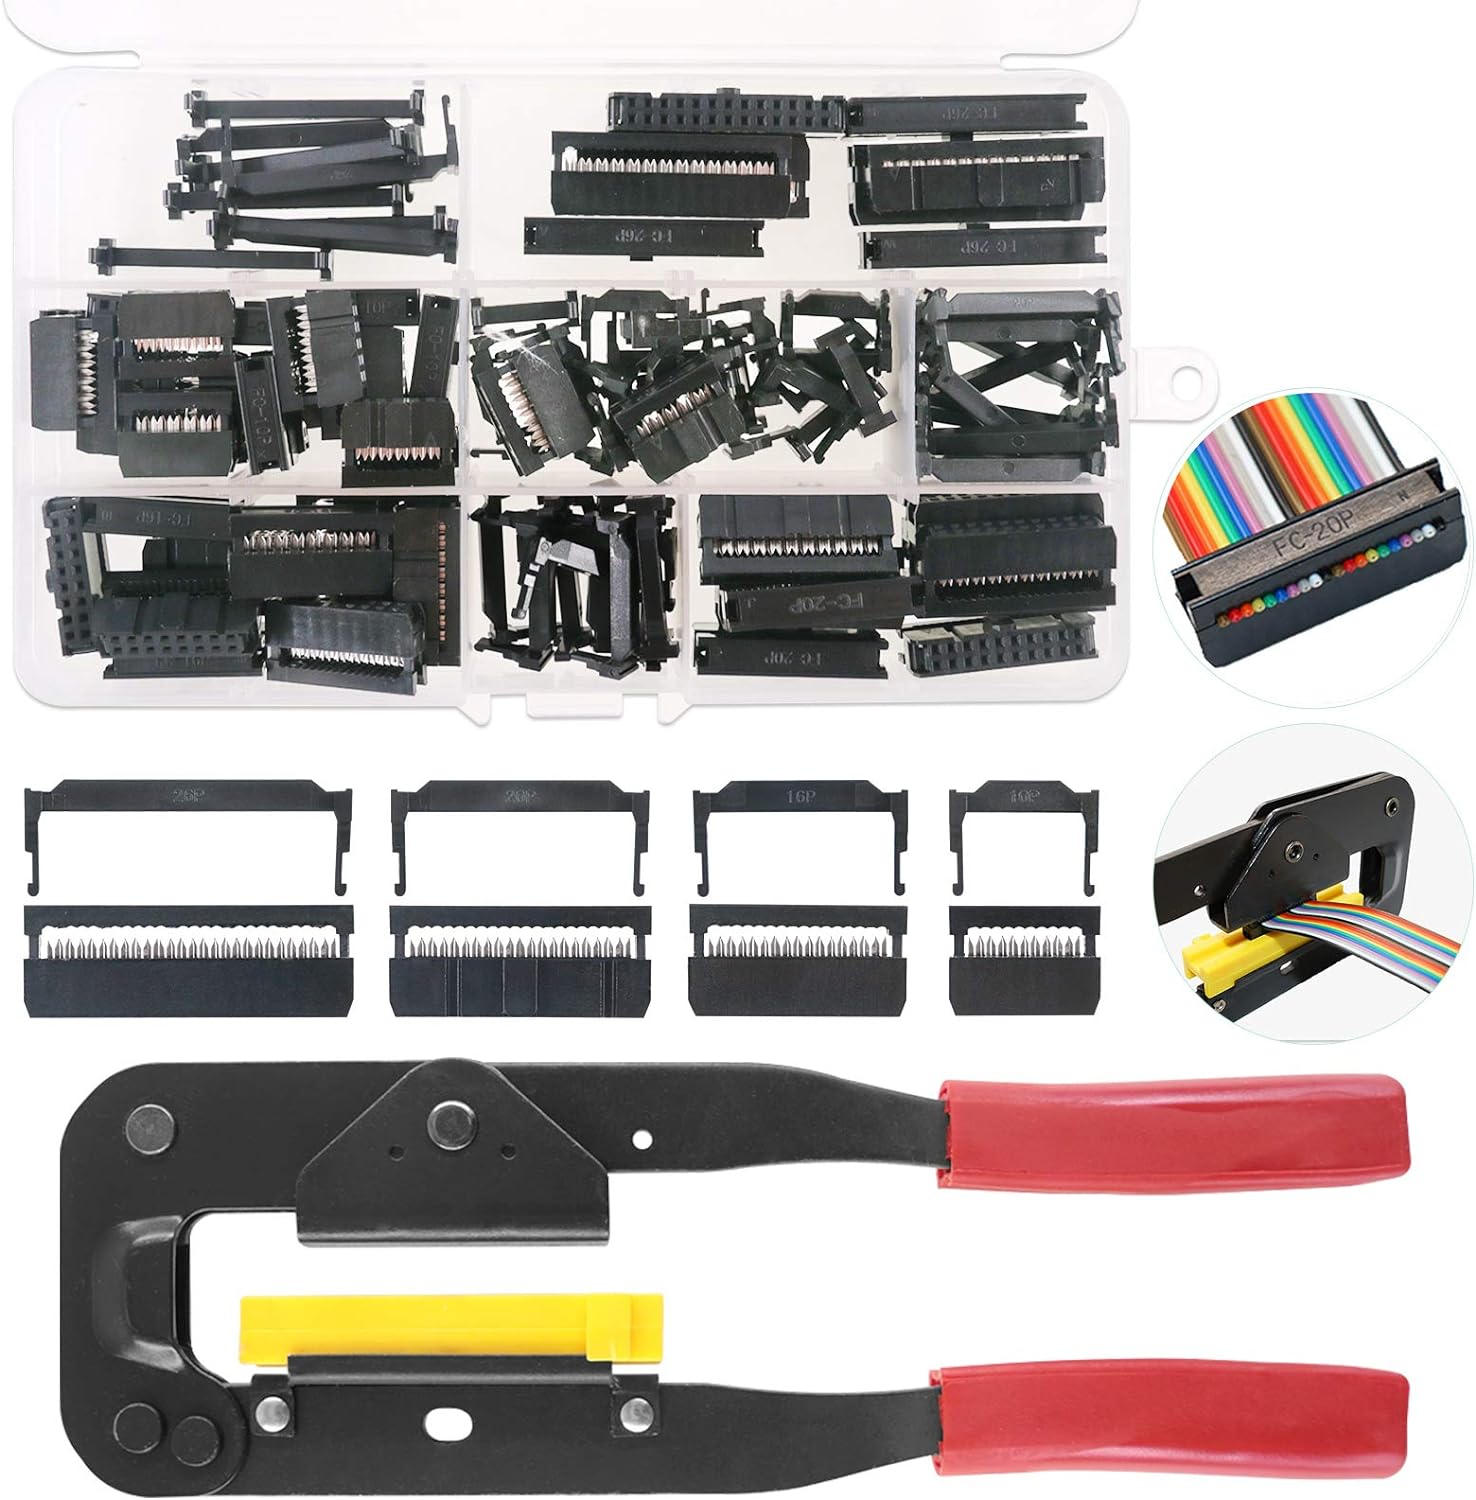 |
| Extra ribbon cable | Amazon | N | Extra cable needed for laying out matrix in grid | 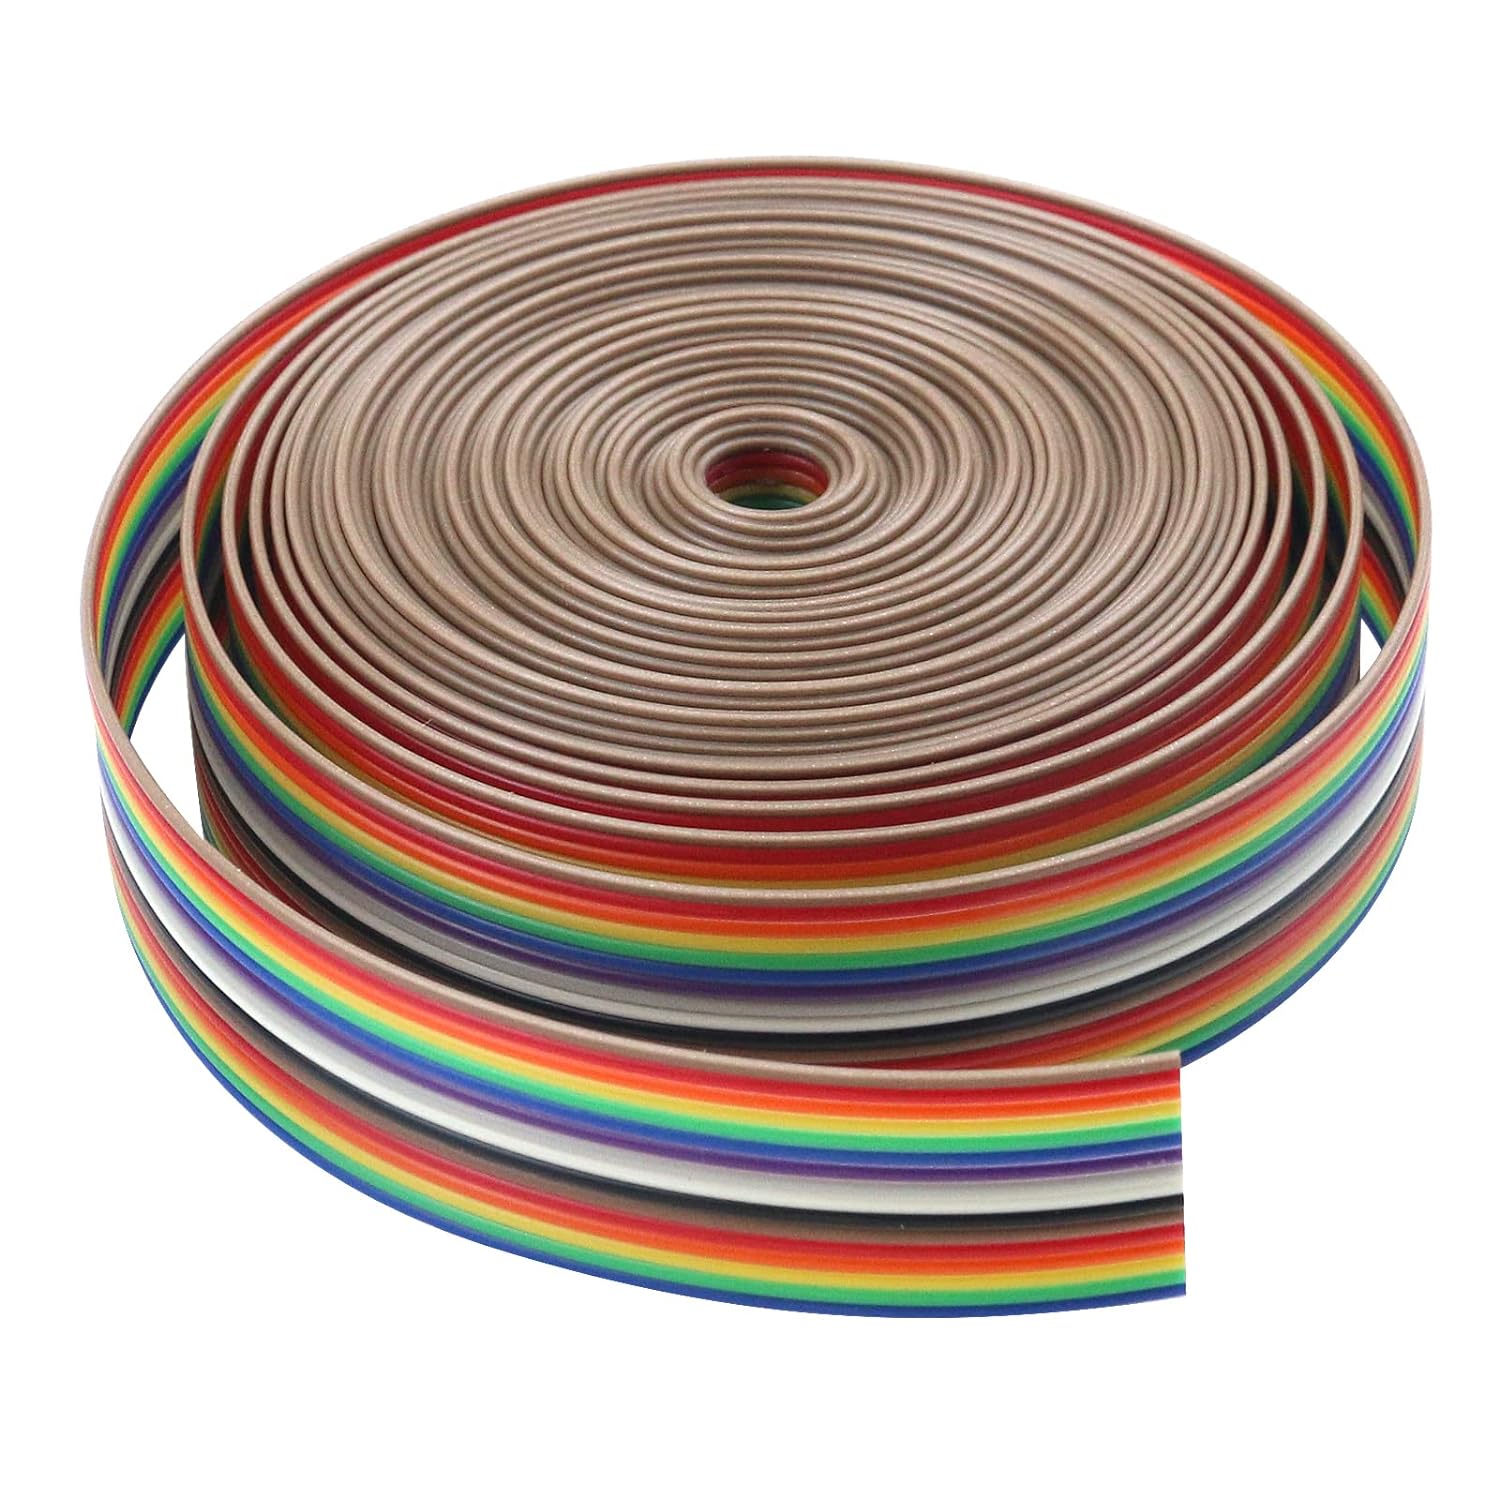 |
| Ribbon connectors | Amazon | N | Extra cable needed for laying out matrix in grid |  |
| RGB matrix | Adafruit | Y | Anything compatible with hzeller/rpi-rgb-led-matrix | 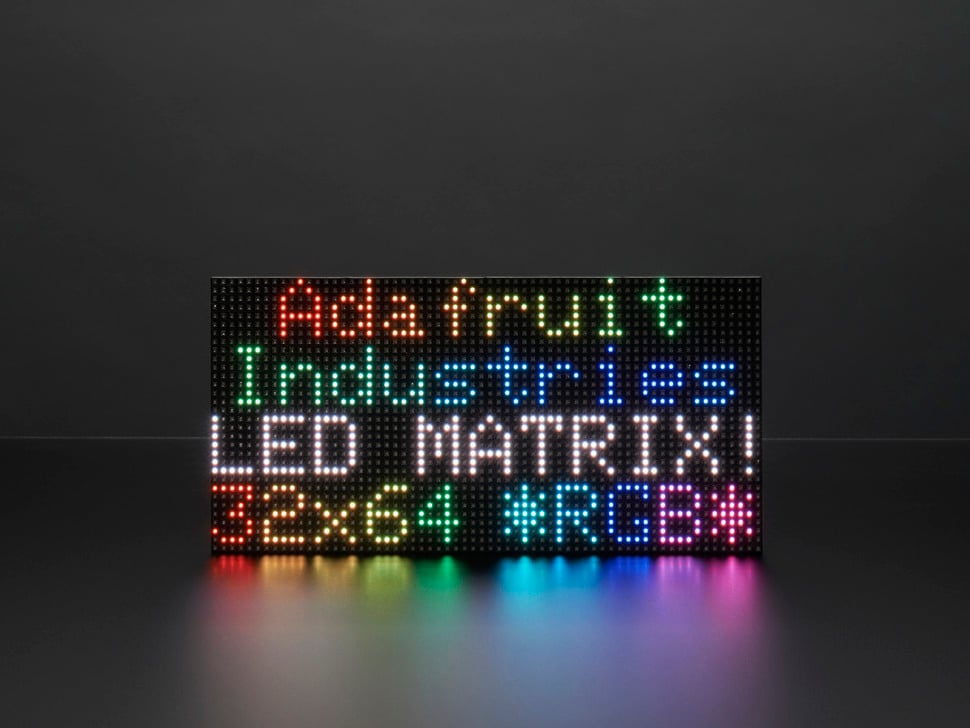 |
| Matrix bonnet | Adafruit | N | Can adapt from 40 pin cable to the 16 + additional uses | 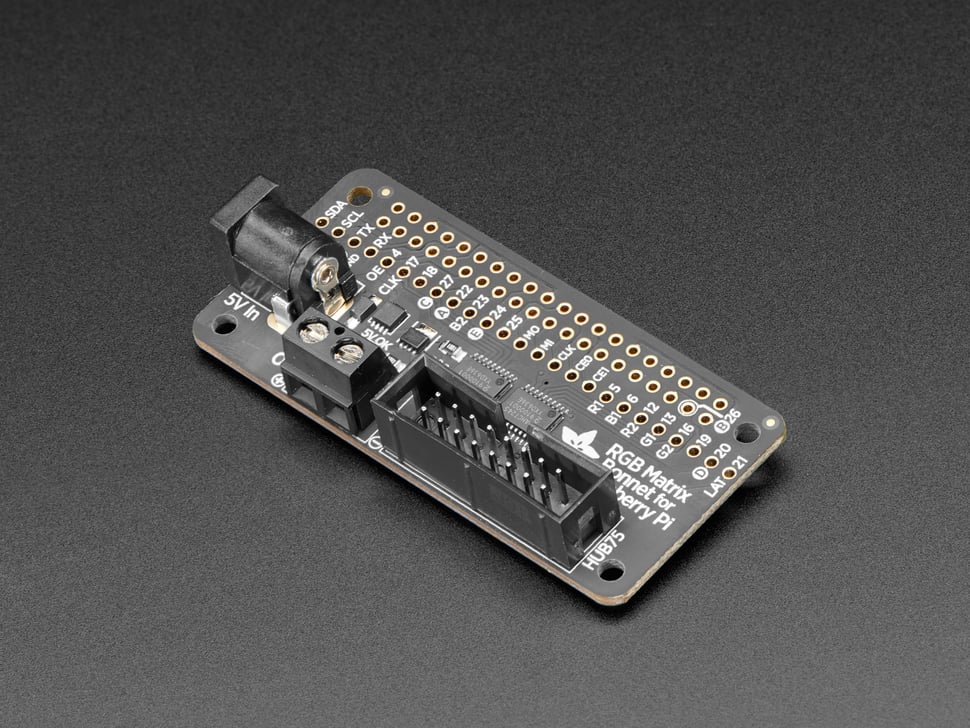 |
🎉 🧟♀️ It's Alive!!!